
Many patterns specify a yarn and number of skeins, rather than yardage making substitution difficult. This post is designed to help you use vintage or any yarn on which you have little information.
I’ll be outlining ways to get yarn weight, yardage and care in order to make informed substitutions. This is especially relevant to me, since I inherited a huge stash of wool from my grandmother when she forgot how to knit when she developed Alzheimer’s.
For this blog I used a vintage yarn Zegna Barrufa Lane Borgosesia dal 1850 Peacock. This yarn is not in the Ravelry database or any other online source.
It seemed like I had a lot of this yarn. My grandmother had 17 skeins (!) in her stash. But that turned out not to be the case. They are on cardboard spools–so there is more air than yarn. I’m also dealing with three different dye lots and minor sun damage. Grandma was a penny-pincher and often bought remainders, smoke/fire damaged and sun damaged, and unlabeled yarns at bargain prices. This is only one example of many “problem children” from her stash.

Getting the Weight:
What you will need:
- Yarns of several weights that follows the standard yarn weighting accepted today. I generally rely on Cascade Yarn for this, but any major yarn manufacturer will do.
- Appropriately sized needles for the weights.
Methods:
Twist method: I learned this several decades ago in a class, I believe, Lily Chin taught at one of the early Stitches West. This is where you take a yarn that is a good standard for different weights of yarn.

The trick here is to have lots of “known good” weights of yarn. I have loads of leftovers that work perfect for this.
You hook the yarns around one another and then twist in opposite directions. If there is a “smooth” transition when you run your fingers across the join, you have likely found your closest yarn weight.
For the Peacock, I started with a DK, then tried a worsted, aran and bulky. What I learned was that because of the variance in the yarn, it ranges from worsted to aran and it is too big for DK and too small for bulky.
Gauge swatch: Now that we have an approximate weight. I recommend knitting a gauge swatch of the matching weight yarn and your “unknown” using the same needles. Measure and compare the swatches.
If they have the same stitches to the inch, you are done. If not, knit a swatch with the yarn that is one size up if your mystery swatch has fewer stitches or one size down if your mystery swatch had more stitches to the inch.
And keep your swatch of the unknown yarn. It will come in handy for determining the care.
Getting the Yardage:
What you will need:
- A yarn swift (I’ve also used chair backs–anything you can measure around)
- Flexible measuring tape
- If the yarn is in a skein, a yarn bowl or way to hold it steady while you wind it onto a swift
Method:
- If yarn is in a hank, place it on the swift and extend the swift to the maximum size; If yarn is a skein, wind yarn onto the swift (Steps 1 and 3 in image below)
- Measure around the swift (Steps 2 and 4 in image below)
- Count the number of strands (step 5)
- Multiply the number of strands by the number of inches (e.g., 50 strands time 60 inches) and divide by 36 (inches in a yard) (not shown)
In my case, I got 50 strands at 60 inches, so that’s 3,000 inches of yarn. I divided this by 36, to get ~83.33 yards. Keep in mind, yarn is sold by weight not length, so you shouldn’t expect to get a round number. After getting the yardage, I wound it back into a skein (Step 6).

With 17 skeins I actually only have about 1400 yards total and only 833 yards of a single dye lot.
Getting the Care:
As you can see from the yarn label, it says to wash in temperature 30 (F or C?), it is possible to use an iron and it is possible to wash with most detergents, but not bleach. This still leaves a lot of missing information.

There are three (maybe more) ways to determine how to launder the fabric you create with this yarn. They are as follows:
- Look on the label. Sometimes “superwash” or similar phrases are there. In my case the yarn came with symbols and these can be looked up online. I’ve included the reference chart below.
- Look at yarns with similar composition. On Ravelry there are wealth of yarns which have this information. If you find one of similar percentages, you came mostly rely on this information.
- The most foolproof way is to swatch (the same one you made for gauge) and do to it anything you might do with the finished item. Wash, it dry it, dye it, bleach it, etc.
Dealing with Multiple Dye Lots or Sun Damage:
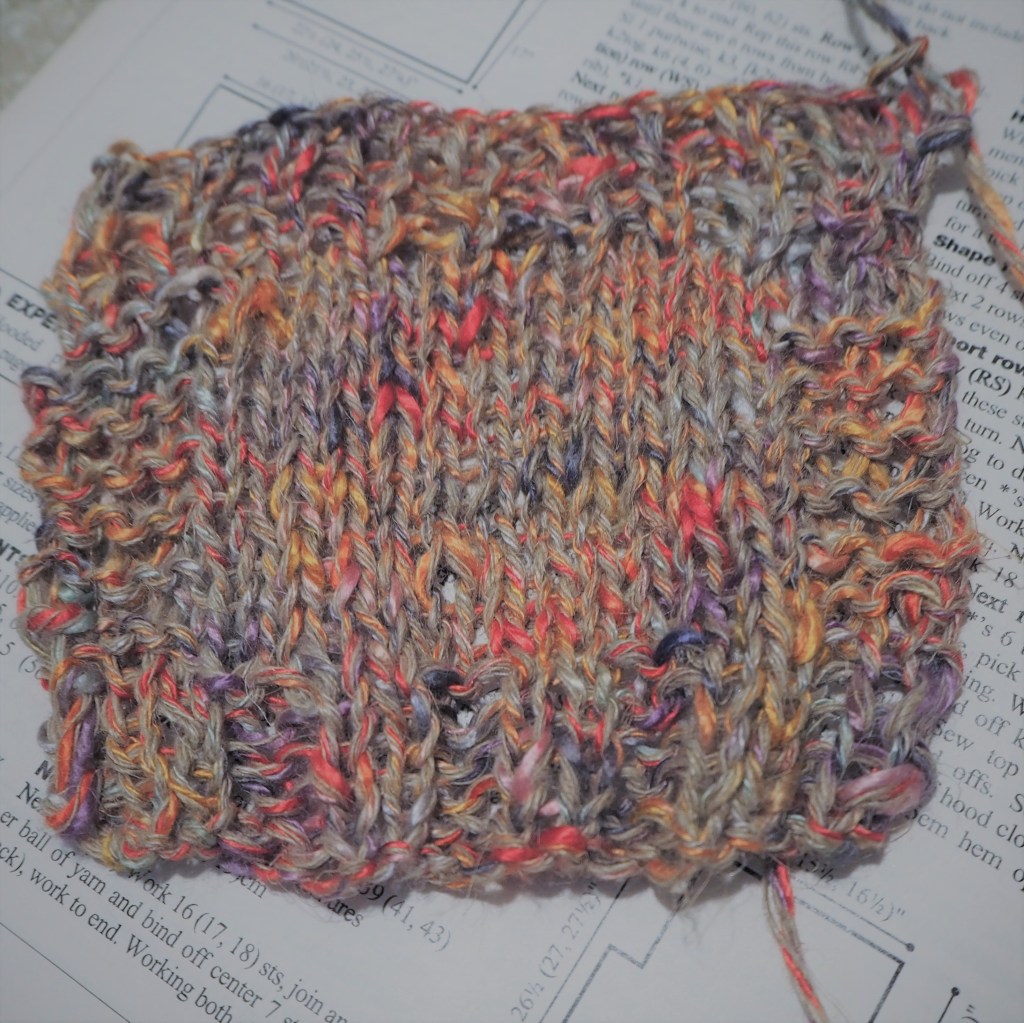
The easiest way to deal with inconsistent dying or sun damage is to group them by color and alternate in your most different skeins, every other row. Another thing that works very well is blending it with another yarn for a marled look. If the color problem is minor, it will be invisible.
Do Try This At Home
It can be hard, these days, to get to your LYS. So, I hope this post helps you use up more of the yarn you already have. I’ll be posting an afghan I’m working where I’m blending vintage yarns in an effort to get something both useful and beautiful by using up my grandmother’s stash.


