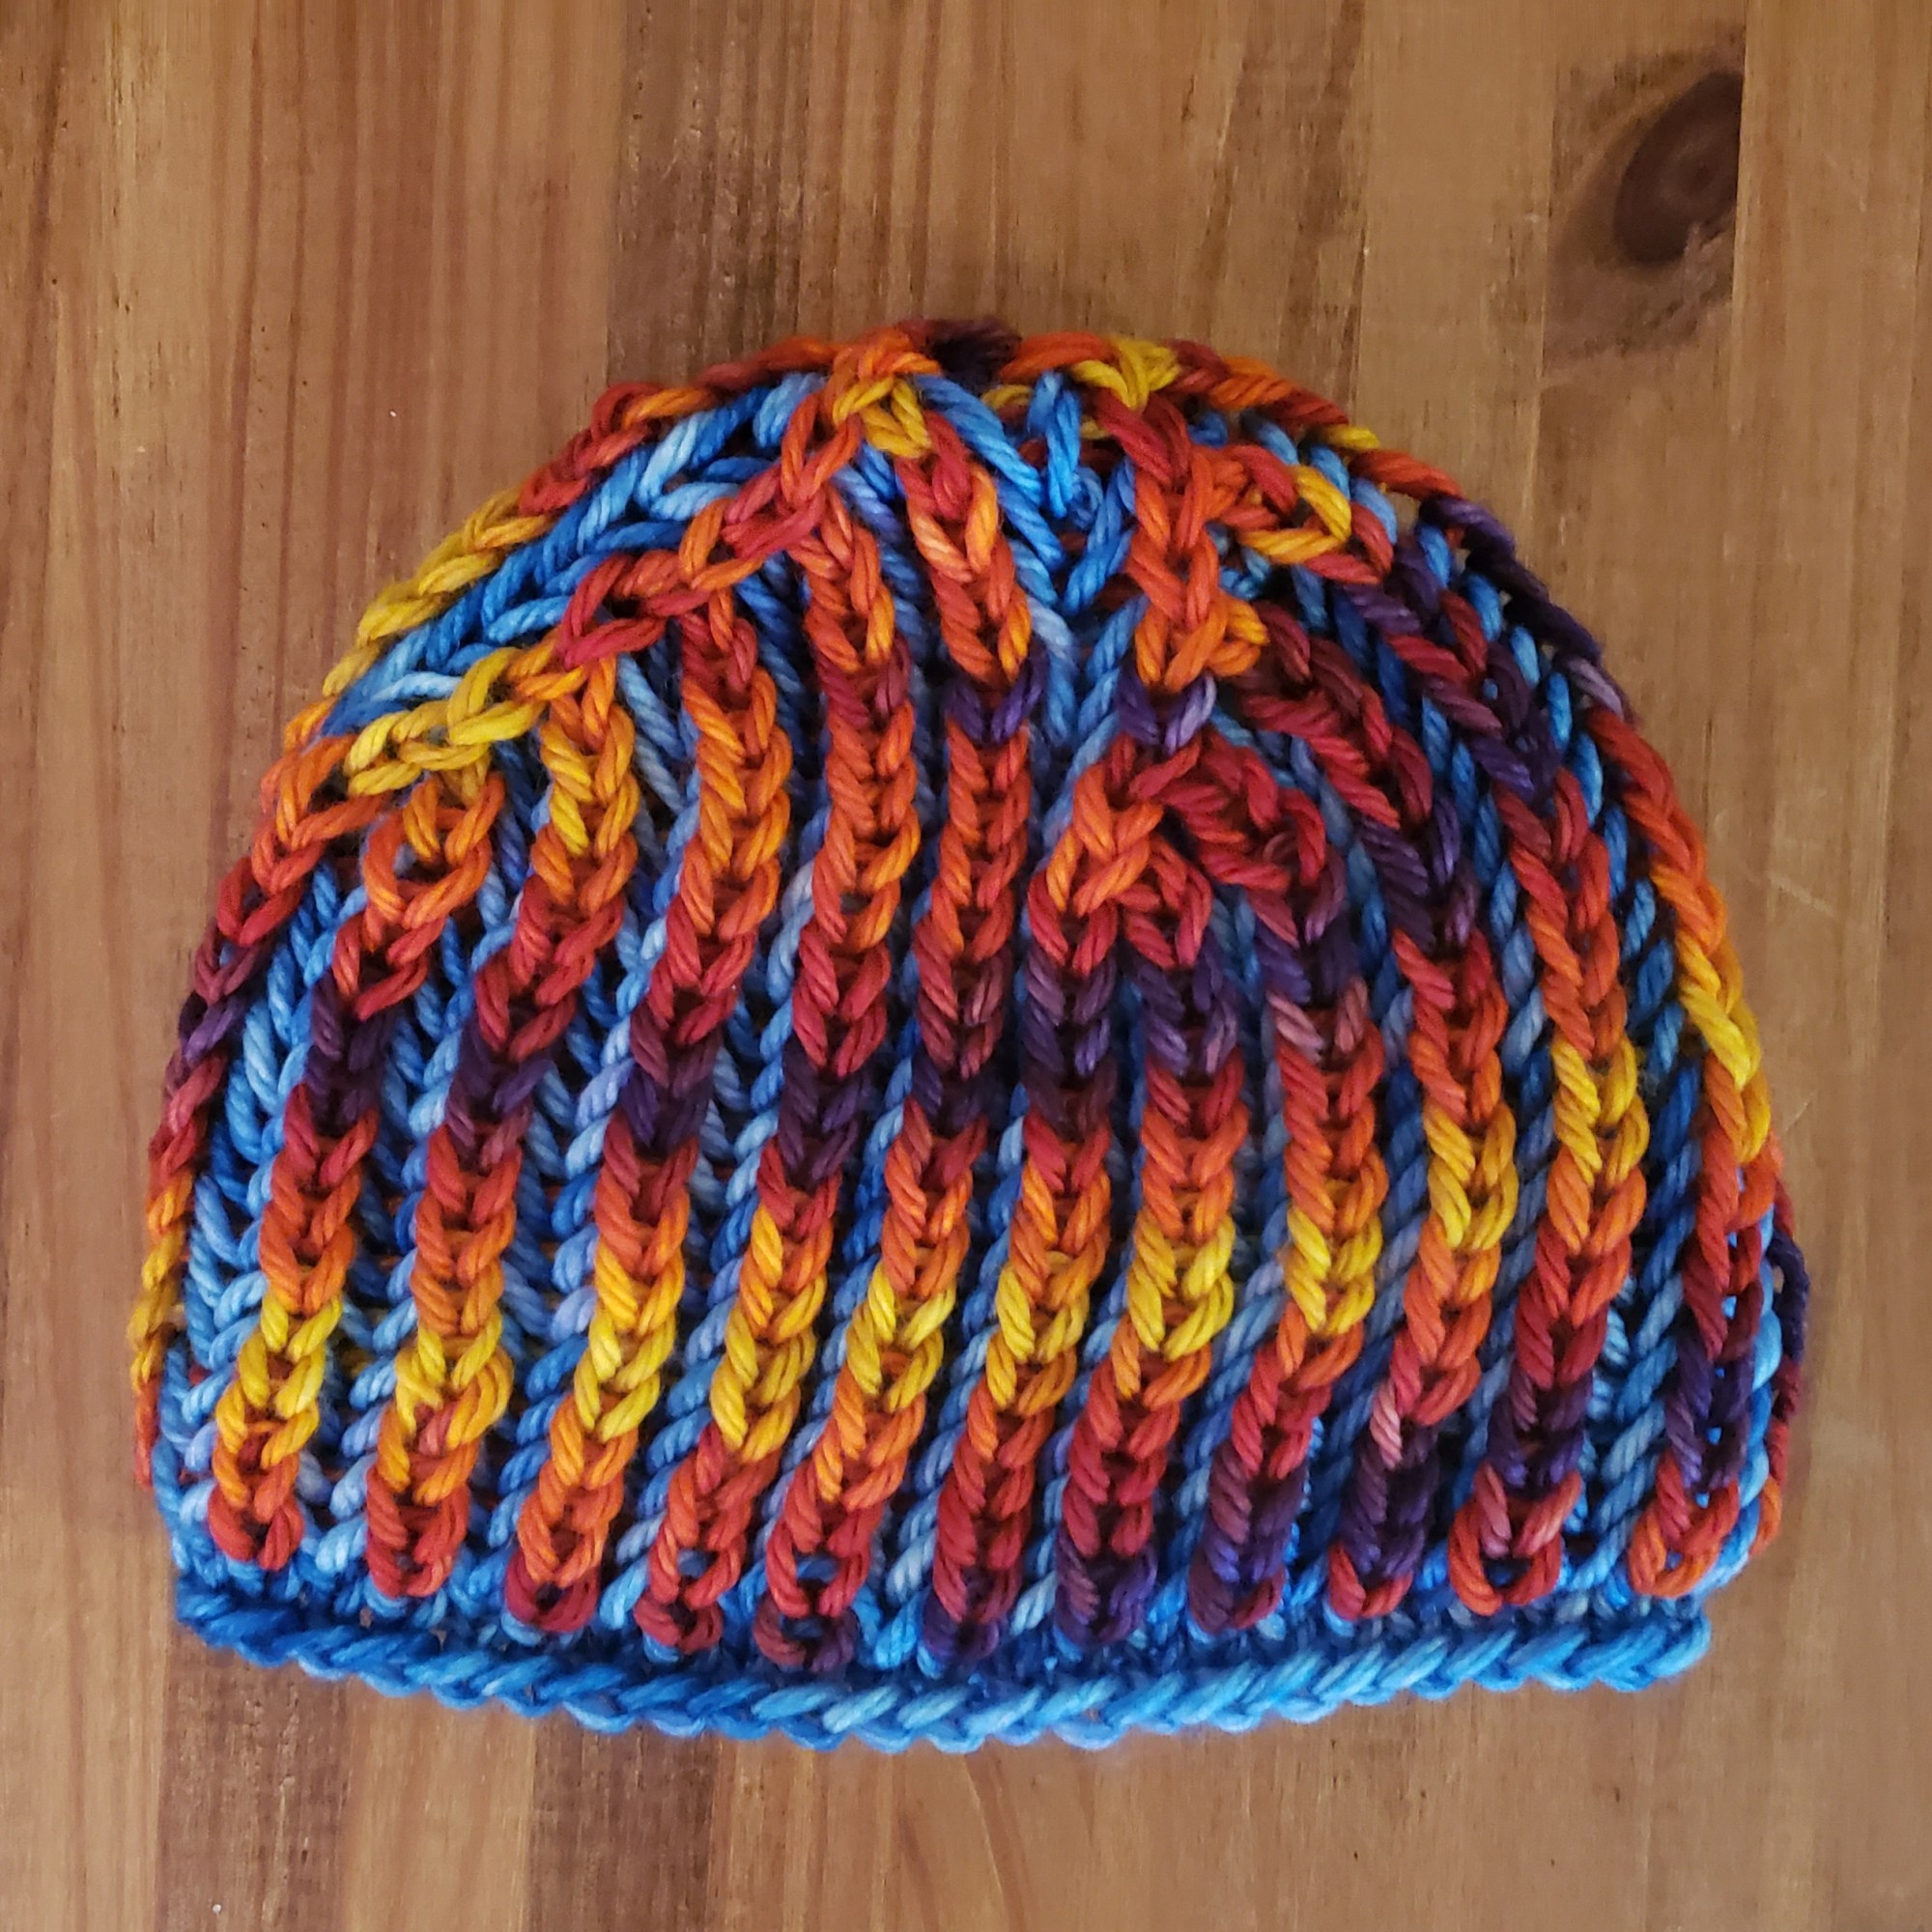
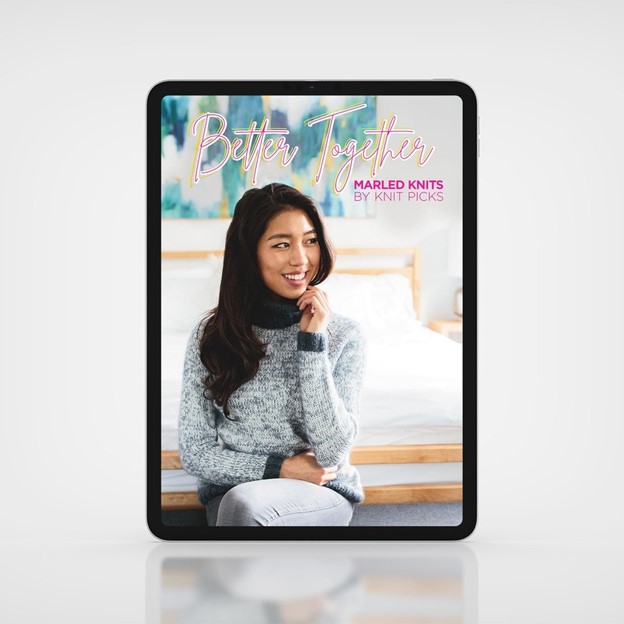
Joyful Patterns – AKA Downsizing Your Library

When my husband and I moved last summer to a place half the size of our previous home, we had a rule, no boxes move unopened. We both had boxes in the garage (mine) and in a storage unit (his), that had not been opened in two or more moves, most from before we moved in together.  

To decide what to keep and what to save, we had to see it all. What followed was a tiring three-month process of narrowing down everything we owned to the things we felt we needed—with a few exceptions. For me the exception was knitting books and supplies.

As I’ve been working on my latest sweater, I’ve been power watching Marie Kondo’s show on Netflix, Tidying Up. In her show, she helps organize everything: clothes, dishes, office supplies, crafts, etc. Regardless of the item, you must touch it and ask, “Does this bring me joy?”

I walked over to my overburdened bookshelves and felt a sense of sadness. Several of my books had never been opened. Most had never been used.

When I looked through them I realized that there was a lot of duplication and some ego involved. Letting them go was a relief. And there was another burst of joy when I removed them from my Ravelry library. I felt like a weight had been lifted!

Marie suggests you thank the items before discarding them and I am truly thankful for the inspiration these books provided–including the knowledge of what books not to buy! I’m also happy to have a foot of space to place pending projects—where the pattern, yarn and needles are ready to go. No more digging them out of storage!

My plan is to take my extra books to my local library or yarn shop. Since Salish Sea Yarn Co opened on the island, there are loads of new knitters on island. So, having some sharable resources can only make that easier for them to pick up their new craft.

Am I brave enough to tackle my stash next? Maybe.

Charity Knitting With the Capitol Hill Knitters of Doom

I meant to talk about it last month, but since a friend of mine already blogged about it, I think I felt a bit like it didn’t matter. We ended up getting a lot of local news coverage (CBS, Seattle Spectator, Capitol Hill Seattle Blog, etc.). It was heartwarming (and body warming) fun!  

In retrospect, I think there are thoughts I can share. For example, beyond charity, reasons why you may wish to consider it.

Fellowship: I loved participating with others in my group. We are not a guild, just a bunch of gals that meet up at a brewery. A common cause to be a force for good made us even more cohesive.

Stashbusting: As I’ve said elsewhere in this blog, I have so. much. yarn. Why not use it for a good cause?

Swatching: You have to be careful here since a hat in the round may not match a flat swatch (the curse of purling). But if you are planning an in-the-round project, as I was, it’s a great test. Or knit a scarf in the new pattern/technique you are trying to perfect.

Joy: It made me happy to think someone in need would be wearing items I made. I love the notion that I may have made a difference. It’s true that woolen socks, hats and scarves only addresses a tiny piece of the challenges facing the unhoused. But there is joy in making whatever contribution you can to those in need.

Important things to consider:

If you do do this, it is important that the items be good quality. Before this opportunity came up, I’d been stockpiling hats to sell at my LYS. And eventually, I’ll do that. The upshot is they were “sellable” quality items. This means that donating them, alongside the men and women in my knitting group, is a meaningful gesture.

It’s also important that the items be washable. For this reason, I used superwash wool or acrylic for all of the donated items.

How to get started:

Our donation was organized by a member in order to keep it local, but I’ve also found great joy in knitting and mailing off red premie hats. And after we got coverage, other groups reached out to us to make suggestions and recommendations. Good acts beget more good acts—a virtuous circle.

Ravelry also has several charity knitting groups. Unfortunately, many of these have gone a bit fallow. So, start a new one and let me know, so I can join!

My knitting group (Yes, we really are called Capitol Hill Knitters of Doom) is always looking for more ideas, so if you have any, please share them in the responses and I’ll pass them along.

Longing for Something Simple

I’ve been on a brioche kick. Thanks to PDXknitterati, I have mastered much of the new nomenclature of brioche, I’ve been on a kick to do a lot of it to cement it into my brain. Keep in mind, I’ve been knitting brioche since I discovered the “Built for Comfort Hoodie” it in Vogue Knitting’s Winter ‘98/‘99 issue (Vol. 16, No. 3).

I’m currently knitting another sweater from the same Vogue Magazine issue: an Adrienne Vittidini Turtleneck Pullover. I’ve knit it once before (my sweater is the example in Ravelry). This time I’m dressing it up a bit with some furry yarn: Bernat Marmot and some vintage Brunswick Germantown Worsted.

What I think I’m trying to do is make my items seem simple to do by repetition. But it’s not working, because right now all I can think about is doing a *really* simple project. Something to cleanse my knitting palette.

Do you ever feel like this? And if so, what do you do to get your maker mojo back?

I-Cord Fix Works for Old Sweaters Too

Have you noticed that you’ve stopped wearing an older sweater?

Maybe you feel like you should wear newer ones you’ve knit. Or maybe there’s something, and I know I hate to admit this, that hasn’t held up as well as you’d like.

Many years ago I knit an Einstein Coat. I loved it when I saw it on the pattern designer at a Stitches event and it was very simple to make. The only thing I didn’t like about it was that it was very boxy. So, I made a fitted version. When you alter a sweater pattern, other things can happen. If you are interested, you can read about those foibles in this blog.

Over the years I’ve noticed that more and more, the coat gaps at the button band. Had I knit the sweater as written, this would be less noticeable. But in reviewing others’ results (there’s almost 1500 examples), I’m not alone. A coat knitted with chunky weight yarn is heavy and, as a result, stretches. Over time stretching is more pronounced around the buttons.

I tried just tightening up the buttons, which helped (and I recommend). But it didn’t fix it completely. Others added a button band and/or moved the buttons further in. This can help, but what if you no longer have the same yarn? What if it’s discontinued?

Not wanting to only wear it open, I contemplated frogging it. But then I remembered how much time it took to make it. Hands down, it’s the biggest garment I’ve ever knit. It’s so big, I often I use it for a lap blanket.

I recently fixed shaping issues with a new sweater by using I-cord, so I thought it might be worth trying it on an old one. When I fixed the new sweater I’d also run out of yarn, so I chose a contracting color. Since i-cord is a finished edge, it looks like an intended design feature. You can read more about that in this blog post.

I started with 3 stitches, but that didn’t wrap around the edge well enough for such a thick fabric. I then tried and stuck with 4, but if I were to do it again, I might use 5. The video I used to get started was this one from Purl Avenue. I watched several, but many were for i-cord bind offs or doing it as you go, not adding it to a finished edge.

Not only did it give me another inch between the buttons and of button band, it shored up the edge and held is straight even when fully buttoned. That made the stretch come from the sweater, not the edge. I also chose a less stretchy yarn (bamboo viscose), rather than wool, to make sure that it wouldn’t become lax over time.

I can’t wait to try this on something else!

And speaking of fixing old sweaters, I’m looking for a way to “loosen” a button band that’s too tight. If you have any ideas for that, I’m all ears. I didn’t knit the sweater (it was a gift), so I don’t the yarn and I’m a bit nervous about unpicking someone else’s work.

To Tear Out or Fix; That Is the Question

Are you a ripper or a fixer? I’m a bit of both.

One of the teachers at the Red Alder Fiber 2022 Festival said that i-cord is the duct tape of knitting. And while I’m sure that there are cases where this is true—it doesn’t fix all problems. For example, if you knit the armholes much, much, much too large–i-cord is not a solution.

Sweater patterns do not typically fit me. I have several things against me.

  1. I’m curvy, particularly in the hip area.
  2. I’m broad shouldered (wide across the back) and small breasted.
  3. My rise from my breasts to my shoulder is long.
  4. I’m almost 6 feet tall

The pattern I used is Audrey, by Melissa Leapman—a beautiful, easy-to-read, quick knit. To make it fit me better, I made adjustments to fit my unusual body. The design is for someone less curvy than me—it has no fitting but gave the impression of hourglass figure—no matter what your shape.

To deal with my longer body, I knit a few more “straight” rows at the bottom. To deal with my long measurement from top of the shoulder to nipple, I did this same at the top of the body too. Unfortunately, while this worked well at the bottom, it didn’t at the top. I ended up with a huge armhole–about 4″ to large for my twiggy little arms.

Audrey – body pieces blocked

I really, really should have cut my losses early and tore it out. Instead I blocked the pieces, sewed them together and knit the button band. The latter took two tries to sort out with my adjustments.

After three tries at the sleeves, Bottom up, then top down, followed by a hybrid (armpit short rows), I realized that no amount of fiddling would fix it. But given I tend towards the fixer end of the spectrum, I sallied forth.

And now?

I’m ripping. But that’s okay, I have all kinds of ideas on what do to (and not to do) to make it fix me in the best way possible.

Wish me luck!  

When Knitting Isn’t a Labor of Love

I have cast-on-itis. I want so badly to cast on another sweater project, my teeth ache! This is because, at any given time, I like having a “menu” of projects on the needles. This generally consists of:

  • A pair of socks
  • A hat or scarf (or both)
  • A sweater
  • A throw or blanket; and (maybe)
  • Minor household items (rug, dishcloths, etc.)

There was a time when I had one (and only one) project going at a time, with other projects queued behind. The monogamy ended when I started knitting blankets because they are harder to do “in transit”. This led me to realize, I really enjoy having a selection of projects to choose from depending on my mood, where I am, and what I’m doing.

At present, I do not have a sweater, hat, or household item on the needles. And my closet is full of project bags filled with all the necessaries to get started. This is to keep me focused on completing at least one of my two WIP blankets. If I had my way, one of these I’d toss out—yarn and all.

It’s been years since I started the throw, which only gets worked on as a chore. I want to finish it and send it on, but it keeps getting stalled.

How I ended up here was I wanted to prevent my mother buying a pretty throw made of cheap, plastic yarn she saw in an art shop. It was obvious to me it was for looking at, not using. So, I asked her if she planned to use or display it. “Use it, of course!” *sigh*

I regrettedly I told her I’d make her something she could actually use. Unfortunately, mom went out and bought the same velour yarn and picked out a close pattern. And here we are, years later, her without a throw for her couch and me with a project I pick up rarely and reluctantly. Deep in my heart, I’m cetain it will have the same problems as the art shop blanket.

Velour WIP Blanket

Knitting for family and friends should be a labor of love. “Knit to order” is for people that do it for a living. In short, if the urge hits you to stop a person from making a bad knitted item purchasing decision you shouldn’t. Firstly, support to support the fiber artist and secondly for your own sanity.

Has this happened to you? Is so, what was the item and what did you do?

Durable Interchangeable Needles: A Buyers Guide

I own and have used almost every type of interchangeable needle set, from square to round, from carbon fiber to wood, from standard length to shorties. And many of these sets of needles, over my many decades of knitting, have been put to heavy use.

The biggest difference? Durability.

Yes. Knitting needles DO wear out. They break, bend, dent or become unusable in some other way. Some much more often than the should.

Why do a guide?

On a recent post in the All Free Knitting Community group, a new knitter asked which were the best interchangeable circular knitting needles. Because of the expense, she didn’t want to get it wrong. And like most knitters transitioning from new to intermediate, she realized that interchangeable can be a more practical and space saving way to go.

There are lots of reasons to select one or another set, which is why I own so many. But since cost was a factor, my recommendation was for a lower priced, but fairly durable set–not the most expensive, such as KnitPicks’s Short Radiant. Then when they wear out, she could upgrade.

Lots of thoughts went into this recommendation—from practical to psychological.

  • Why wood? Wood has more “grab”. The yarn stays on the needle better than other materials making it easier for newer knitters to avoid dropping stitches. And they are warm to the touch.
  • Why shorts rather than mid or full-size needles? Shorts, usually around 3” or less, provide versatility at the expense of speed. Longer needle shafts make it harder to do smaller work (socks, collars, etc.). And shorter is more durable (less chance of bending or breaking).
  • Why Knit Picks? Price and a handy, see-through carry case.

Buyer’s Guide

This guide will only be covering standard needle types. Most of these manufacturers offer lace and various length options, so those factors are preferential rather than about durability and price. The prices are as of May 22st, 2020 and they are based on the number of needle pairs in the set—not whether they come with notions, have a nice case, etc. Value should be placed on the needles, rather than the extras.

Knitting needles are a bit like wine. The price does not necessarily match quality and what matters most is whether you like it rather than what comes with it (it is what’s in the bottle, not on the label).

Here’s a chart of how the major needles (I have used) stack up based on my research:

BrandShaftCableGrabFeelPrice*DurabilityComments
Knitter’s Pride KarbonzCarbon FiberStandardStrongWarm$ 15.57Very HighVery grippy on yarn, lightweight
ChiaoGooMetalProprietarySlickCool $ 11.36HighProprietary cord system                            
Hiya HiyaMetalStandardSlickCool $ 10.43ModerateSwivel cable can catch
Knitter’s Pride DreamzWoodStandardModerateWarm $   6.67ModerateBreak mid shaft. Loosen periodically
Knit Picks AluminumMetalStandardSlickCold $   5.55ModerateJoins less smooth, Loosen periodically
Knit Picks WoodWoodStandardModerateWarm $   6.62ModerateLoosen periodically
KnitPro CubicWoodStandardModerateWarm $ 16.19PoorBreak at metal. Loosen often.
addi turboMetalStandardSlickCool $ 9.37Very PoorCoating peels off under heavy use
Clover TakumiBambooStandardStrongWarm $ 15.45Very poorTend to dent and fray under heavy use

* Price is gotten by dividing the total cost by the number of needles in the set

My Metal Preference: Hiya Hiya or ChiaoGoo

If you like metal needles, I recommend HiyaHiya’s—even though they seem fairly high-priced “per tip”. What makes the cost effective is they work with standard cables. If money were no object, I would choose ChiaoGoo. They have raised the bar with knitting needle technology by changing the material in the cables. And those cables are amazingly great! The problem is that they don’t work interchangeable with other sets—not even other ChiaoGoo sets—meaning you have to buy a full set of cables with each set you buy. I guess that’s why they are called “Premium”.

I do not recommend addi’s given they are most expensive AND of the high-end needles, least durable. I find the “turbo coating” peels or flakes off under heavy use. And while I carry Knit Picks with me almost everywhere, it because I use them as a “notion” rather than for projects because I find the cables loosen during knitting (both wood and aluminum).

Natural Materials Preference: Knitter’s Pride Dreamz or KnitPicks

For the price and utility I prefer Knitter’s Pride. They are really my “go-to” needle, mainly because they stay screwed together when I knit. Knit Picks seem to come loose while I knit, but not as often as KnitPro’s Cubics. I love a square needle for stitch consistency, but it has to stay screwed together!

I did not test HiyaHiya’s bamboo needles, only Clover’s Takumi. And from using them, my feeling is that bamboo should not be used as a knitting needle material—ever. Bending instead of breaking is not beneficial when the ends fray and snag yarn under heavy use.

Best of Both Worlds: Knitter’s Pride Karbonz

If I have to select one and only one set, it would be Knitter’s Pride Karbonz. Unlike metal, carbon fiber is cool, but not cold to the touch. And after snapping my wood needles and bending several metal ones, I enjoy that they take a licking and keep on knitting. Hands down–they are the most durable needles I own. And though the cables aren’t even remotely as nice as ChiaoGoo’s at least I can reuse those from other sets. My ideal set would be if Karbonz would work with a ChiaoGoo cable.

Karbonz do have one downside (besides being expensive)–they feel slower than my woods or aluminums. Though I admit I also seem to be more prone to errors because of mindlessly zooming along. So in the end, giving all the tearing out, they might just help me finish sooner.

Using ChiaoGoo needles in tandem with Karbonz. I prefer the stronger, slower Karbonz to turn the heel.

Final Thoughts

I hope you will find this useful. It was helpful to me to (re)test my sets for this blog. Doing a side-by-side comparison really helped me figure out which needles were best for different types of projects.

And that really is the crux. No one interchangeable needle set can do it all. But are best suited for some than others.

If I l’ve missed a set you’d recommend, I’d love to hear from you.

Substitution with Vintage or Handcrafted Yarns: How to get care, gauge, yardage and more

Many patterns specify a yarn and number of skeins, rather than yardage making substitution difficult. This post is designed to help you use vintage or any yarn on which you have little information.

I’ll be outlining ways to get yarn weight, yardage and care in order to make informed substitutions. This is especially relevant to me, since I inherited a huge stash of wool from my grandmother when she forgot how to knit when she developed Alzheimer’s.

For this blog I used a vintage yarn Zegna Barrufa Lane Borgosesia dal 1850 Peacock. This yarn is not in the Ravelry database or any other online source.

It seemed like I had a lot of this yarn. My grandmother had 17 skeins (!) in her stash. But that turned out not to be the case. They are on cardboard spools–so there is more air than yarn. I’m also dealing with three different dye lots and minor sun damage. Grandma was a penny-pincher and often bought remainders, smoke/fire damaged and sun damaged, and unlabeled yarns at bargain prices. This is only one example of many “problem children” from her stash.

Getting the Weight:

What you will need:

  • Yarns of several weights that follows the standard yarn weighting accepted today. I generally rely on Cascade Yarn for this, but any major yarn manufacturer will do.
  • Appropriately sized needles for the weights.

Methods:

Twist method: I learned this several decades ago in a class, I believe, Lily Chin taught at one of the early Stitches West. This is where you take a yarn that is a good standard for different weights of yarn.

The trick here is to have lots of “known good” weights of yarn. I have loads of leftovers that work perfect for this.

You hook the yarns around one another and then twist in opposite directions. If there is a “smooth” transition when you run your fingers across the join, you have likely found your closest yarn weight.

For the Peacock, I started with a DK, then tried a worsted, aran and bulky. What I learned was that because of the variance in the yarn, it ranges from worsted to aran and it is too big for DK and too small for bulky.

Gauge swatch: Now that we have an approximate weight. I recommend knitting a gauge swatch of the matching weight yarn and your “unknown” using the same needles. Measure and compare the swatches.

If they have the same stitches to the inch, you are done. If not, knit a swatch with the yarn that is one size up if your mystery swatch has fewer stitches or one size down if your mystery swatch had more stitches to the inch.

And keep your swatch of the unknown yarn. It will come in handy for determining the care.

Getting the Yardage:

What you will need:

  • A yarn swift (I’ve also used chair backs–anything you can measure around)
  • Flexible measuring tape
  • If the yarn is in a skein, a yarn bowl or way to hold it steady while you wind it onto a swift

Method:

  • If yarn is in a hank, place it on the swift and extend the swift to the maximum size; If yarn is a skein, wind yarn onto the swift (Steps 1 and 3 in image below)
  • Measure around the swift (Steps 2 and 4 in image below)
  • Count the number of strands (step 5)
  • Multiply the number of strands by the number of inches (e.g., 50 strands time 60 inches) and divide by 36 (inches in a yard) (not shown)

In my case, I got 50 strands at 60 inches, so that’s 3,000 inches of yarn. I divided this by 36, to get ~83.33 yards. Keep in mind, yarn is sold by weight not length, so you shouldn’t expect to get a round number. After getting the yardage, I wound it back into a skein (Step 6).

With 17 skeins I actually only have about 1400 yards total and only 833 yards of a single dye lot.

Getting the Care:

As you can see from the yarn label, it says to wash in temperature 30 (F or C?), it is possible to use an iron and it is possible to wash with most detergents, but not bleach. This still leaves a lot of missing information.

There are three (maybe more) ways to determine how to launder the fabric you create with this yarn. They are as follows:

  • Look on the label. Sometimes “superwash” or similar phrases are there. In my case the yarn came with symbols and these can be looked up online. I’ve included the reference chart below.
  • Look at yarns with similar composition. On Ravelry there are wealth of yarns which have this information. If you find one of similar percentages, you came mostly rely on this information.
  • The most foolproof way is to swatch (the same one you made for gauge) and do to it anything you might do with the finished item. Wash, it dry it, dye it, bleach it, etc.

Dealing with Multiple Dye Lots or Sun Damage:

The easiest way to deal with inconsistent dying or sun damage is to group them by color and alternate in your most different skeins, every other row. Another thing that works very well is blending it with another yarn for a marled look. If the color problem is minor, it will be invisible.

Do Try This At Home

It can be hard, these days, to get to your LYS. So, I hope this post helps you use up more of the yarn you already have. I’ll be posting an afghan I’m working where I’m blending vintage yarns in an effort to get something both useful and beautiful by using up my grandmother’s stash.

Brioche Made Simple Reprise

I LOVE brioche—both the stitch and the bread. I fell in love with fabric the moment I found it in a Vogue Knitting pattern from the Winter 1998/1999 edition. It was pattern #10 which sadly is not online, so I’m happy to have the printed magazine.

Brioche was not new 20+ years ago when I discovered it. It’s been around for centuries and is believed to have originated in the Netherlands for fisherman sweaters. Think Aran Isle only Dutch.

In the hunt to find projects to use up odds and ends of my stash, I looked back at a previous post I made on simplified brioche knitting, but many of the links no longer worked, so this is an update to that post as well as a free scarf pattern in case you want to try it for creating stretchy, beautiful knitwear.

Brioche is almost as simple as garter because it is  the same and knitted both directions. And brioche is far stretchier than a standard rib. This means that it will stretch farther sideways than rib patterns. Which makes it great for a horizontal piece, but not good for a vertical one. I learned this the hard way.

As you know, there are loads of Brioche patterns, but few stand out as good references. The good ones use standard knitting terminology instead of BRKs, BRPs, etc. I call these the “brioche without tears” patterns.

Simple Brioche Instructions

In single color, flat brioche, all rows are the same—no matter which way the work is facing. Only the setup and bind off rows are different.

Across any even number of stitches:

  • Setup Row: (prep for pattern rows) *K1, yarnover (yo), slip 1 purlwise; repeat from * to end of row
  • Pattern Rows: (repeated row) *K2tog (the slip 1 and yo of the previous row), yo, sl1; repeat from * to end of row
  • Final Row: (prep for bind off) *K2tog P1* repeat across
  • Cast off: in pattern (K1, P1)

Below is a pattern for a super quick knit scarf that I call 12 Feet of Love. It’s knit in a discontinued yarn called Kitten, by Reynolds, a wool-blend that creates a slightly fuzzy, bumpy fabric that was popular in the 80’s.

12 Feet of Love Scarf

This pattern can be any length, width or use any yarn you desire. This makes it a great stash buster project.

Length: As the title suggests, the project I knit was 12 feet including fringe. You can stop at your desired length.

Width: I you want a wider scarf; you can make it wider simply add pairs of (2) stitches until it is the desired width.

Yarn: I used Aran, but this pattern works for any yarn weight. If you use a thinner yarn, add more pairs of stitches, a thicker yarn will require a pair or two less. The best thing is to knit a gauge swatch with the whatever yarn you plan to use.

Supplies:

  • Needles: Size 9 or whatever gives you the appropriate or preferred gauge.
  • Yarn: I used 600-700 yards of Aran weight
  • Darning needle to weave in ends.

Directions:

  • Cast on 16 stitches.
  • Start setup row: *K1, yarnover (yo), slip 1 purlwise; repeat from * to end of row
  • Next row and every row after: *K2tog (the slip 1 and yo of the previous row), yo, sl1; repeat from * to end of row
  • When the scarf is the desired length, do bind off prep row: P1, K2tog across
  • Bind off 16 remaining stitches
  • Weave in ends
  • If desired, add fringe and trim to preferred length

What’s Next?

I hope the reference is useful for you. I’ll probably expand it to include more and more “conversions” as more as more simple brioche patterns (once again) are made available.

My next big thing is two-color brioche and it turns out that knitting brioche in the round is even easier than two-color brioche flat. Below are a pattern and a video to help without a BRK or BRP in sight!

Pattern: Joann’s two-color cowl

Two-color brioche cowl video tutorial: Milk Shed: Easy two color cowl video (knits and purls only): https://www.youtube.com/watch?v=LRt0i1dQfJc

I’ll let you know how it turns out!

Call to Action!!!

If you know of other brioche patterns using standard knitting terms, I’m collecting them, so please share!

Chart for the Watson Shrug

I’ve been getting some pings about the Watson Shrug I created because it doesn’t use the chart that was provided in the original pattern from Crystal Palace Yarns (sadly now closed). I believe you can still download the Aran Cabled Shrug as a PDF from Ravelry HERE.

This chart is for the 36-stitch repeating cable pattern I used instead of the one in the original pattern. I changed it because I don’t like looking at, or knitting, bobbles.

The delay in sharing is that the chart, my first ever, was originally done on graph paper with pencil (which I threw out—head shake). To share it I needed to digitally recreate it. Thankfully, in the project photos, I took a partial picture of the graph when I posted it. With that photo and the shrug as a reference, here is the pattern.

This cable pattern is over 36 stitches and repeats every 24 rows. All cabling is on odd numbered (right side) rows and all rows except the first and the middle row, have cables.

Pattern Key:

Watson Cable:

As I mentioned, with color patterns, in an earlier post, charting is hard. My hat goes off to those designers that not only create charts for the rest of us, but no doubt, like me, swatch them too. I have a newfound appreciation for the designers that use color and cables (sometime both) in their published patterns.

And please, your feedback is greatly welcomed should you find errors. This time I created it on my computer, so it won’t be so hard to make changes and upload a corrected PDF. 😊

Happy knitting!