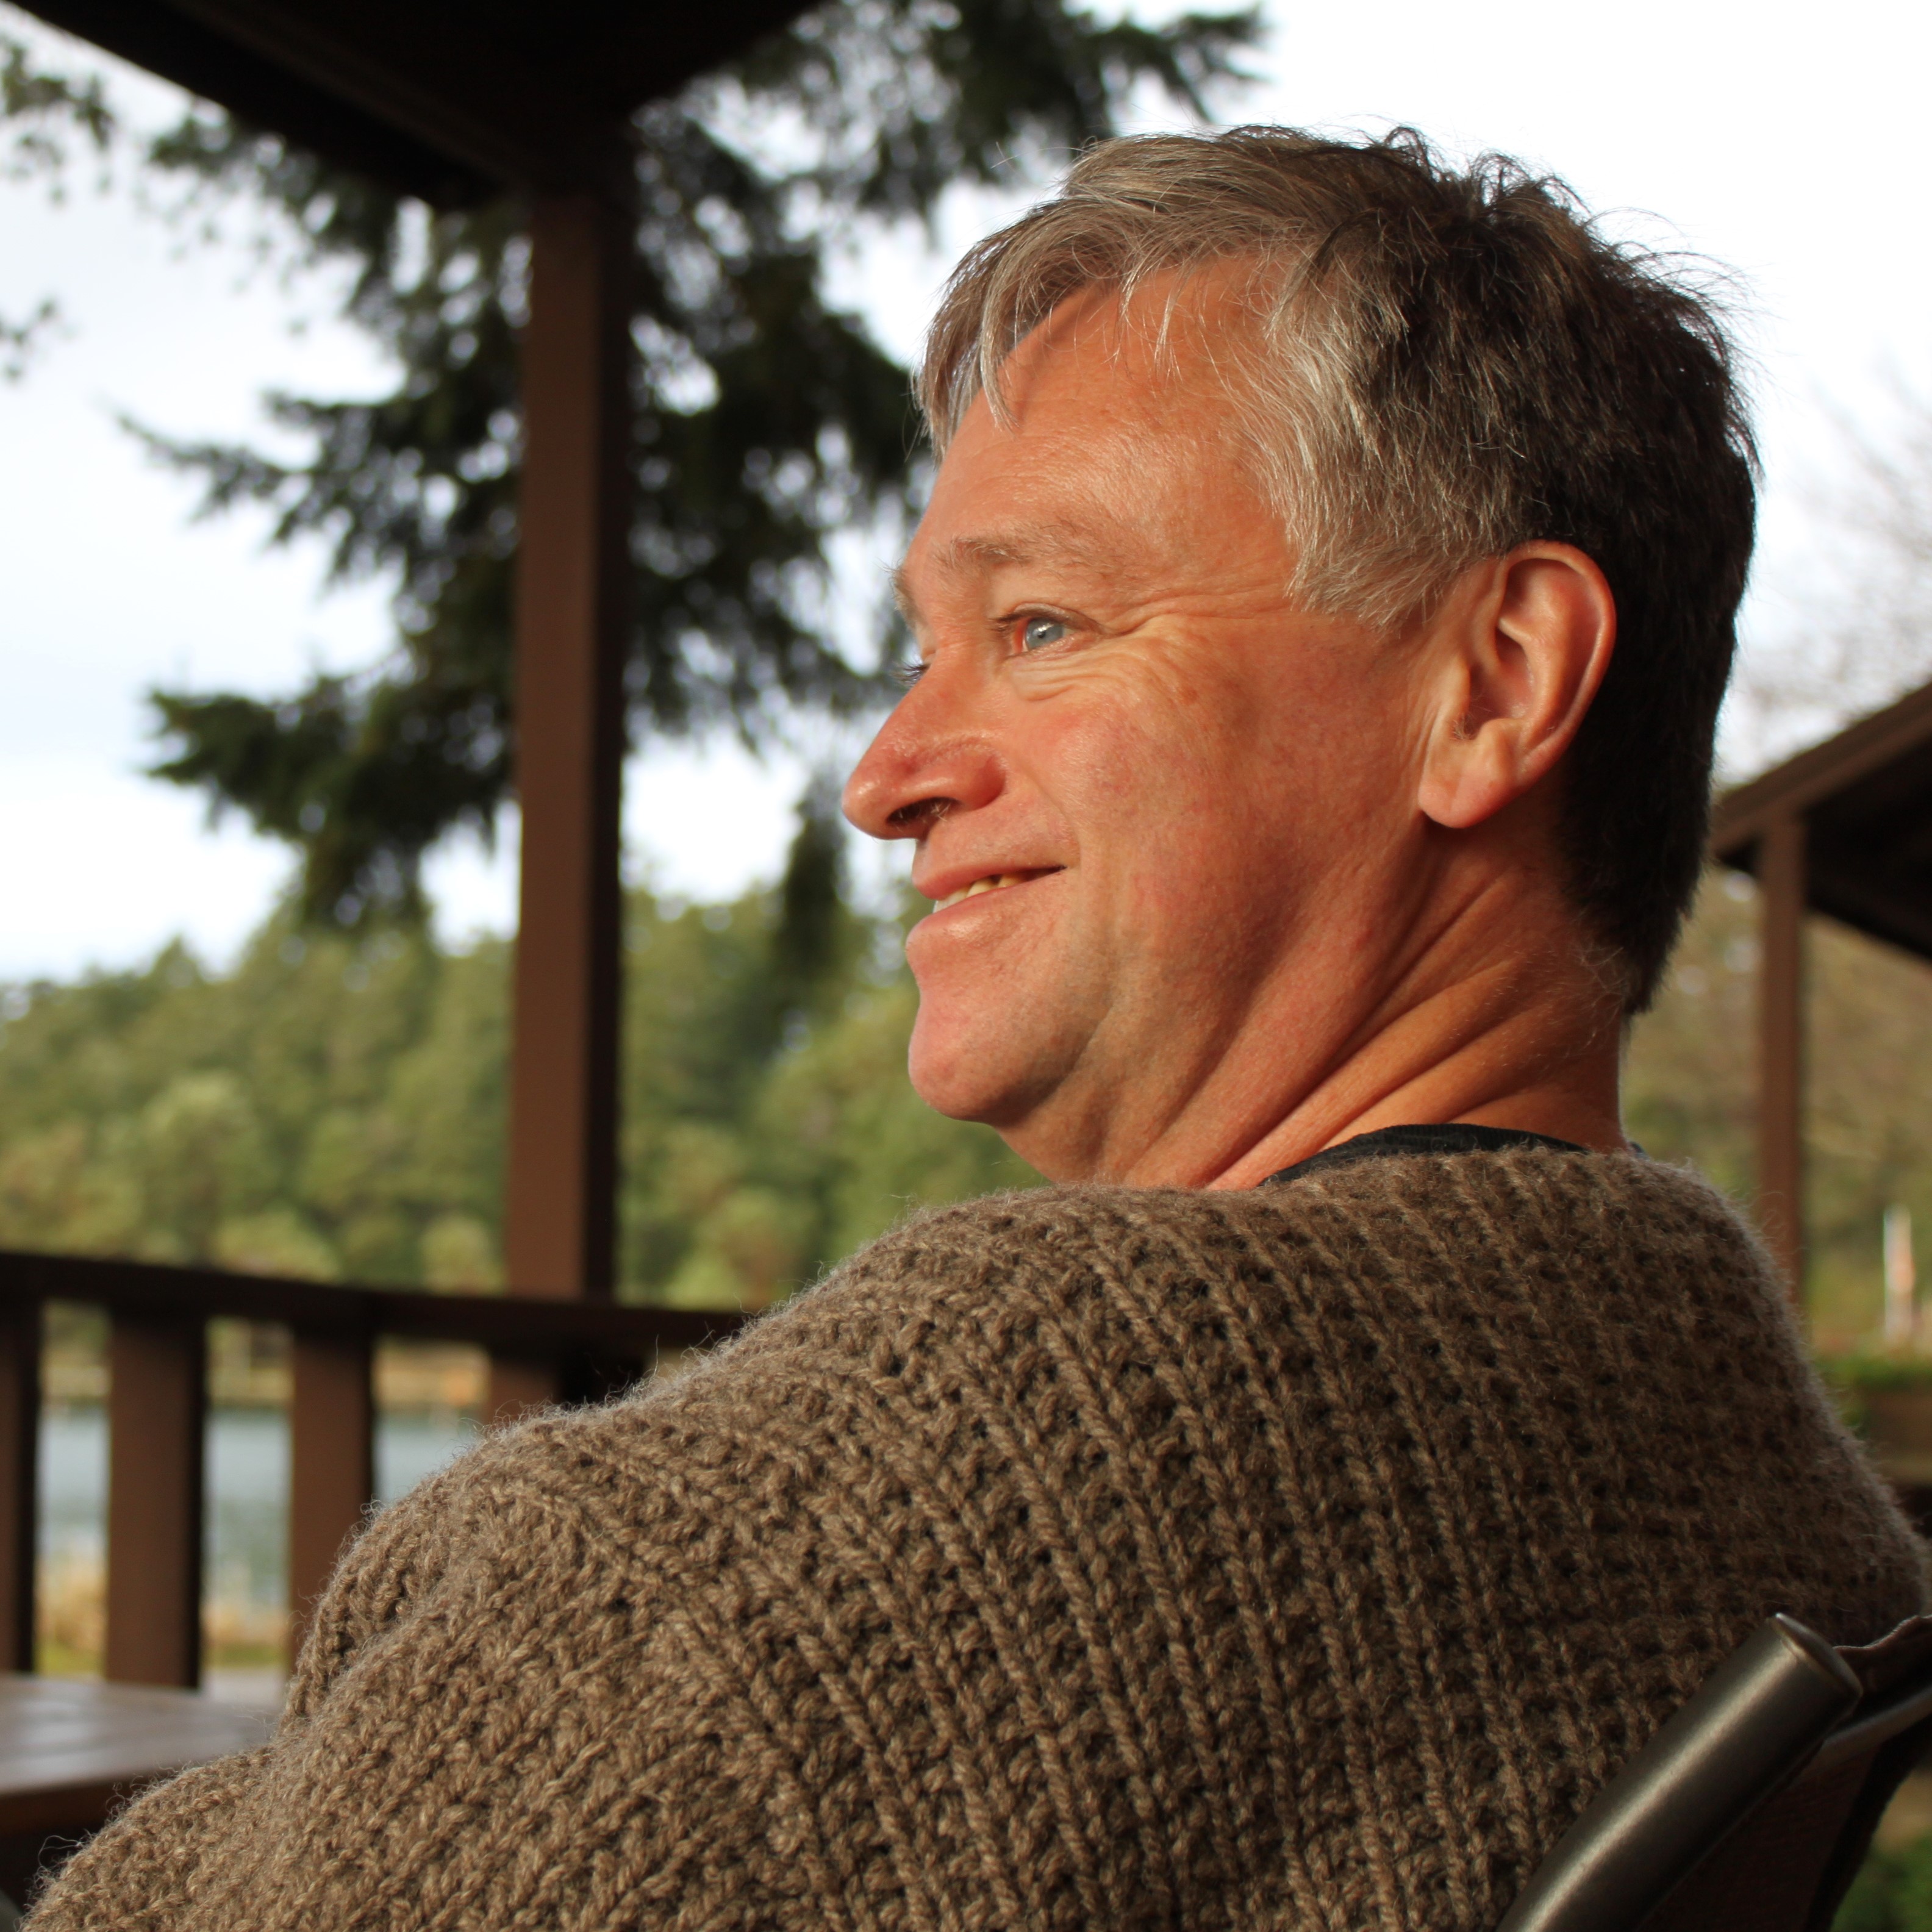
My job is very taxing, so I’ve probably got only one big project in me every year. In 2014 it was my fitted Einstein coat. In 2013 it was this VERY warm sweater. So warm Nick wears only in place of a coat on cold wintry days—something we don’t get a lot of in the Puget Sound.
Nick looking sunny at sunrise in his sweater
The shop where I bought this yarn is Warm Valley Orchard on Orcas Island. We often pass by it on the way to and from the ferry and see the very sheep who grew the wool that was spun into the luscious bulky, undyed yarn that later became this sweater. In order to buy wool, you have to go to the island—they don’t ship (at this writing). What I found most charming was the color of the yarn was the sheep’s name. The yarn has all the natural oils and even had a slightly sheepy odor when knitted.
The owners of Warm Valley Orchard run a sustainable, organic business. Whether you want fruits and nuts, meats and sausage or wool (fiber, yarn or knitted garments), this small, unobtrusive shop carries it all. I’m sure once we move to the island full time, we’ll be regular customers.
Nick taking a last look at West Beach before returning to the mainland
The first thing I had to do was find a stitch pattern that Nick liked. This is much more challenging than you might think. It took weeks of showing him patterns in books and magazines, knitting swatches with the wool with different patterns and sized needles. The guy is particular! He settled on broken rib, which is not only easy, it created a “masculine” looking fabric. I chose the sweater pattern, wanting something not too complex—so the yarn could ‘speak’ for itself. After I got my gauge right where I wanted it, I used Knitting Fools’s Set-in Sleeve Pullover to generate the pattern—just fill in the blanks! If only it were that easy!
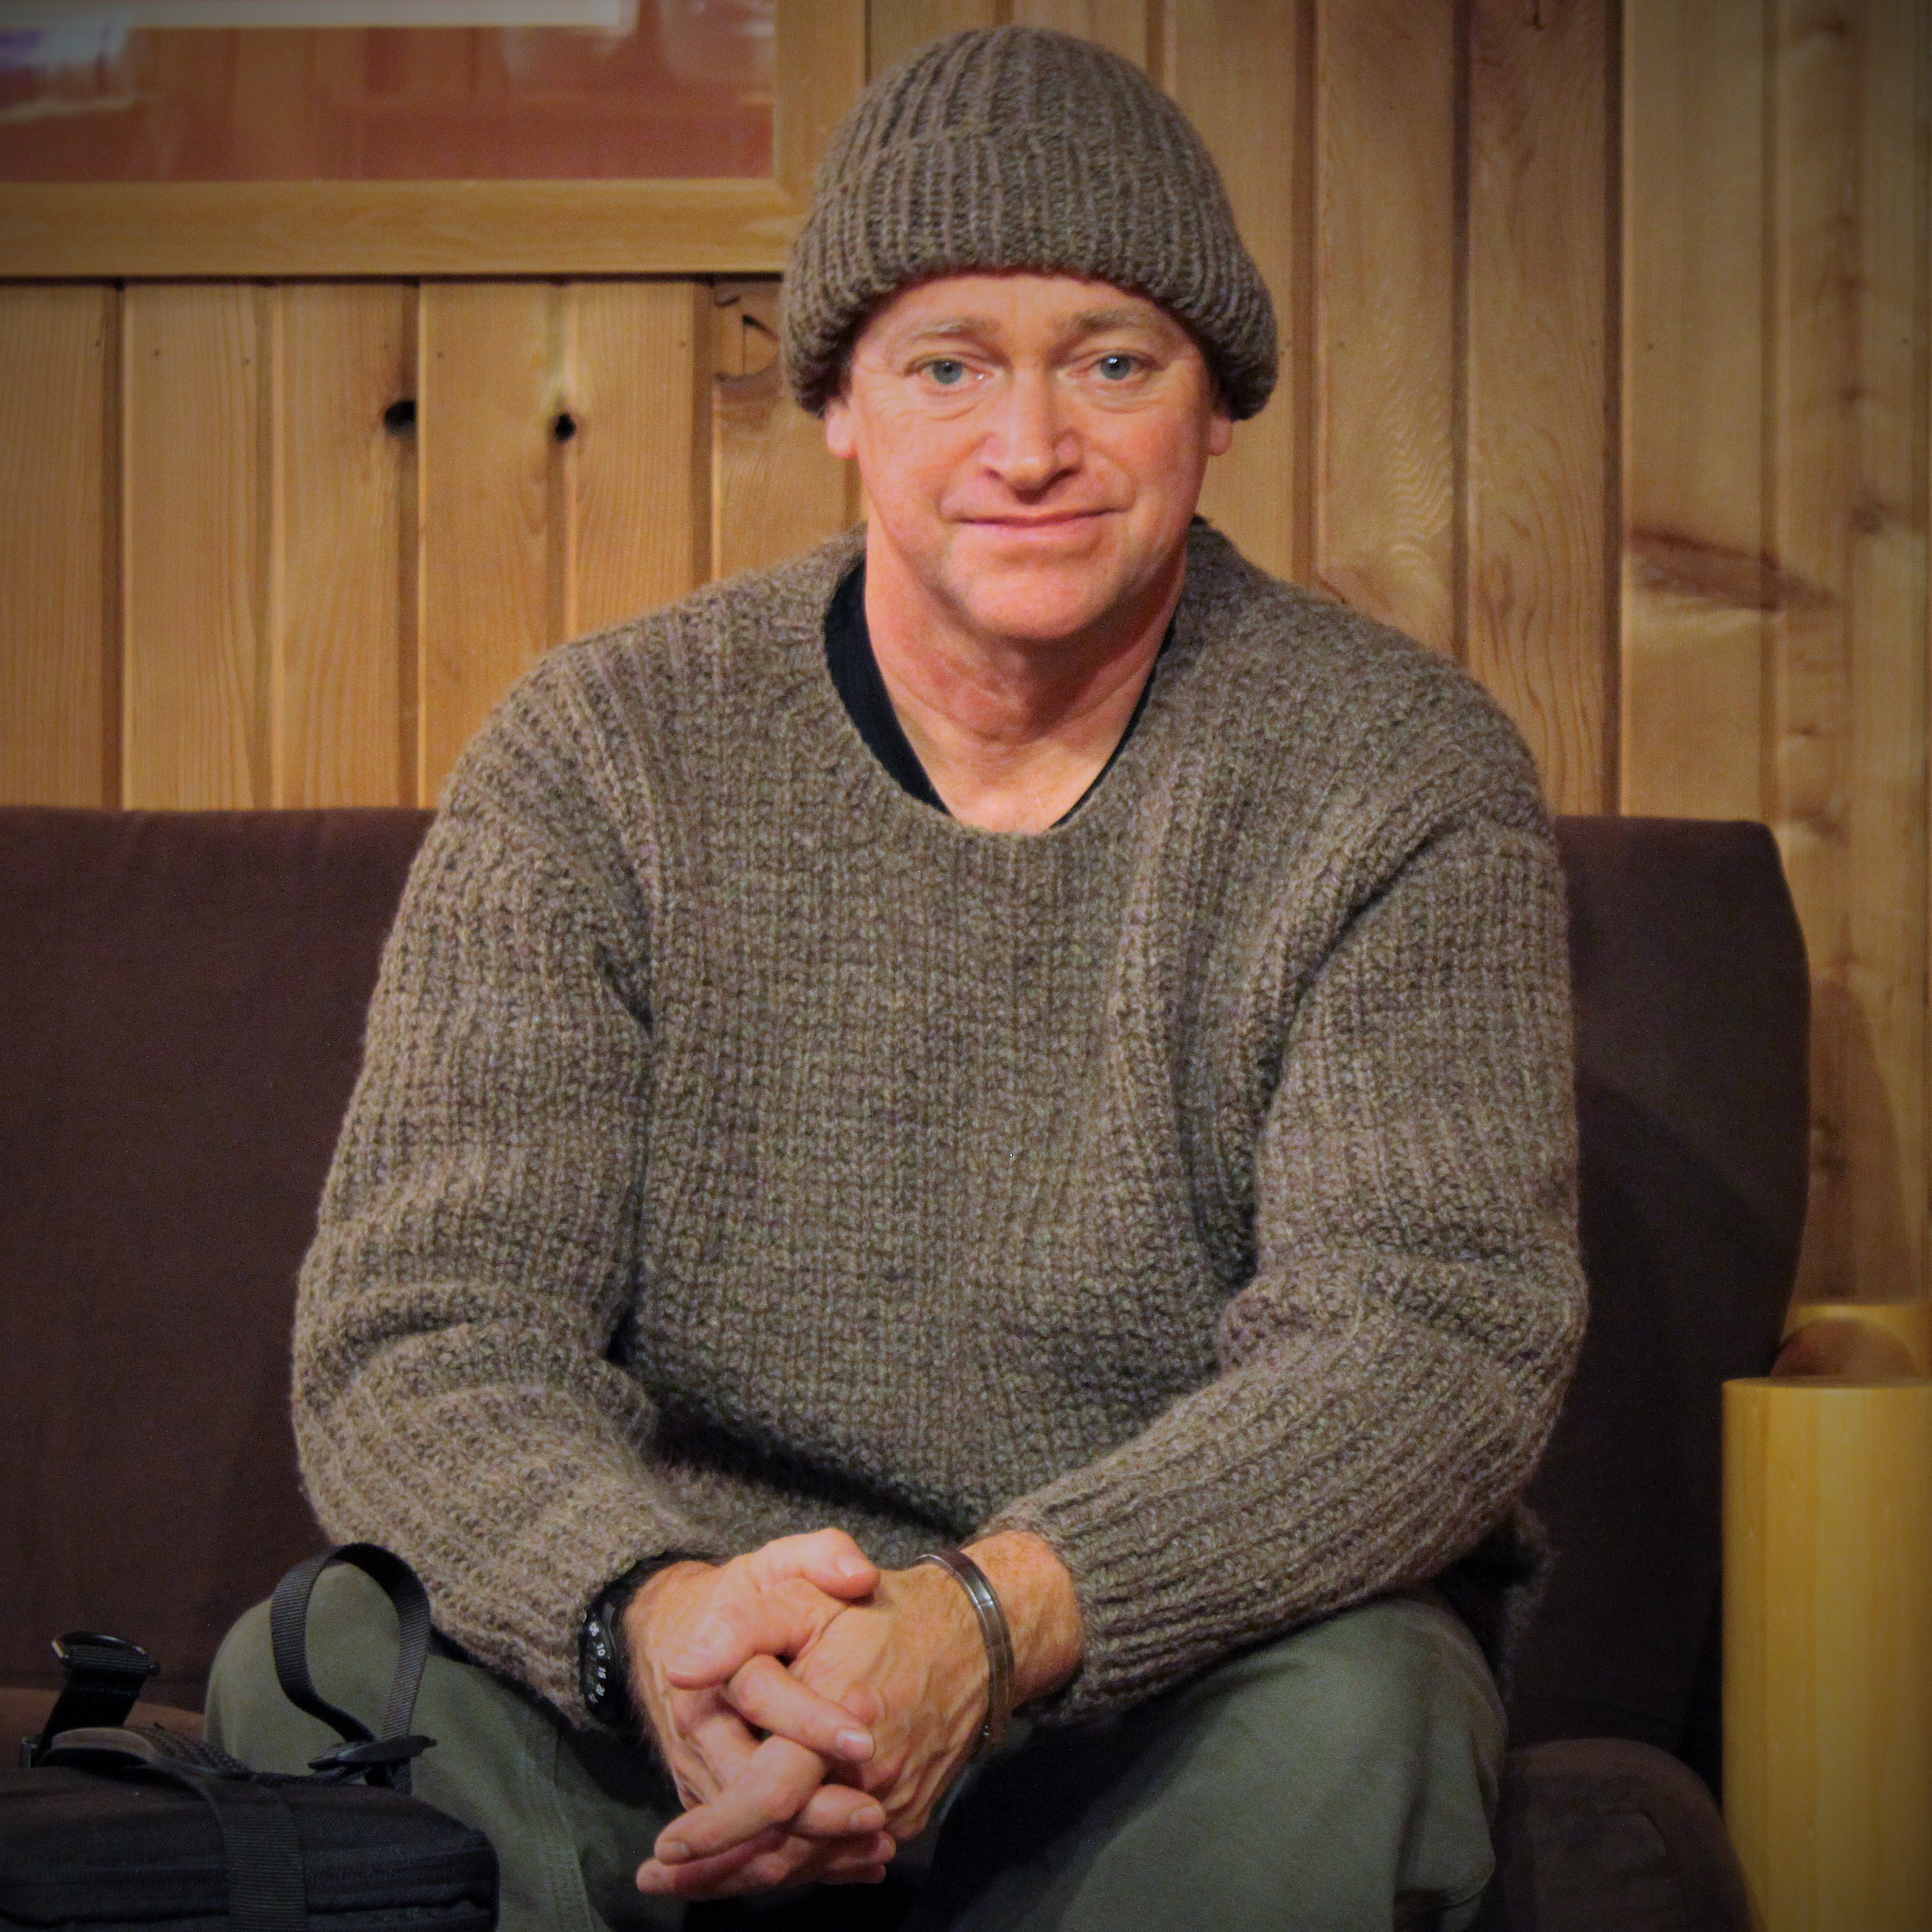
I knit a hat from the leftover yarn in the same pattern as the sweater
I’m not sure if I knit it looser than the swatch, but the body was a bit bigger than hoped for when I followed the pattern. A large was more like an extra-large. Also, the sleeves were a bit shorter and wider than expected. The left the body alone, with the weight, it seemed like loose was better than snug.
I tore out the sleeves (twice) until I figured out the right number to cast on to create a tighter cuff and followed the directions to increase to the number the pattern recommends for the neck join. They are a bit long, but he’d rather roll them over than pull them down, so it all worked out.
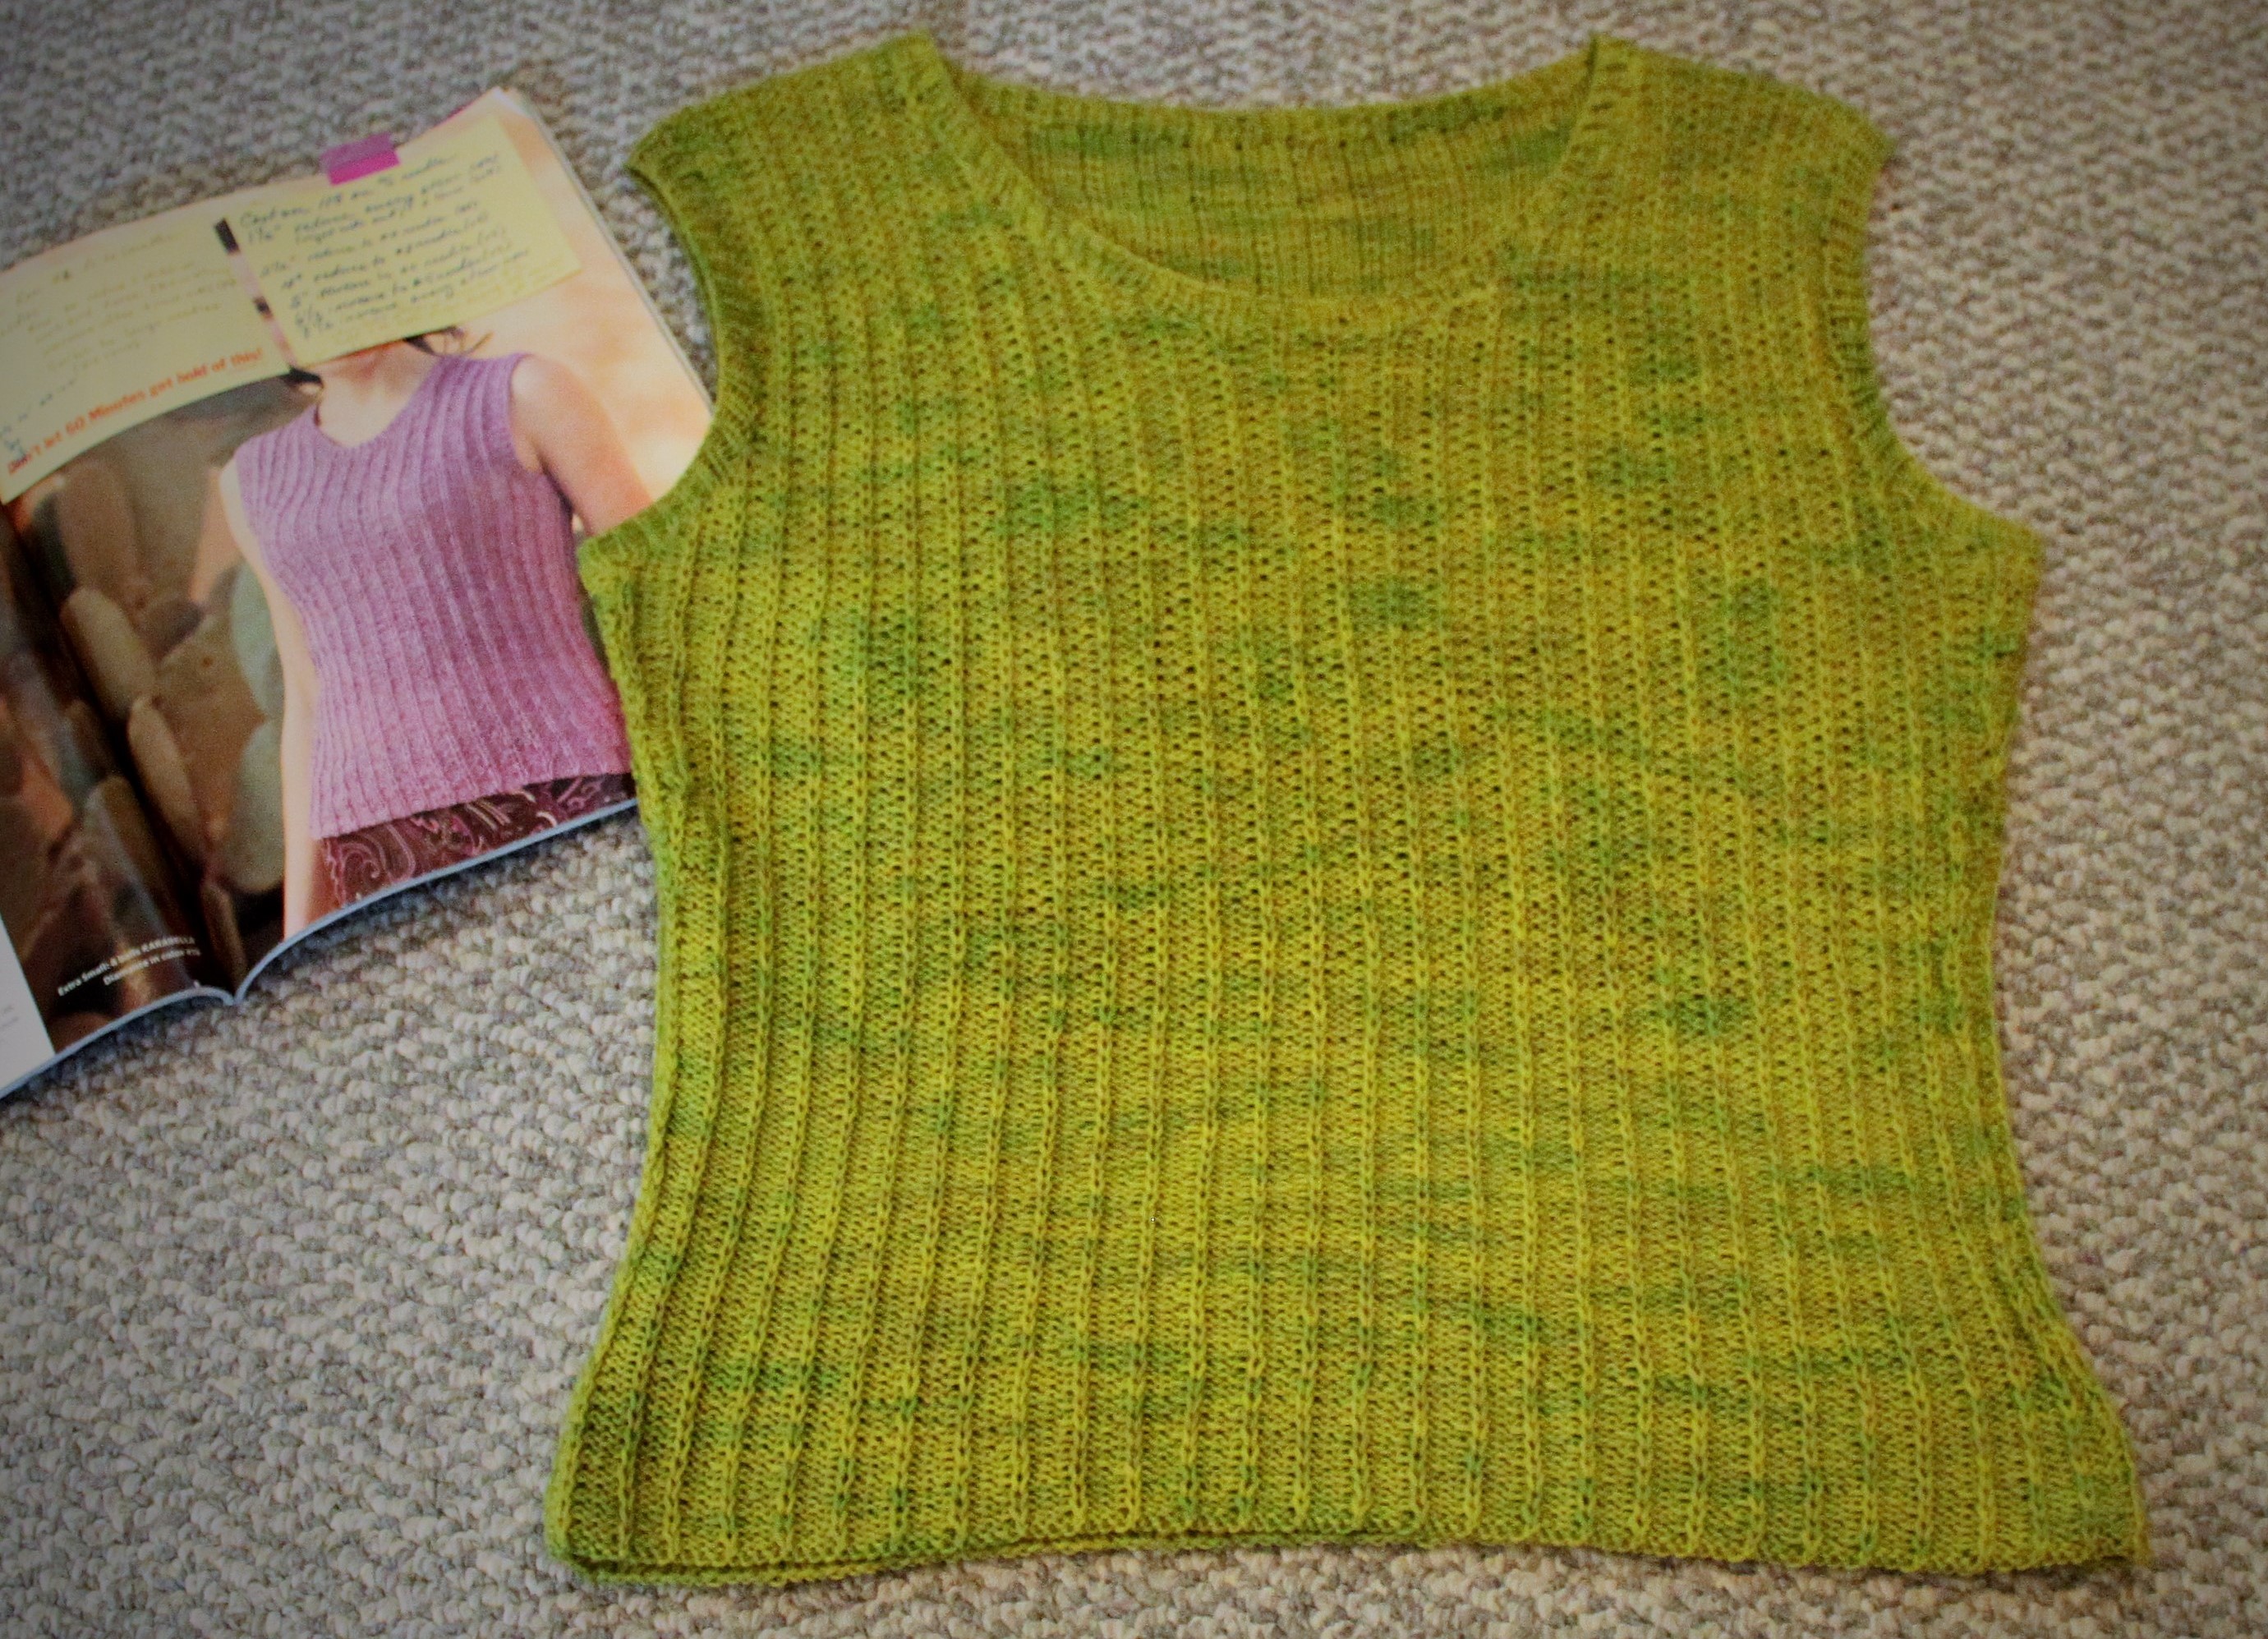
One of the things I loved about Knitters Magazine was that when Rick Mondragon first took over as Editor-In-Chief from the photographic genius David Xenakis, was the mandate to do more fitted designs. In one stroke there was an uptick in both fashion and complexity in women’s knitting. In honor of Rick’s transition from boxy to brilliant patterns, I wore my own extra-fitted version of the Knitter’s Design Team’s Lilac Top to Stitches West in Santa Clara, certain in the knowledge Rick had a hand in designing it.
Craftsy Knit Lab: Fit your Knits, taught by Stefanie Japel (the handouts are fantastic!), is where I got the gumption to use two fitting techniques: extra needle size changes and seam edge reductions. The pattern needed loads of modification because it calls for a bulky weight yarn and I used a sport weight (Peruse in Sea Bright) hand spun yarn from the sadly defunct Art Fibers Studio. I was looking for yarn for a different pattern in Knit Scene, but in the end I went back to my standby of Knitters, remembering a pattern I’d always wanted to make. Needless to say, lots of math and swatching was required.
Modifications
To create a light fabric I used size 6 needles as called for–I simply added more stitches to reach the right garment width. For reductions I first dropped to a size 5 needle earlier than the pattern called for and dropped to a size 4 needle for one inch at the waistline. Because of the skinny fiber, I had to also decrease at the edges to get the same width reductions a bulkier weight yarn would give in order to hit my measurements at the waistline. I decreased five stitches on both sides every other row from high hip to waist and then increased at the same rate until I hit the bust line.
Rolled Hitchhiker Scarf
I knitted it about 2 inches shorter than the pattern so it would fit under my suit coats and it does, perfectly. Not only does it hit my just above the jacket length, the sport weight yarn is less bulky and cooler. The bright color is perfect for spring and summer looks. I love everything except the color which would look great if only I were a brunette. Since this pattern require much less yarn, I had plenty left over to make a hitchhiker scarf for my Husband’s ex-partner who has lustrous chocolate colored hair.
Beaded End of Hitchhiker Scarf
There’s nothing new about fitted garments. Women’s patterns were highly fitted in the 1940s and 50s. But with the 60’s when loose flowy clothing became de riguer knitting pattern never seemed to recover. There was the occasional one in Vogue Knitting, but usually it was something I felt I wouldn’t really wear. In retrospect, as I look back at old issues (I was a subscriber of both) and I think how forward-looking those Vogue and Knitters were. They remain a go-to source for patterns—despite my habit of buying more books lately.
Interestingly Rick seems to be a fairly understated guy—though he’s riot when he takes the stage or teaches a class. He seems intensely private as evidenced by an interview with Faina Goberstein in 2010. Very much ‘just the facts, ma’am.’ And yet in person he’s larger than life. So is his design sense.
Speaking of Faina, I’m knitting one of her patterns right not for my husband (a blog for another day) called Simon, with all the modifications that accompany my knitting projects. In case you love her patterns like I do, she’s just launched a new website on March 22ndhere.
10 balls of Kitten with a lovely message from JFam
I’ve been doing a lot of “swaps” on Ravelry and in my local knitting community lately. I belong to a group that is called “PayNothing<Cityname>” on Facebook which had a yarn round robin; add some, take some. It sounded like a good idea, but it moved glacially slow through a really long list which grew by the day. So some of us (the donors in particular) decided to short circuit it and pass along yarn freely to folks that were knitting for various charities in the community. “Here’s my address a big bag of wool is sitting on my porch. Come and get it!!”
Kitten up a tree
I don’t know if the round robin will ever make it to me and it doesn’t matter so much anymore. It simply felt good to give away a huge pile of yarn for a good cause—enabling my neighbor who can’t afford to buy yarn to learn how to be a better knitter by knitting piles of scarves she plans to donate to homeless shelters. I have a more manageable stash, she gets skills, and 50 homeless will get a wool scarf. Win-win-win.
PI-Day T-shirt traded using proceeds from stash selling
I love the idea of a barter society. And as you know, I’ve got loads of yarn to trade. I’ve been using any positive cash flow from folks willing to cover shipping and a small sum, to buy any more yarn, supplies and the occasional t-shirt.
This New Year’s Resolution has been to be “neutral” on spending. I can only trade or make my clothes this year. Since I have donated (yup!) my sewing machine to Goodwill, knitting (or stash selling) is my only means of generating funds to buy more yarn.
A basketful of odd balls of Kitten by Reynolds
Part of my grandmother’s stash included 8 colors of a yarn called Kitten by Reynolds. I was just finishing a swatch for fingerless gloves when I realized I might not have enough. I found a stashbuster pattern and went looking to see if others had some of this yarn on Ravelry. That’s when I found 10 skeins of just the right color (black). When I asked how much, this lovely person simply said, “Pay it forward”. I was completely charmed by her good will. Heartfelt hugs to fellow Ravelrier jfam.
The ultimate surprise was that the box arrived while I was away on a business trip that had me a feeling a bit down. To my surprise there was both yarn and joy in JFam’s shipment. It came wrapped in a lovely drawing that made my day. My husband was so excited for me, he sent me a picture. Cheered me right up!
So many people inspired this coat, which is why I decided to share. Also, I hope to inspire folks to consider making their own modifications. For me this was a learning experience and I wrote every stitch in the “new pattern” down. I haven’t typed it up and won’t post because this is someone else’s original design that I’ve modified. What I will do share with you my experience and hope you find your own way.
Back view of the finished garment
The original pattern I started with was Sally Melville’s who is a great teacher and author of the Book The Knitting Experience. The inspiration to make it fitted was with a Craftsy course with Stefanie Japel, Fit Your Knits. The methods used to make it fit were adding stitches under the arms for the bodice and short rows on the lower portion, the latter inspired by a Craftsy class, Short Rows, with Carol Feller. Thanks to you all! The yarn was a bulky yarn closeout at my nearby Joann’s. It’s their in-house brand called Sensations. The buttons came from my LYS Serial knitters—they have such a lovely selection (of everything)! They had the right number (+1) in the perfect size and color as if they’d planned for me to stop by. They also supplied me with the Knitter’s Pride Dreamz needles in 10 ½ (3 sets) and that’s when I fell in love with wooden circular needles. I took my measures (in my unmentionables), printed out the handout from the class, knit my swatches of the various fabrics and did the math. On to the knitting!
Modifications
Four inch collar picked up at neck edge; fitted waistline.
Collar: I loved the picture in Sally’s book, but noticed that the pattern didn’t quite reflect the picture–for instance there was no collar in the pattern, but clearly there is one in the picture. So I knew I’d be adding that. I love flipping it up against the cold. A cowl will keep it in the upright and locked position. Texture: The pattern also calls for garter everywhere, but I wanted more visual interest—and a clearer separation from top and bottom portions. So I chose seed stitch for the sleeves and top. Vents under the arms were reverse stockinette so that they would “dent in”. This gives extra ease for the girls and retracts if not needed. Proportion: I wanted a long coat with an empire waist. So I chose the biggest size for the bottom portion. I then measured my shoulder to high waist at both sides to get the slope of my shoulder. Fitting: Bottom: To create an A-line look to the bottom I did short row additions at four different locations cycling through up and down like a zigzag: short row at stitch 15, knit five rows even, stitch 30, knit five rows even, stitch 45, k5R, stitch 60, k5r, stitch 45, k5r and so on. Bodice: I picked up all the stitches from the narrower edge of the bottom. I knit 5 rows even then started increasing under the arms with the reverse stockinette. I followed the pattern until I got to the armholes where I placed the reverse stockinette stitches on a stitch holder. Shoulder fitting was down with short rows to make it lower at the shoulders, higher at the neck. I Kitchenered the shoulder seams, picked up stitches at the neckline and knit a four inch collar in seed stitch pattern. Sleeves: Instead of attaching sleeves I knit them down from the shoulders. I started by picking up 8 stitches (placed marker in the middle to keep track of the shoulder seam) and then picked up 1-2 stitch at each edge as I knit the sleeves down to the reverse stockinette stitches on my holders. Once I had all my stitches on a needle I reduced under the arm the reverse stockinette portion (at each edge) to create a diamond of it under the arms. I continued to reduce the sleeve proportional with my arms with plenty of ease to put over clothes. At least in the sleeve…
Trouble in Paradise
Once completed I donned it immediately. The sleeves were roomy—just right for clothes, but the bottom was perfect only if I wore it nekkid. The button band bulged open especially in my waist and hips. *sigh* I had not allowed for clothing to be worn underneath. “Just wear it open”, my husband says. A heavy coat for chilly days? It just wouldn’t do! So after frogging the garment for about three months, I decided to cut it up the back (followed shortly thereafter with fainting and lying quietly in a dark room). So much had gone into this pattern alteration so far. I was determined to finish it and make it wearable. Surgery time!
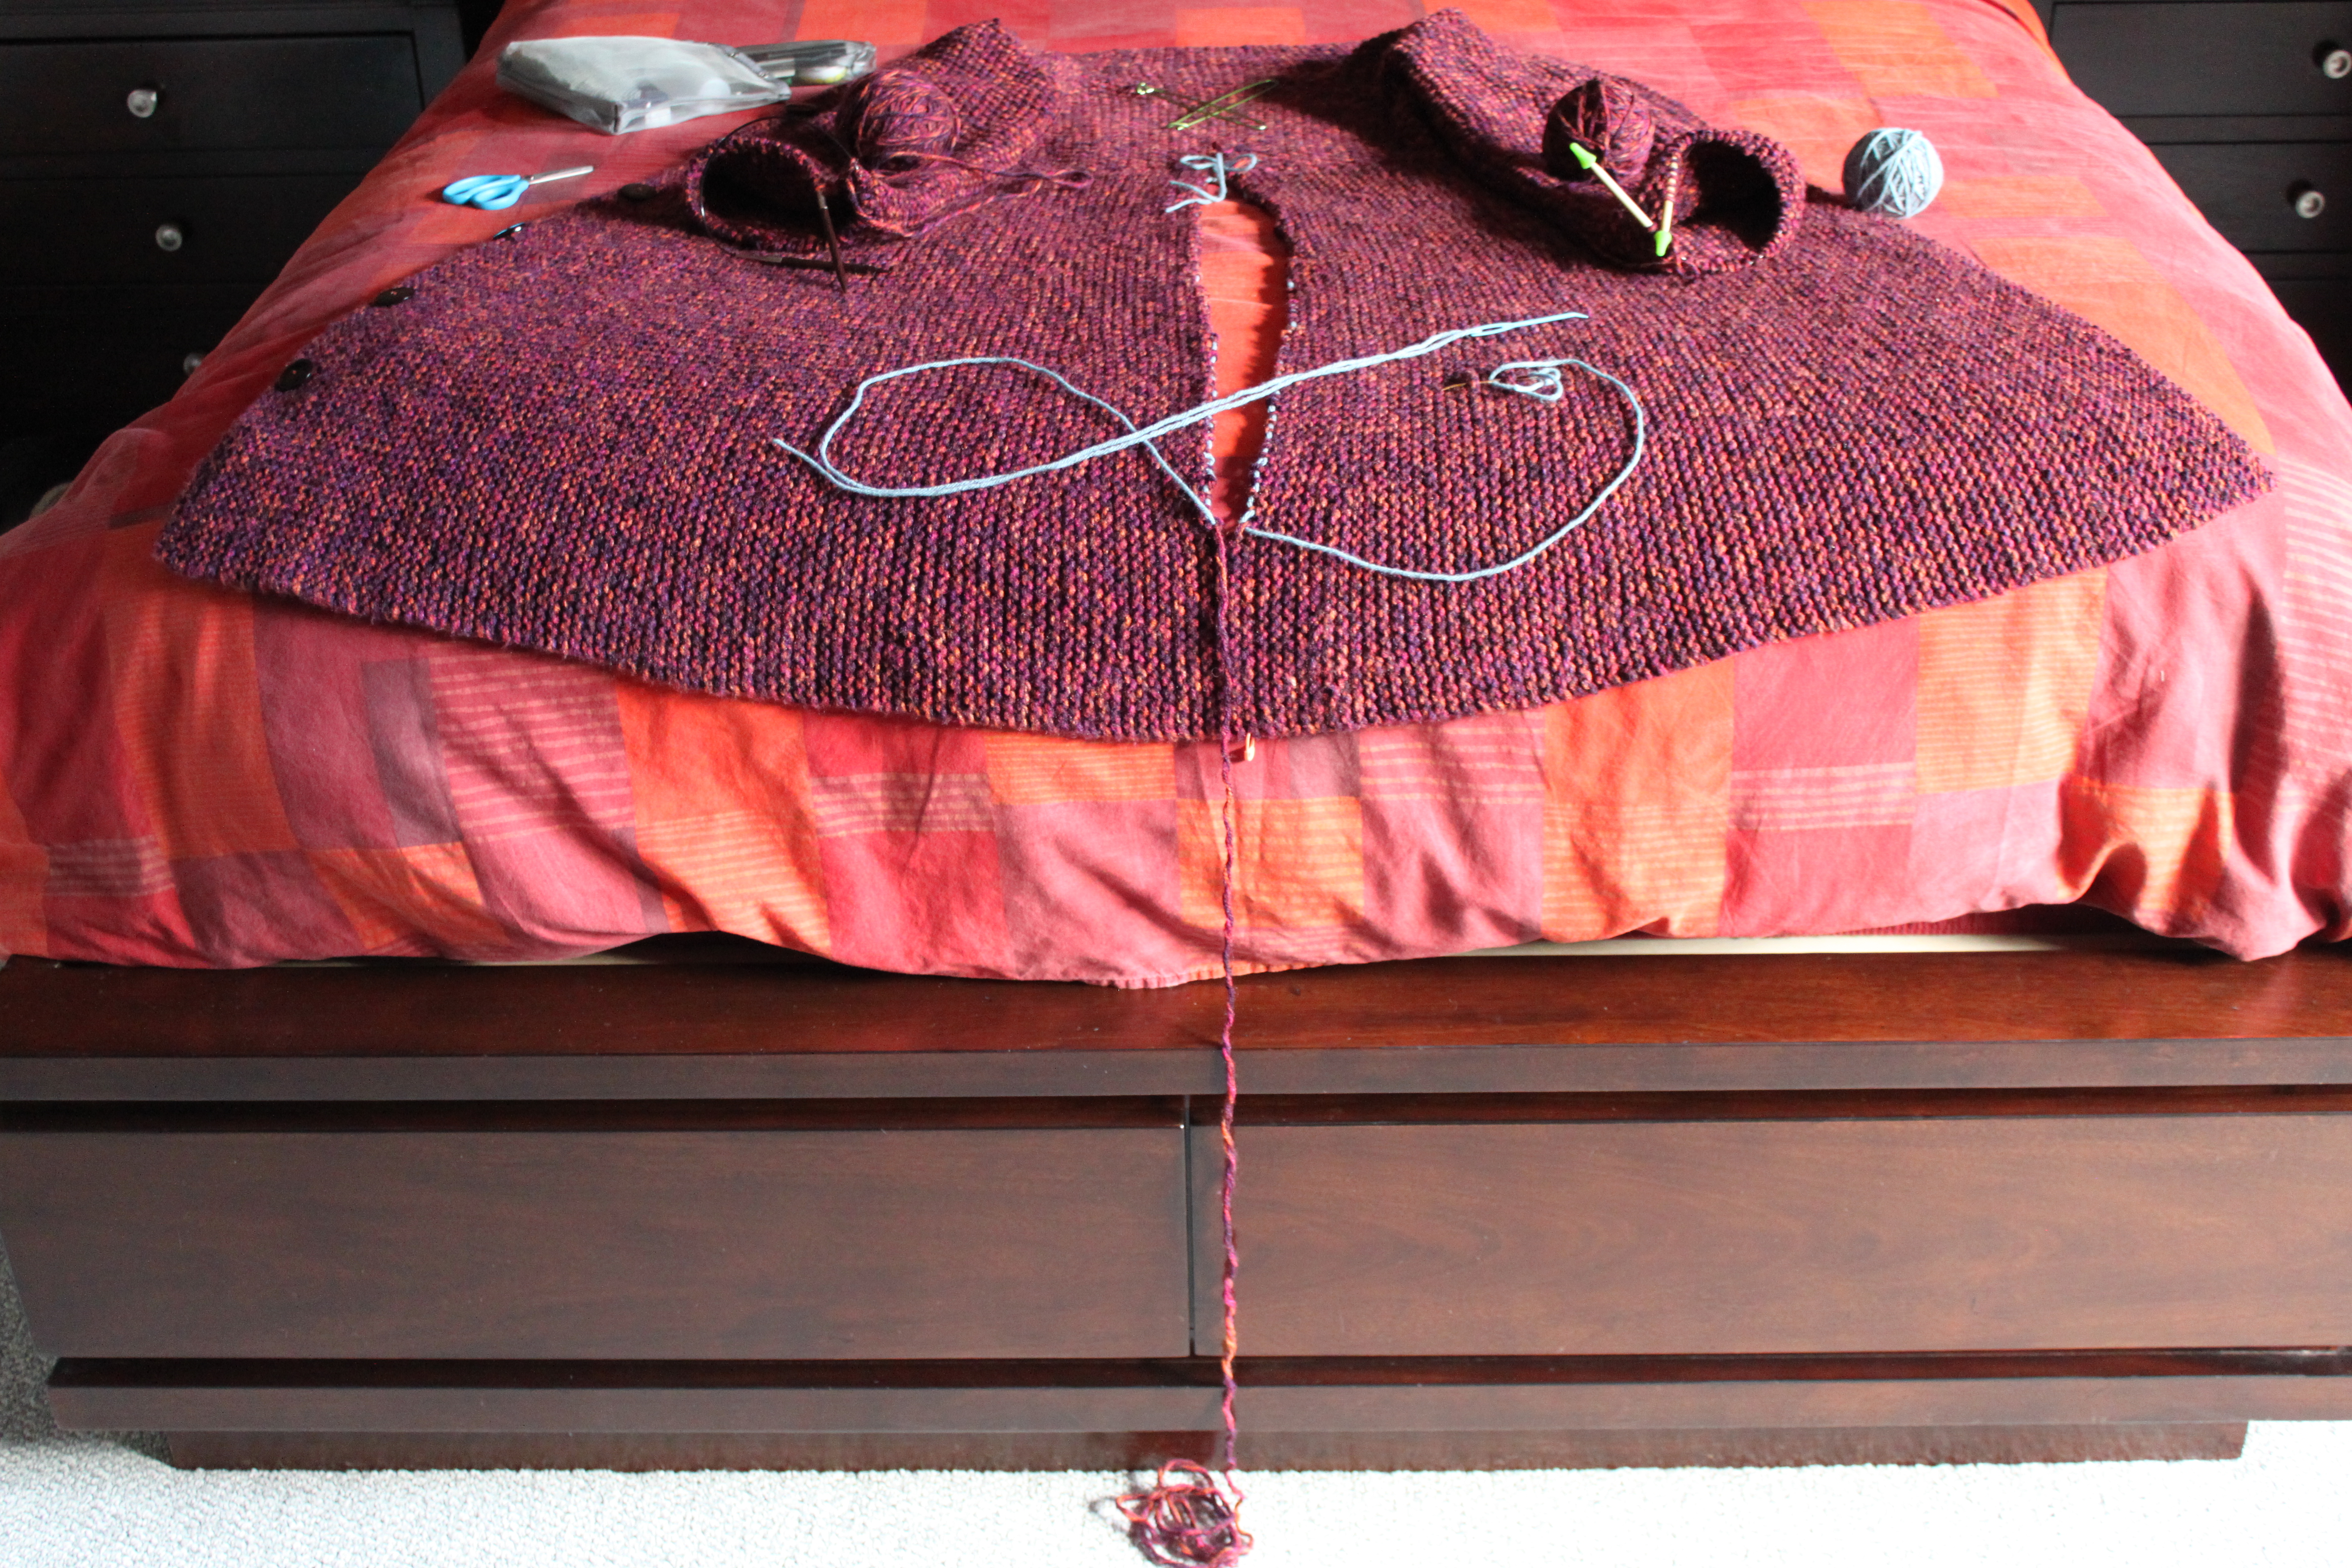
Placing cut edges on waste yarn
I cut it up the back to the waist and placed both sides on waste yarn. I asked my Facebook clan how I might add material and many creative ideas were given:
Sew in fabric
Knit a panel in seed stitch or reverse stockinette like the bodice
Add a whole new pattern (e.g. fancy cables) in a triangle
Joining waste yarn to hold at the top of the cut
Everyone seemed to treat the gash like an up and down problem. In the end I turned it on the side and used the same stitch (garter) and method (short rows) to make it bigger. Less inspired, perhaps, but it gave me the garment I’d originally planned, not a different one. I picked up stitches on both sides with the intent to meet in the middle. It was surprising unnoticeable that I was going a different direction from the original. The only issue is that on one side my short rows were WS, not RS. I also had to add the most in the hip region, so the lack of spread (e.g., the zigzag above) made them more noticeable. Thus the ribbon in the back.
Buttoned kick pleat
The kick pleat was the one bit of feedback I did pick up from Facebook. I had an extra button, so why not! Now I wear it at least once a week and I always get comments. I’m so excited to tell people “I made it!”
How this pattern came together was trial and error. And while the pattern creation took several days, the actual knitting was 3 hours—total. A nice afternoon project with great results. Also of benefit is that I not only have a warm wear around the shoulders garment, I used up two yarns had had which were too much for a scarf/hat and not enough for a sweater.
I spent one whole day knitting swatches and seeing how the two yarns worked together. The main color is a single hand spun natural hank of worsted wool I picked up in Holbrook Arizona, just south of the Navaho Indian reservation. The other was three balls of wool ribbon yarn from my grandmother’s stash.
My inspiration for this garment was after I saw an Eileen Fisher capelet on a fashionista at work. I asked to inspect it more closely and it is from this that I chose the method of reducing—the creation of a seam in the back. Eileen’s was with a bulky fuzzy black yarn in garter stitch (so every other row knit/purl in the round) and had no border. I wanted both more and less texture. Less fuzz to show the yarns. Ribbing create visual appeal.
Supplies:
Side view of the capelet
Pattern shown in photograph is made with three yarns held together:
Two hanks (~250-320 yards each) of worsted weight wool
Three skeins of ribbon yarn (I used a wool ribbon of unknown origin) of approximately DK weight
Substitute the same length of single strand of super bulky or two strands of bulky held together or whatever gives you the appropriate gauge.
Gauge:
5 stitches and 10 rows in a 4” x 4” square using whatever needle gives you this gauge (I used US -15).
Pattern:
Cast on 72 stitches and place stitch marker. Then continued in the round being careful not to twist.
Rows 1-4: K2P2 ribbing.
Row 5: Knit to marker
Rows 6-14: At marker K2tog, knit to end of row
63 Stitches remain
Rows 14-16: Knit even (do not reduce)
Rows 17: At marker K2tog and switch to K2 P2 ribbing
62 Stitches remain
Rows 18-30: Knit evening (do not reduce) in K2 P2 ribbing
Bind off in K2 P2 ribbing pattern
What I would do differently…
I would hide the reductions by doing something farther out from the marker and evenly on each side. While there is a “cool” triangle on the back of the garment, I think a more subtle look would be better.
K2tog at the marker creates a “tucked” look
I would even up the top and bottom rib for symmetry. I wanted more ribbing at the top to keep it up higher on my shoulders, but I think it would look better if I’d made them the same size.
What I would do the same…
The yarns speak for themselves. I’d do less ribbing to show off the variegation in the wool ribbon yarn against the natural variations in the hand spun wool.
Keep it this simple. What really makes the capelet visually elegant is the simplicity.
To be candid, I don’t live on Orcas Island—right now. I live near my high-tech, high stress day job which requires quite a bit of travel. My current home, which I spent years gutting and getting just right, is in the shadow of my office; so close I could walk—if I had an hour to kill.
I’ve lived in or near my present home for almost 15 years, before that graduate school in Arizona, before that in Idaho where my family is presently on their 10th generation (or more). So you could say, the Northwest is my ancestral home.
Kayaking on the small bay my new house sits above last September
I’ve been going to Orcas Island ever since I arrived in the Pacific Northwest and as an avid kayaker, I find Orcas to be the most ideal for the sport, less shipping lane traffic, more places to go and see by human-powered craft and a range of conditions from exciting to peaceful. Having nearly died of hypothermia when a shipping container ship’s bow wave capsized my kayak off San Juan Island, I have learned the value of better equipment, knowing the tides, dry suits and avoidance of big ships.
We’ve been looking for land to build on Orcas, so that we could potentially build a place to retire to when, presumably we could better afford it, and talking about it for far longer, so finding a house with close water access right on the bay we wanted to live on was unexpected. We were staying at West Beach resort. On our way to look at a lot up the road we passed by the house directly next to the resort and Nick said “This place is perfect. I wonder if we can turf these people out.” On the way back the guy that lives there was hanging up a “for sale” sign. It was fate. What else could we do but make an offer? Now there is just the boring stuff—loan, inspection, moving…
We know we will eventually live there full-time. Because there is a house it is likely to be sooner rather than later. For now the plan is to split the time between both places a three-day/four-day plan since our jobs keep us on the mainland. That is, if the inspect tomorrow works out okay. Fingers crossed!