What do you want to be when you grow up?

Sunset from the nearby beach

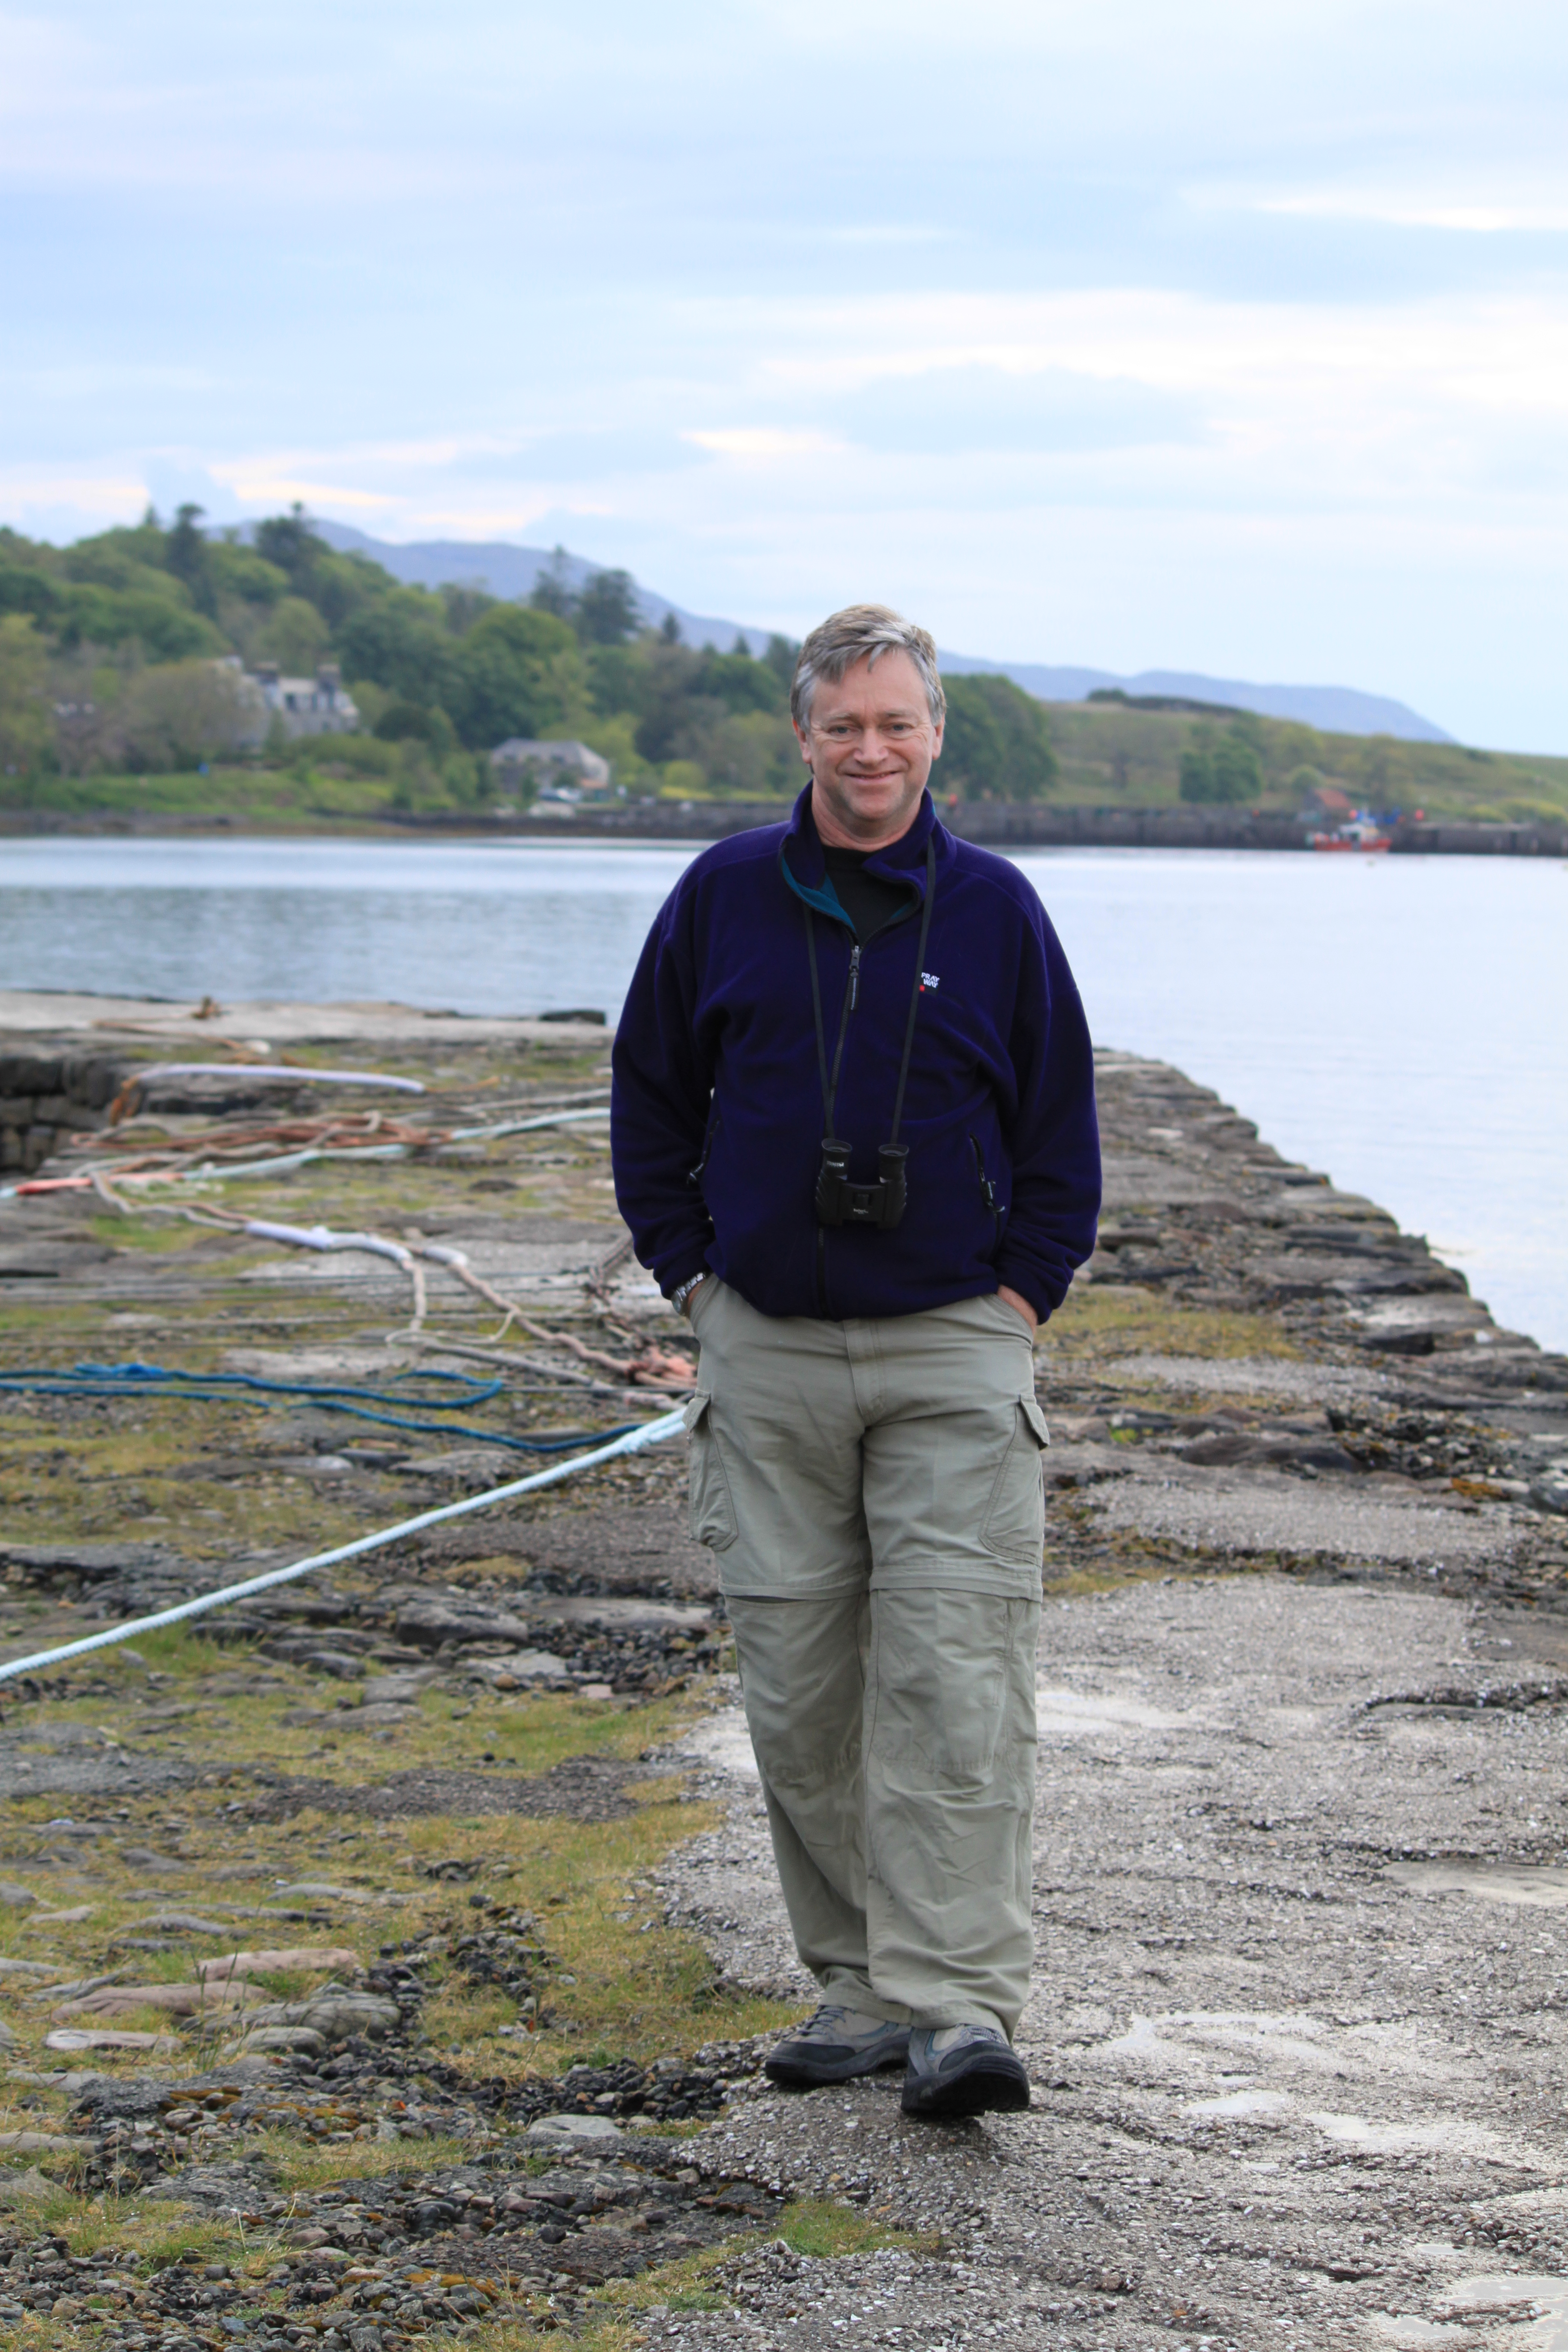
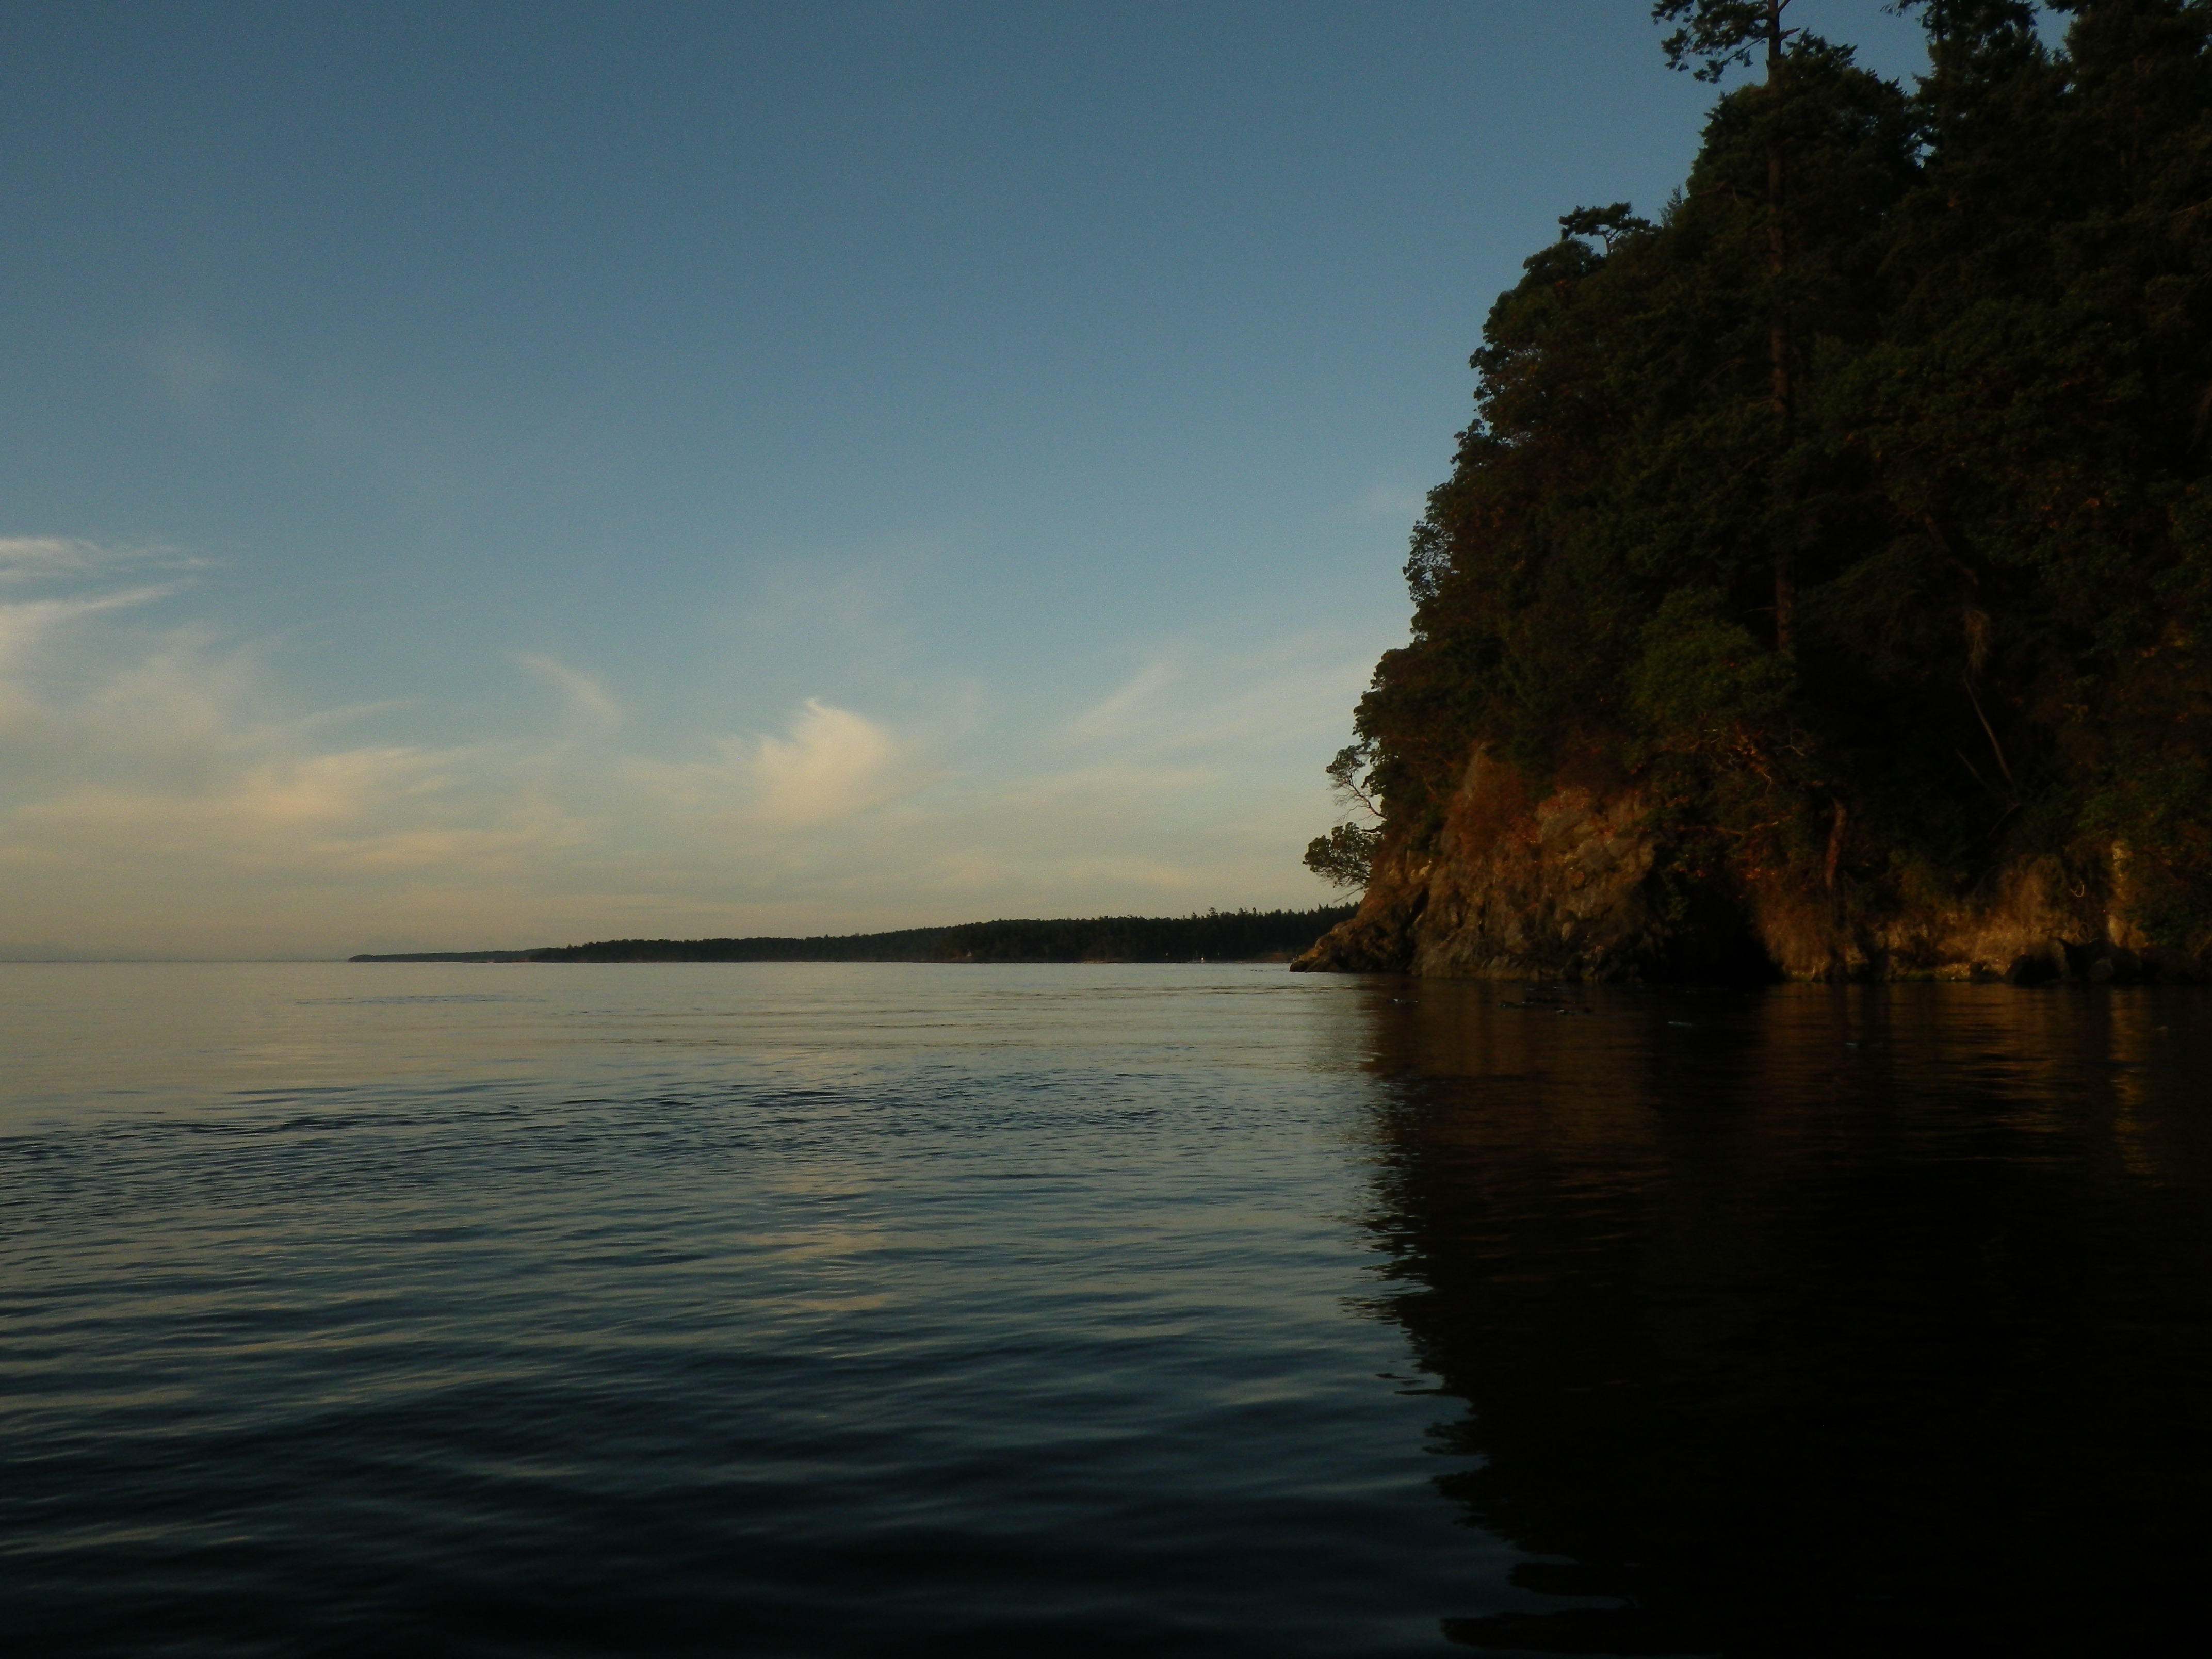
Ah the dream of a having a different lifestyle. I’m part way there since I purchased a second home on Orcas Island, though this creates some new challenges (like commuting and costs of second home ownership). It’s definitely quieter spending half weeks here and I suspect it will get even better when I trade the city house for a pied-à-terre.

November will mark my fifth anniversary with my lovely, brilliant husband. And for the first time in my life, it has been a joint endeavor putting clothes on back, food on table and a roof overhead. I have a great paying job—and have had for many years, but the older I get in high-tech the younger everyone else seems, the faster the pace moves, and the more I feel like I’m slipping behind. A book that has helped is French Women Don’t Get Facelifts by Mireille Guiliano. She found a second career in writing—something I love to do too—after being the CEO of Verve Clicquot USA.

Kayaking with husband in Lover's Cove, Orcas Island
Kayaking in Lover’s Cove, Orcas Island

These days I‘m often asked to speak to young researchers about careers and yet, deep inside, I feel a bit lost. So how can I, in good faith, tell them what they should be doing to be successful when I’m not sure about my own career? Of course we are at different career stages, so my advice works for them. It just doesn’t work for me. Not anymore.

There was one bit of advice that I got early in my career than might still be true though, ‘risk equals happiness.’ If you are willing to risk everything, you are much more likely to find a career that you are enthusiastic about.

Sign on once of my deer proof gardens
Sign on one of my deer proof gardens

So is it time to consider that now?

I look at people like Karen Templer and her small business Fringe Association she moved to Nashville, Tennessee and Ashley Yousling of Woolful who has recently moved to Idaho (a place I worked so hard to get out of) to start a sheep ranch. Both women in tech who followed their dreams. I’ll admit it, I’m green with envy. After all,  I’ve been in tech since before they were out of diapers. The point being that younger people can set an example for older ones. You find sages at all ages, no?

Russian blackberries growing everywhere
Russian blackberries growing everywhere–too many to pick!
Gala Apples from the Garden--Yum!
Fresh Gala Apples from the Garden–Yum!
Baby kiwi's (much bigger now)
Baby kiwi’s (much bigger now)

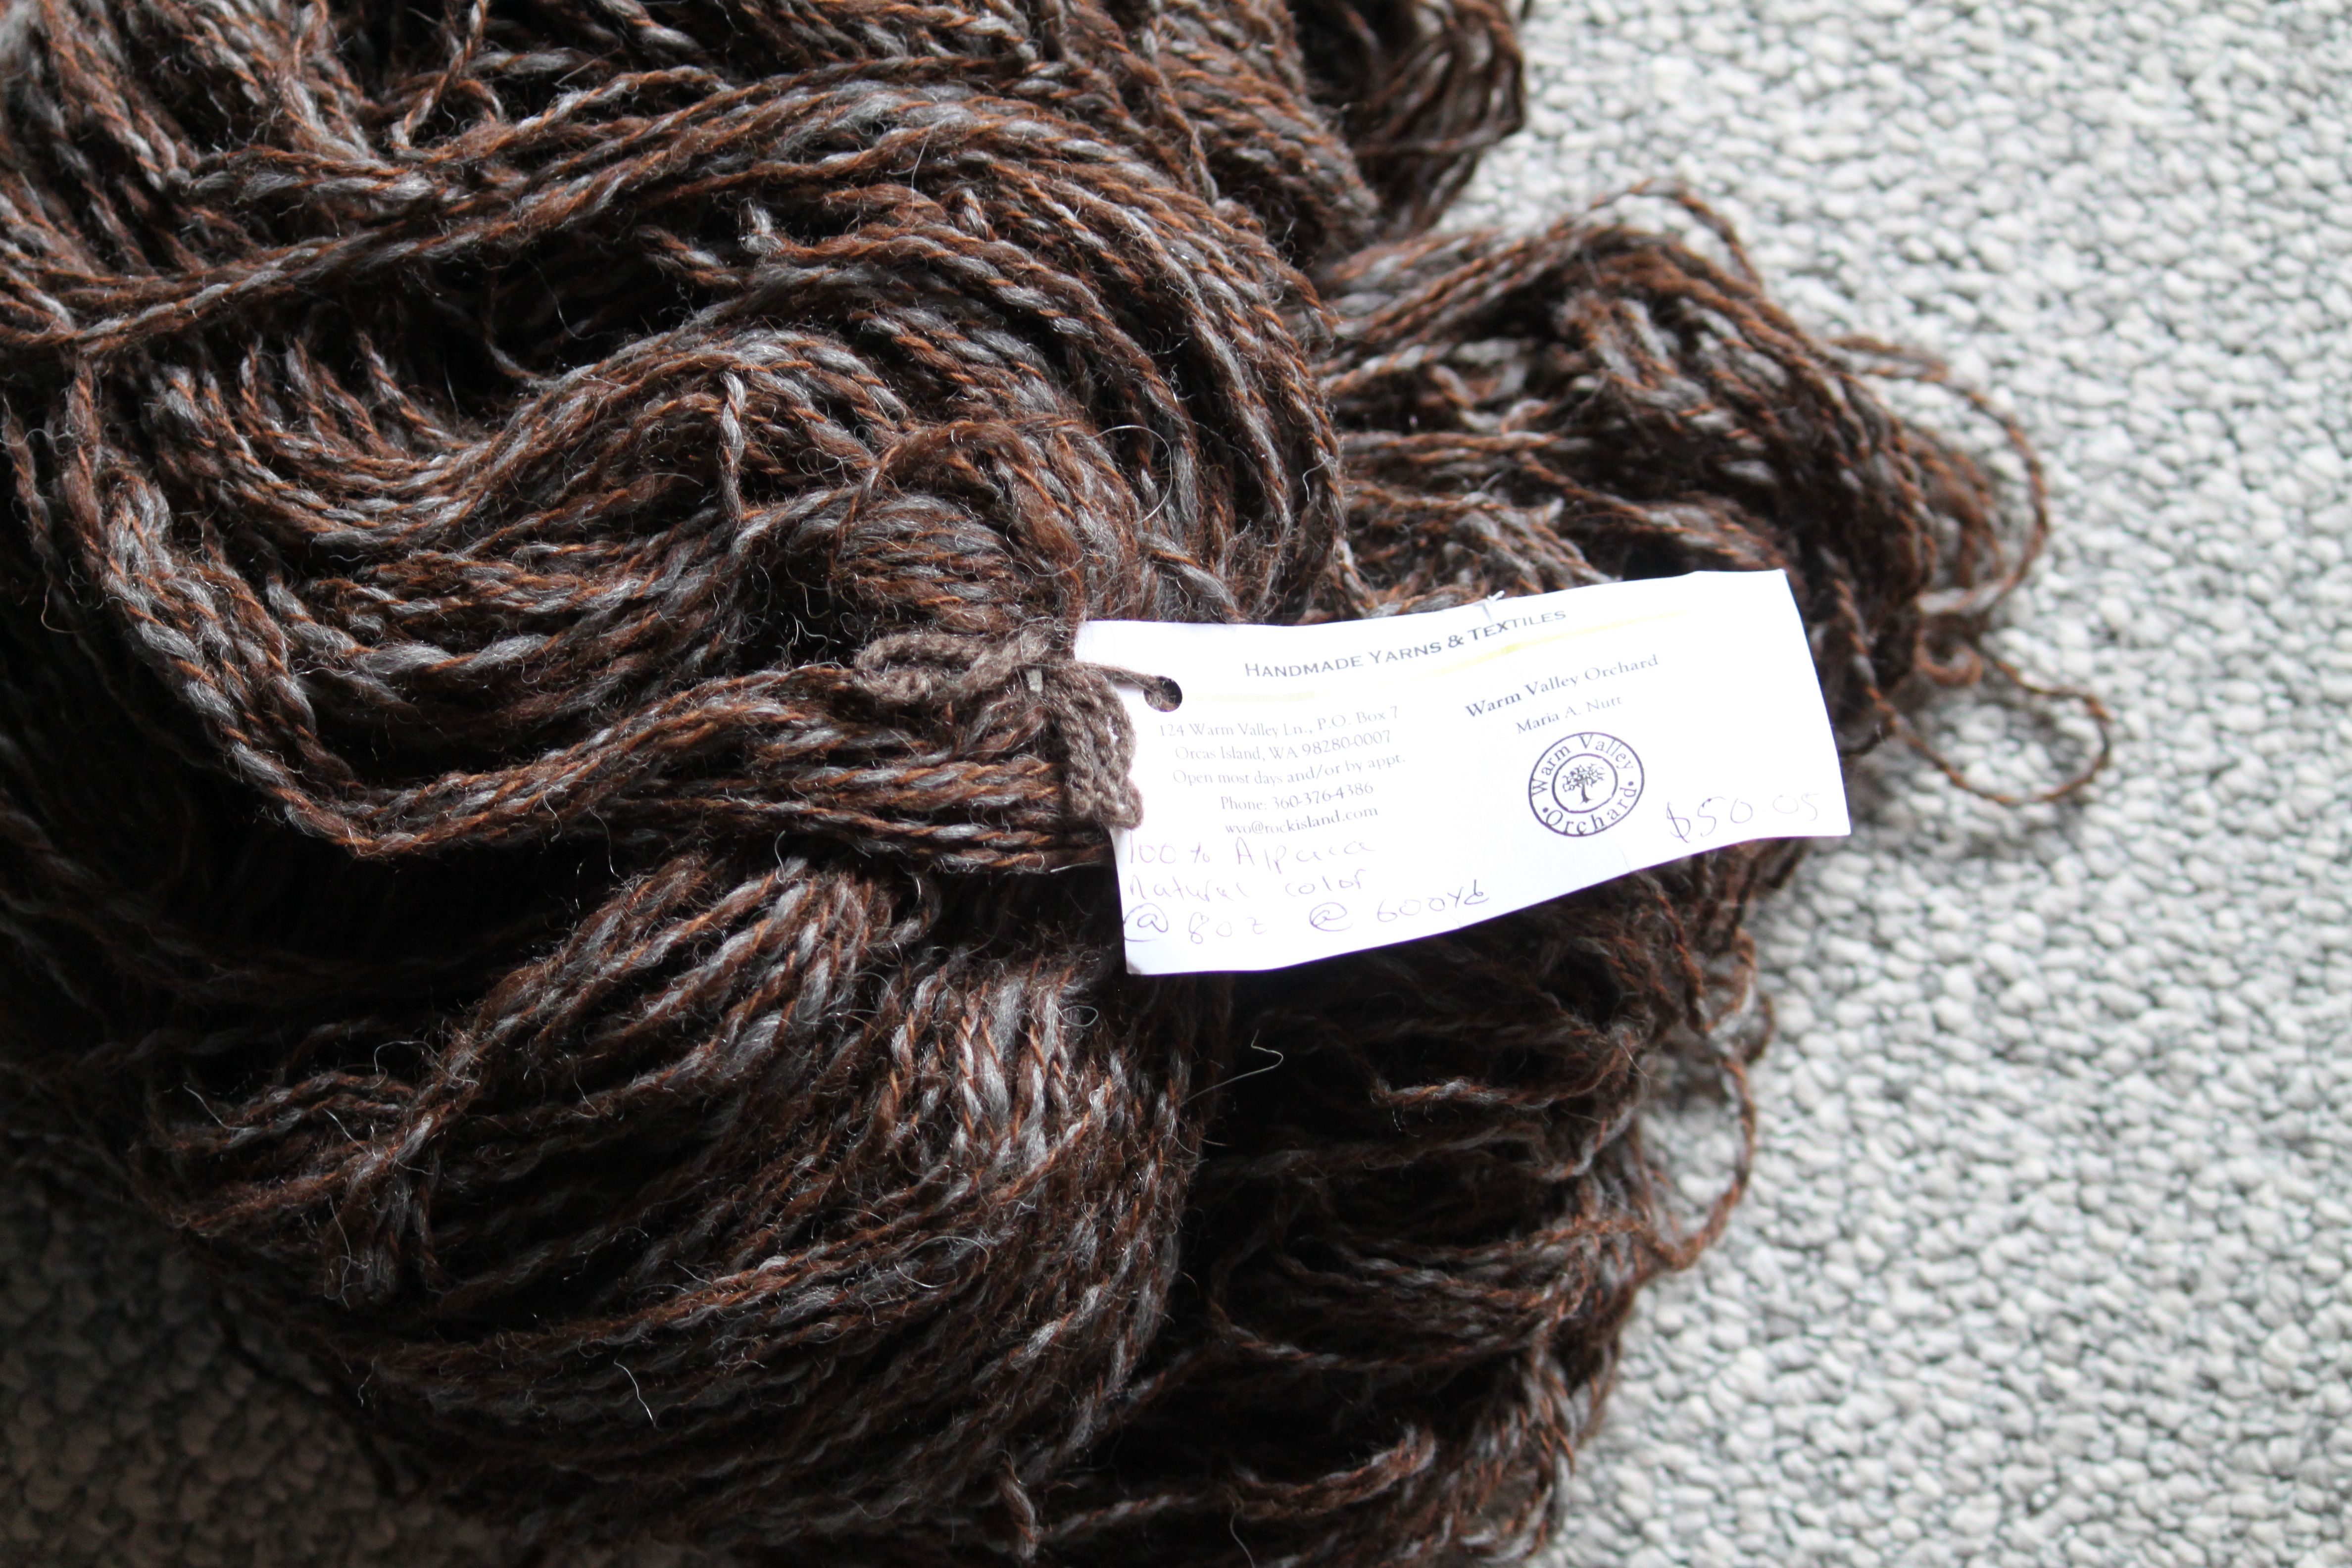
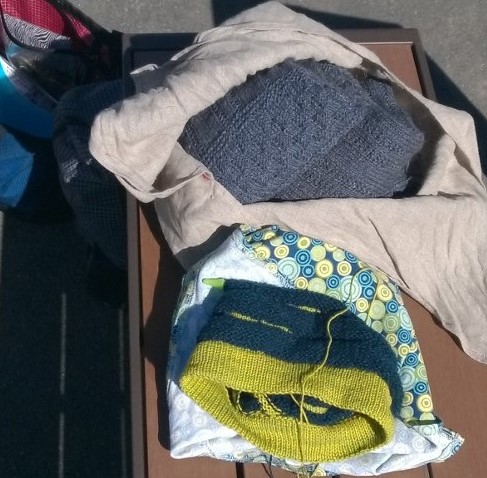
People, and knitters especially, on the island are lovely. “Borrow my loom, please!” and “Stop by for my knitting circle”. The problem is my split life. I simply cannot be an islander and be a constant traveler, researcher and strategist.

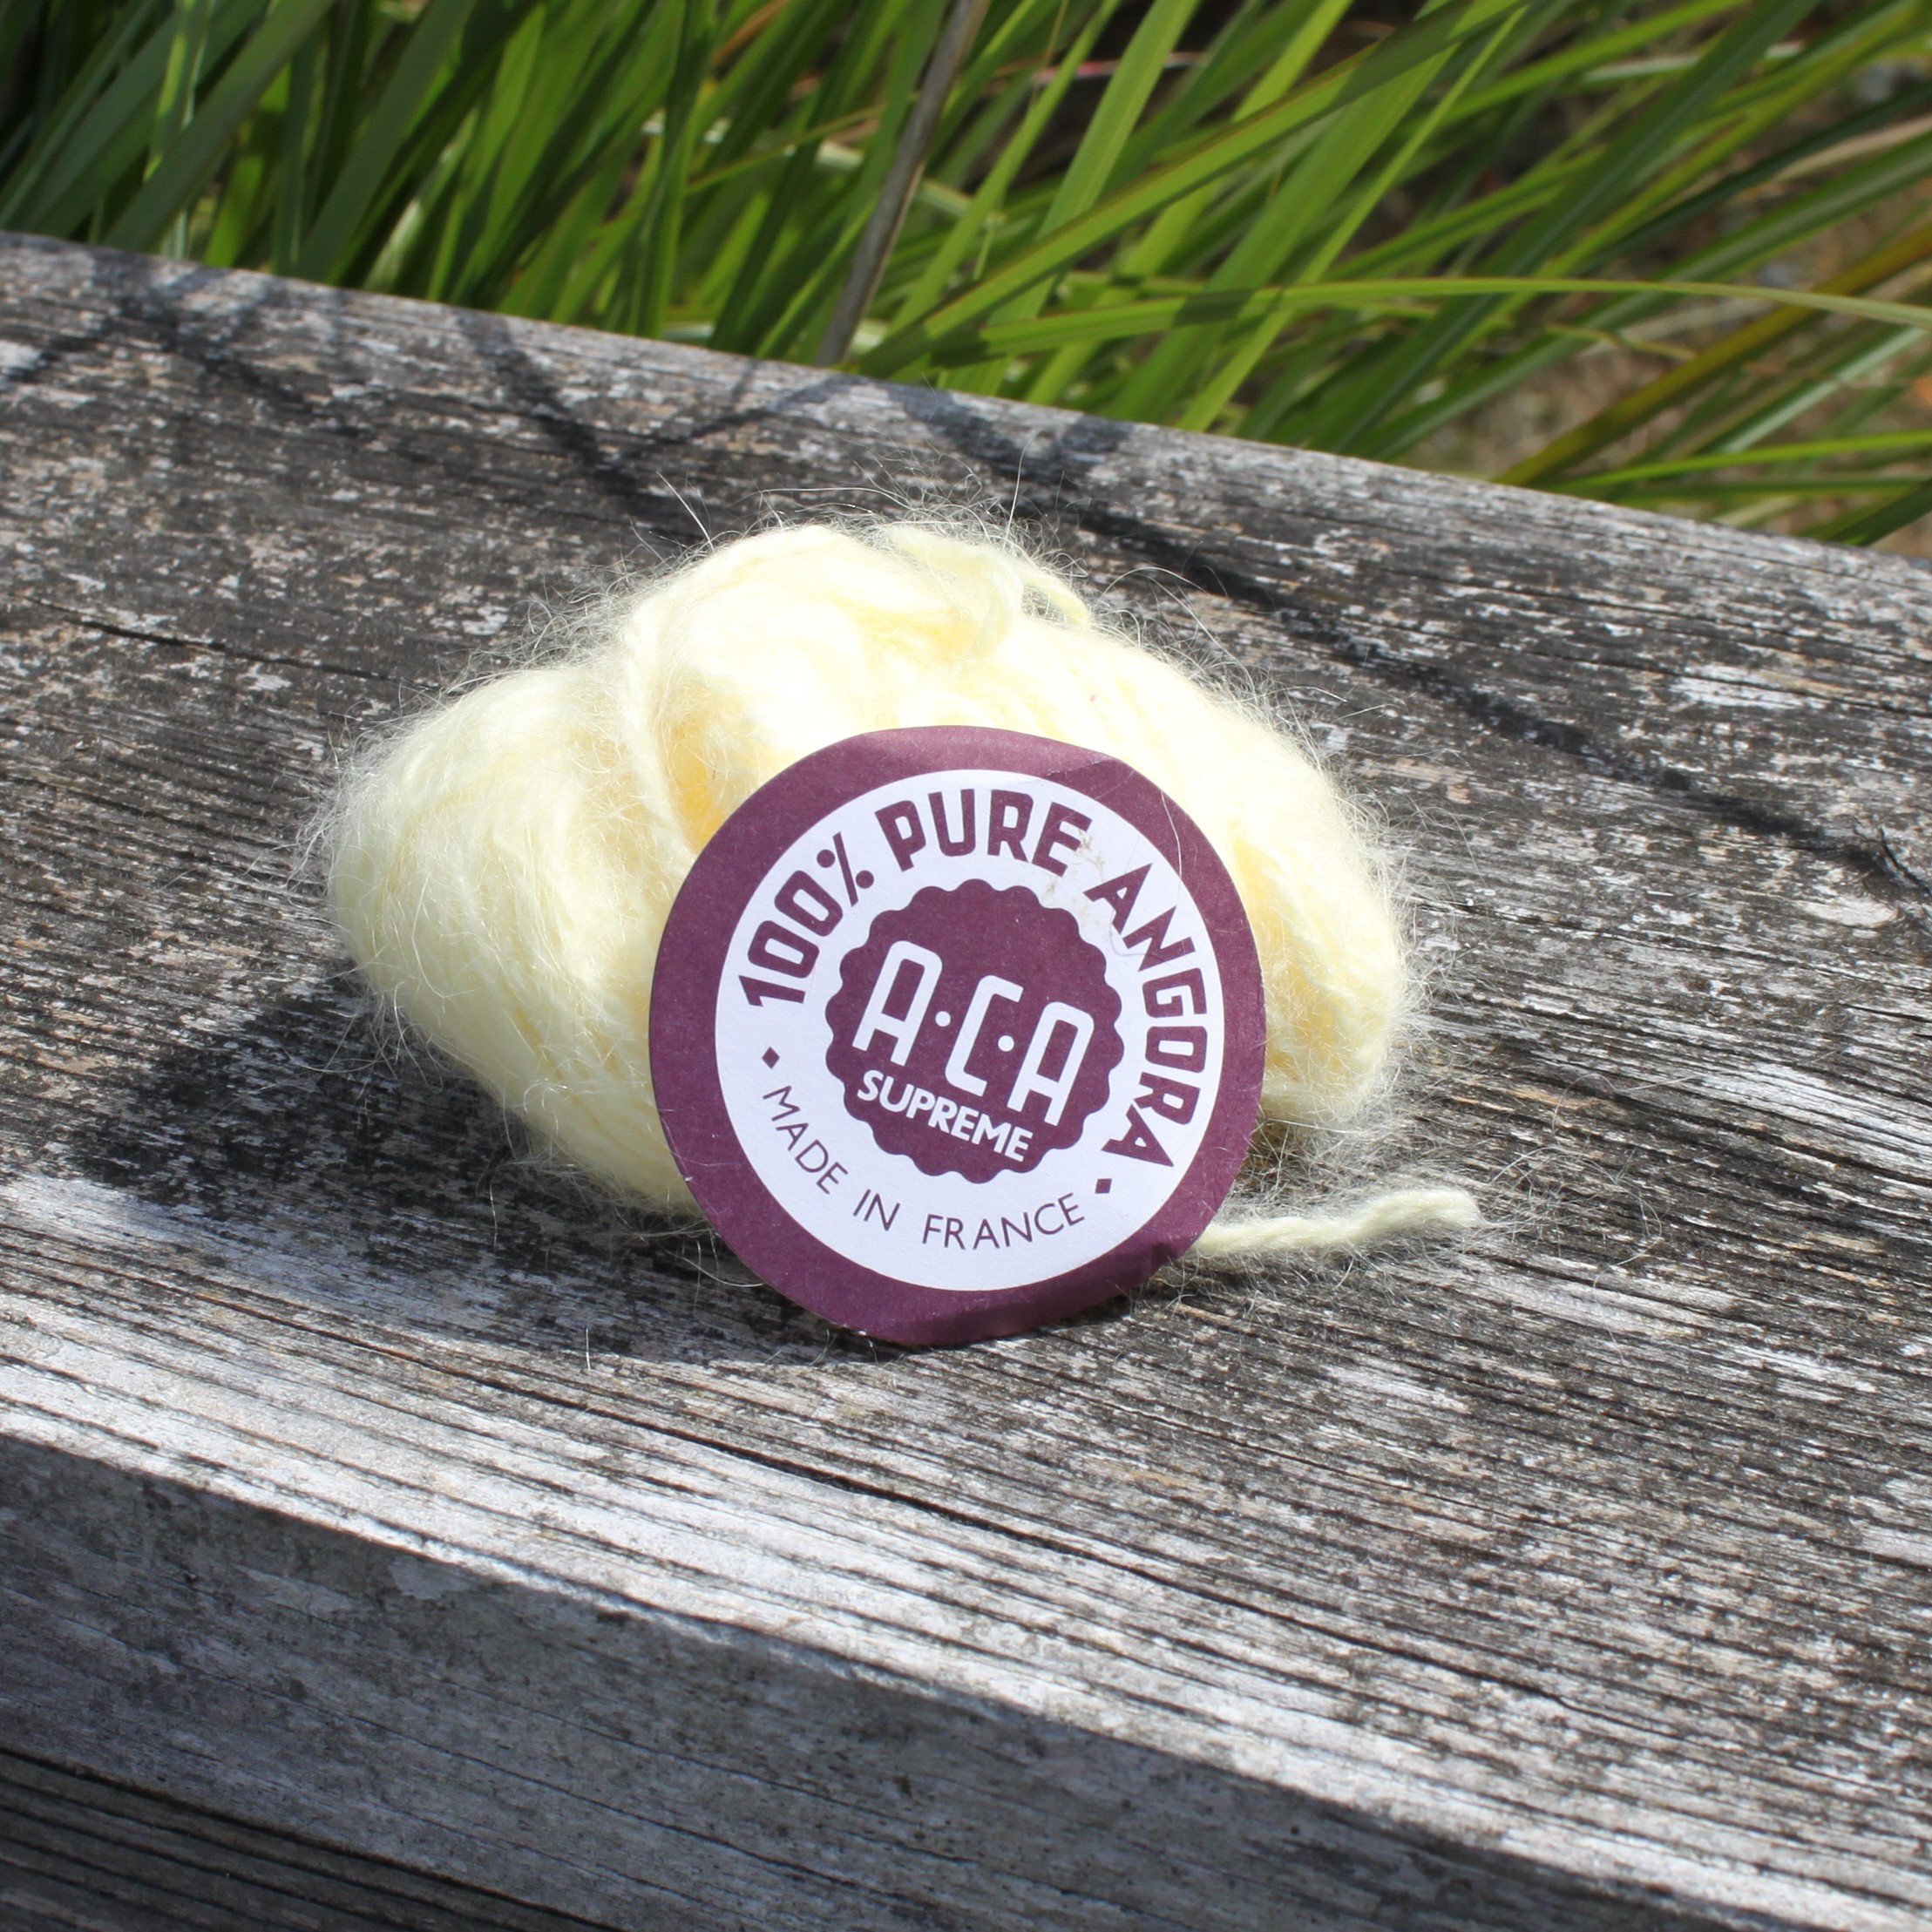
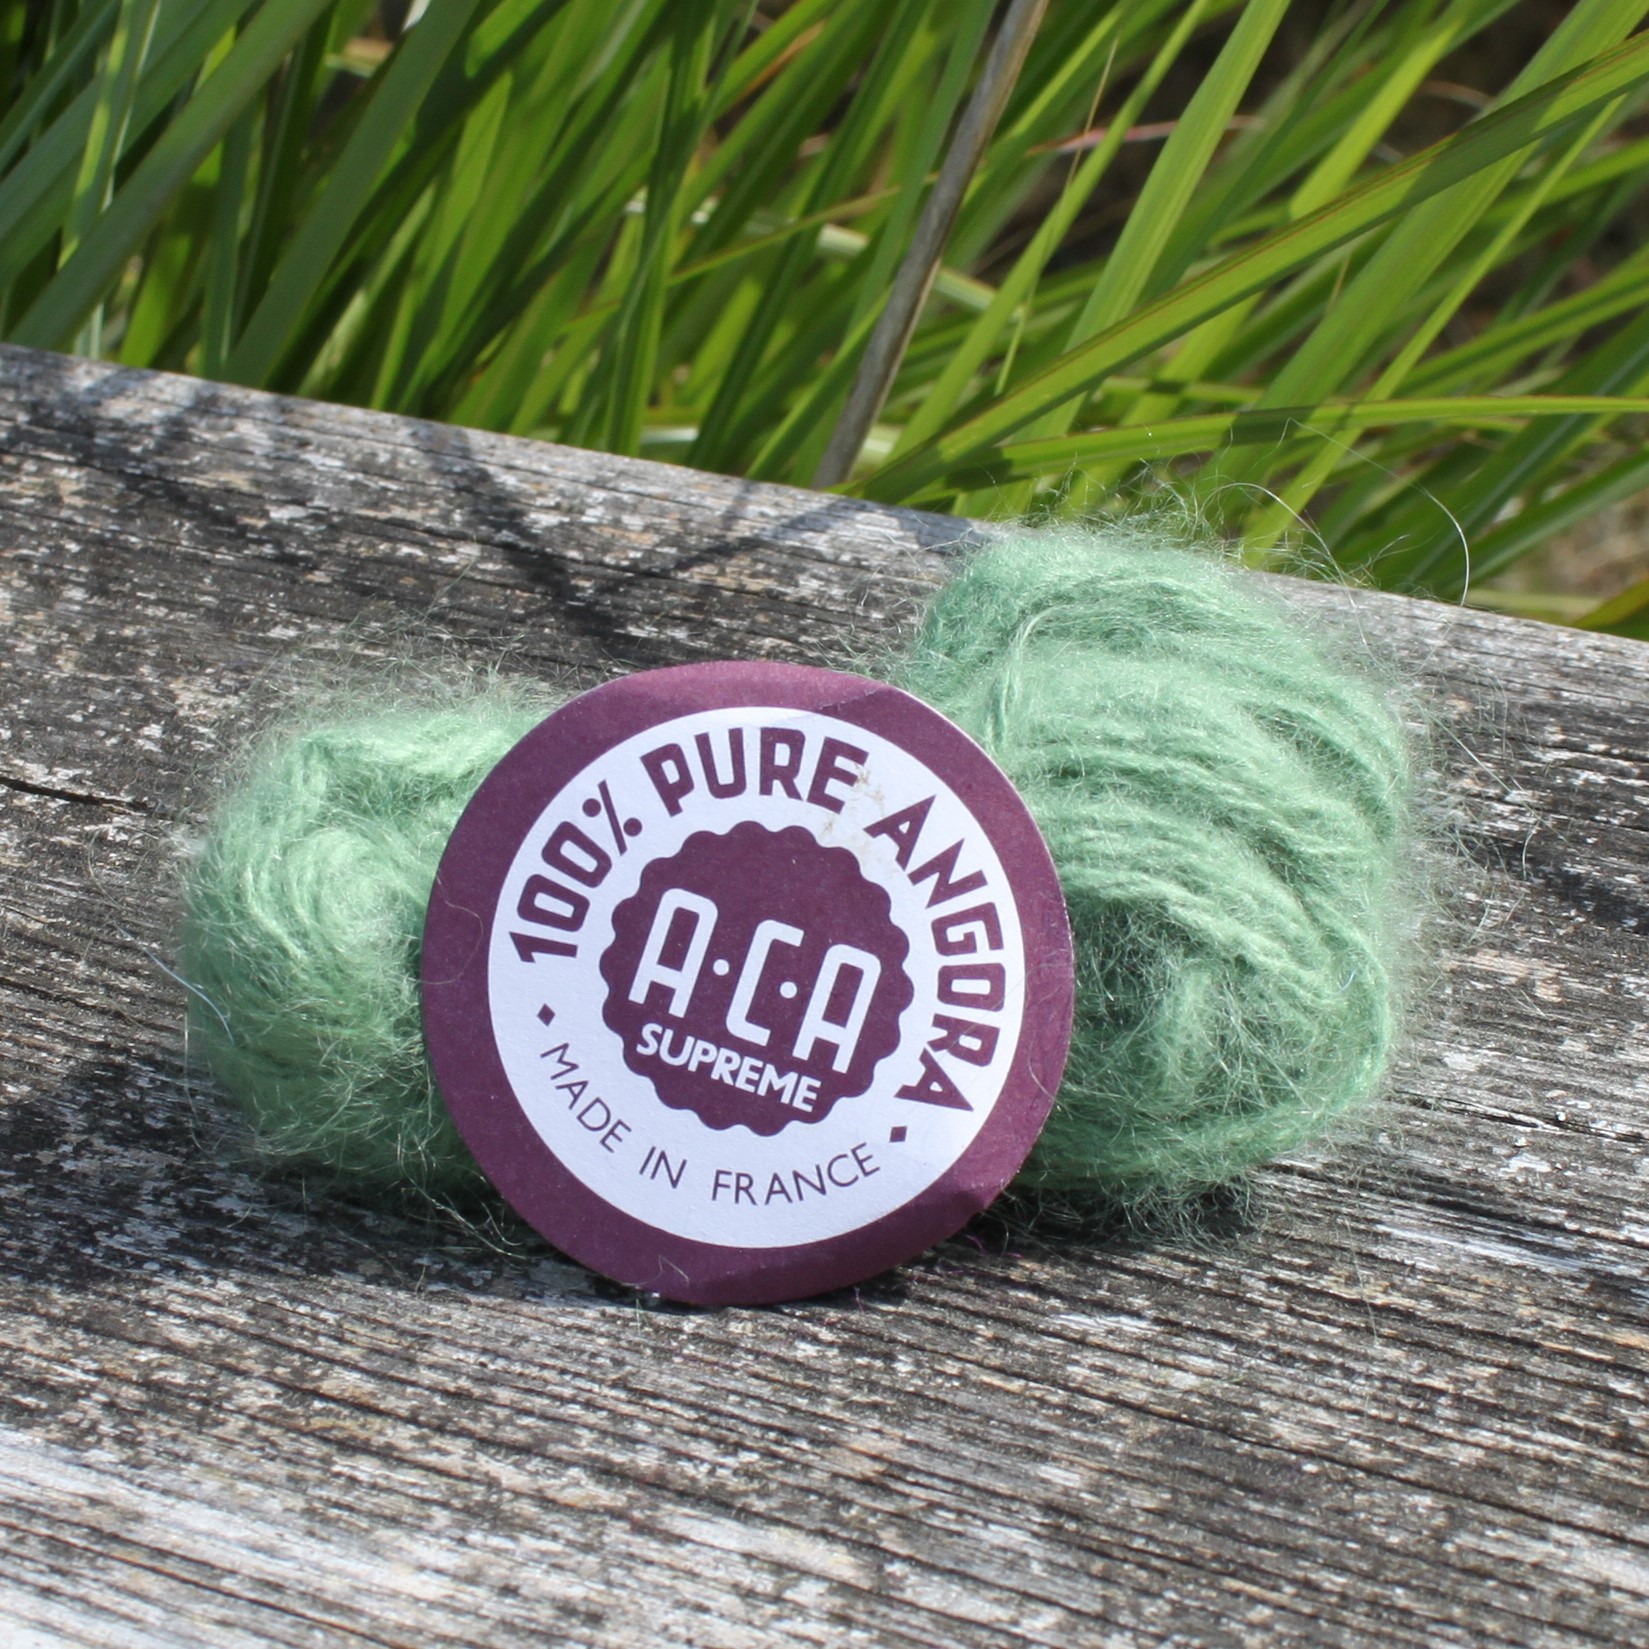
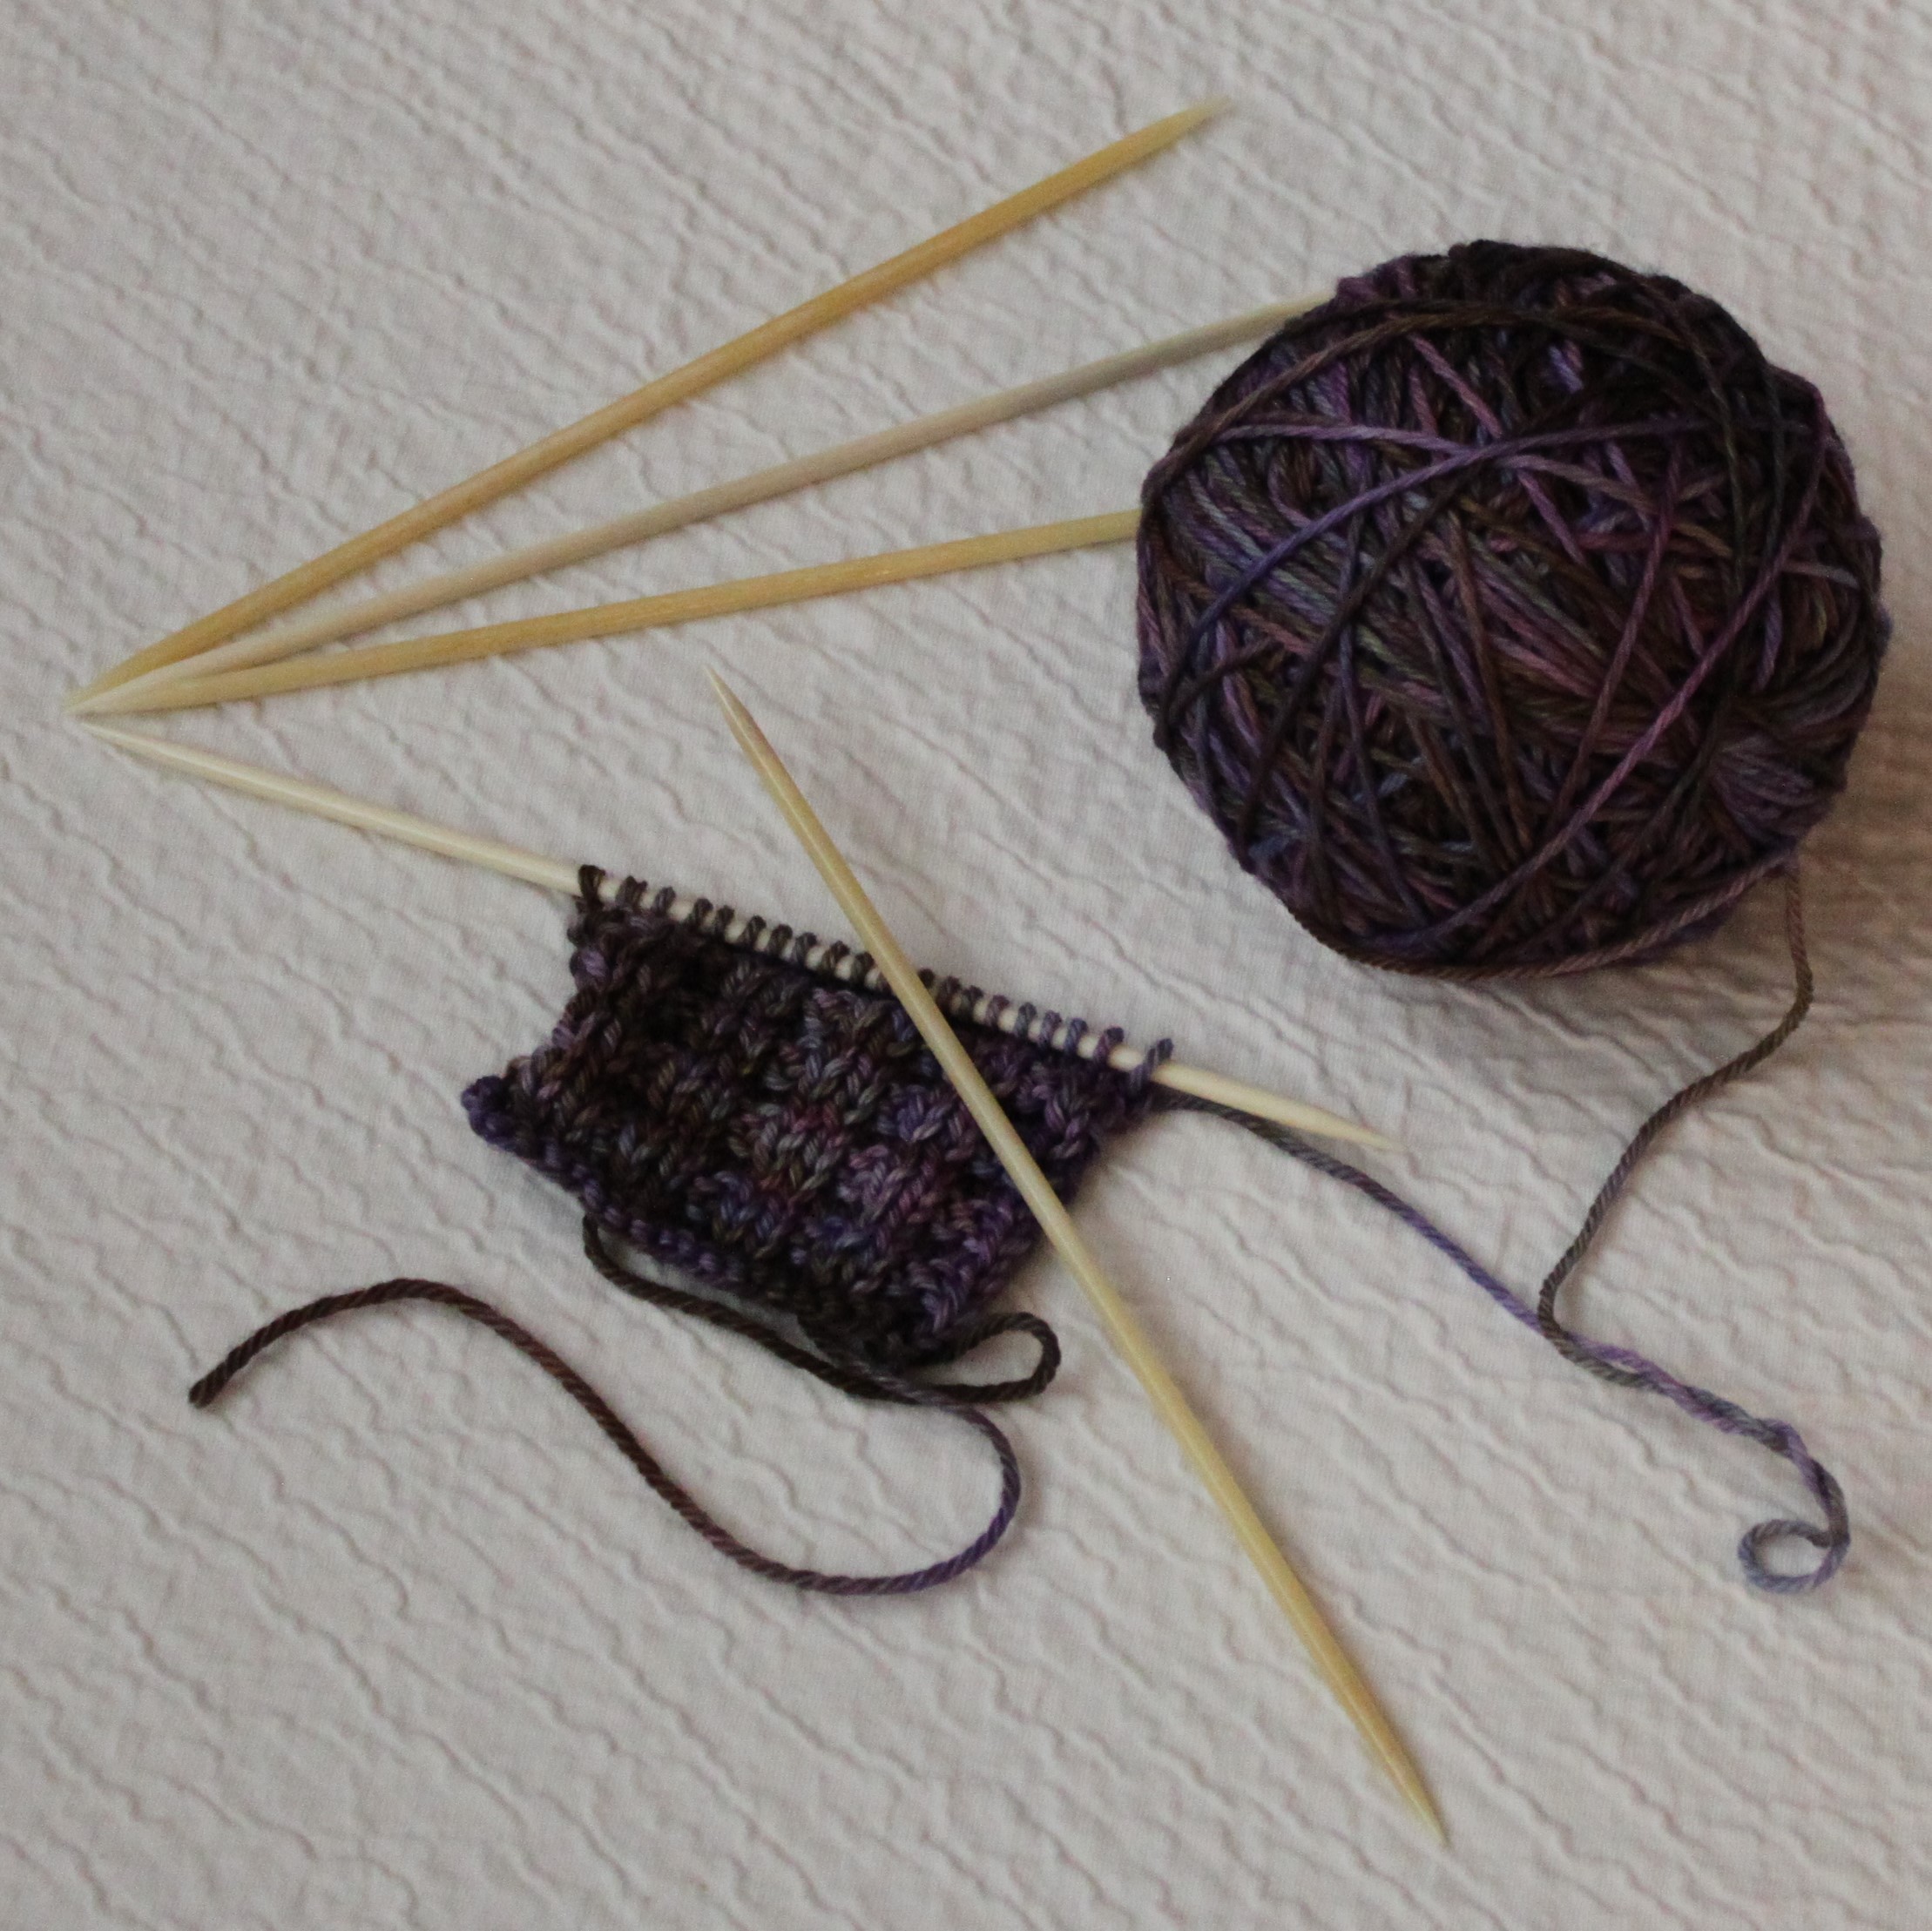
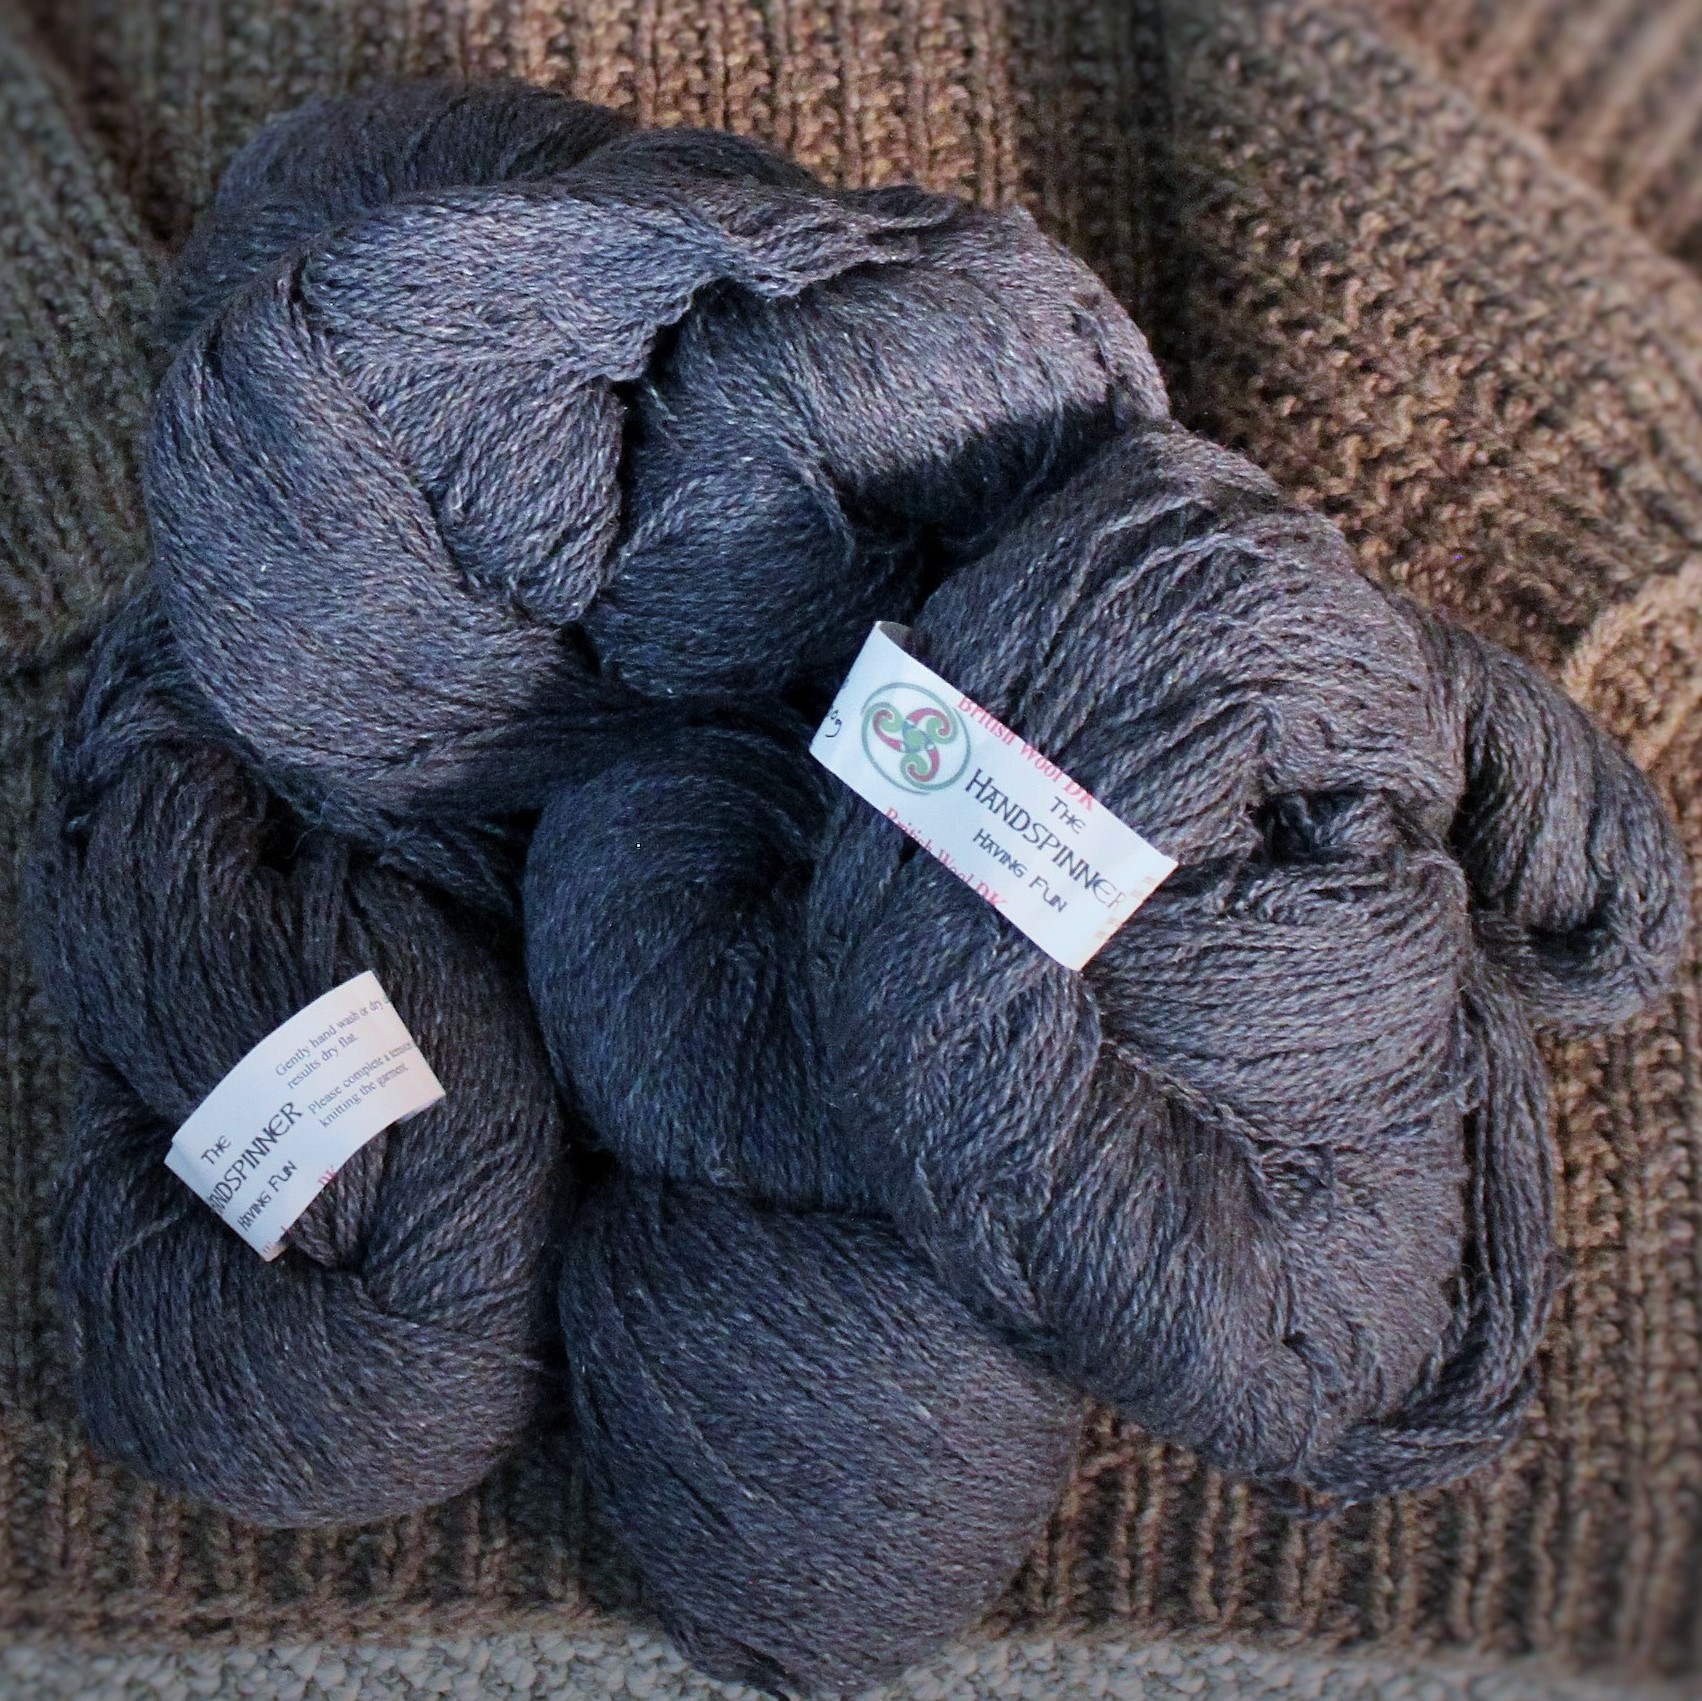
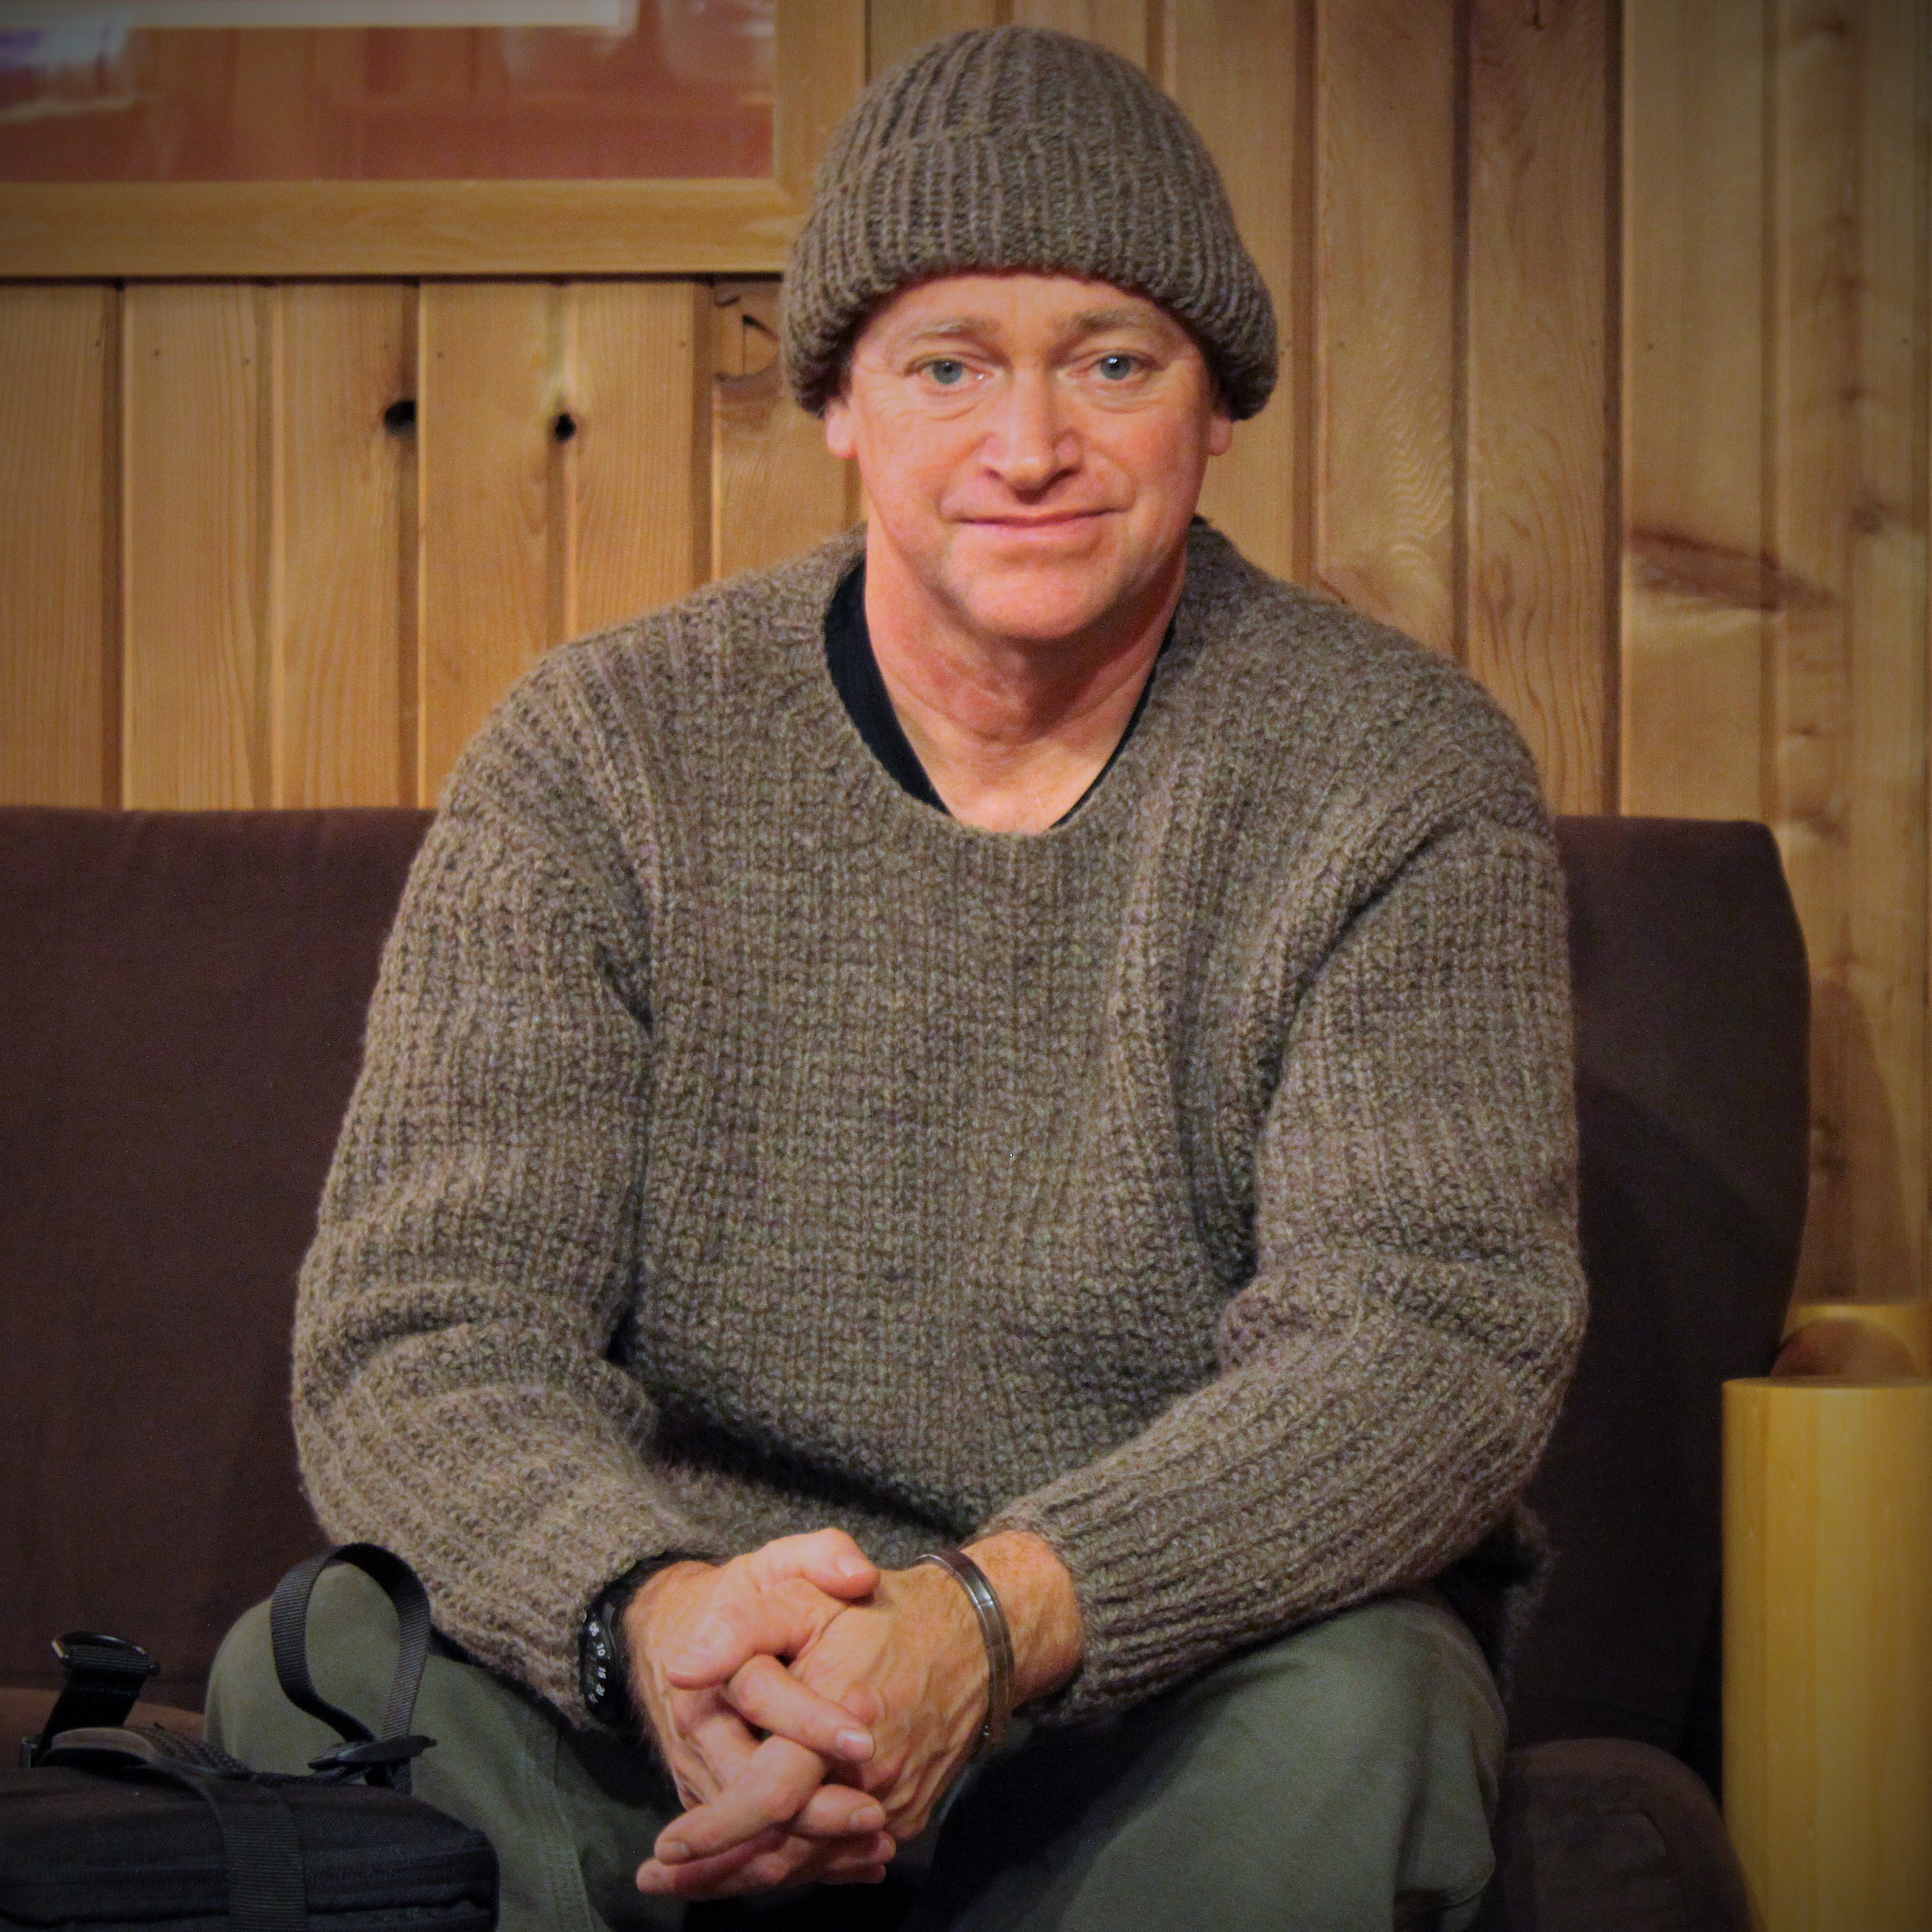
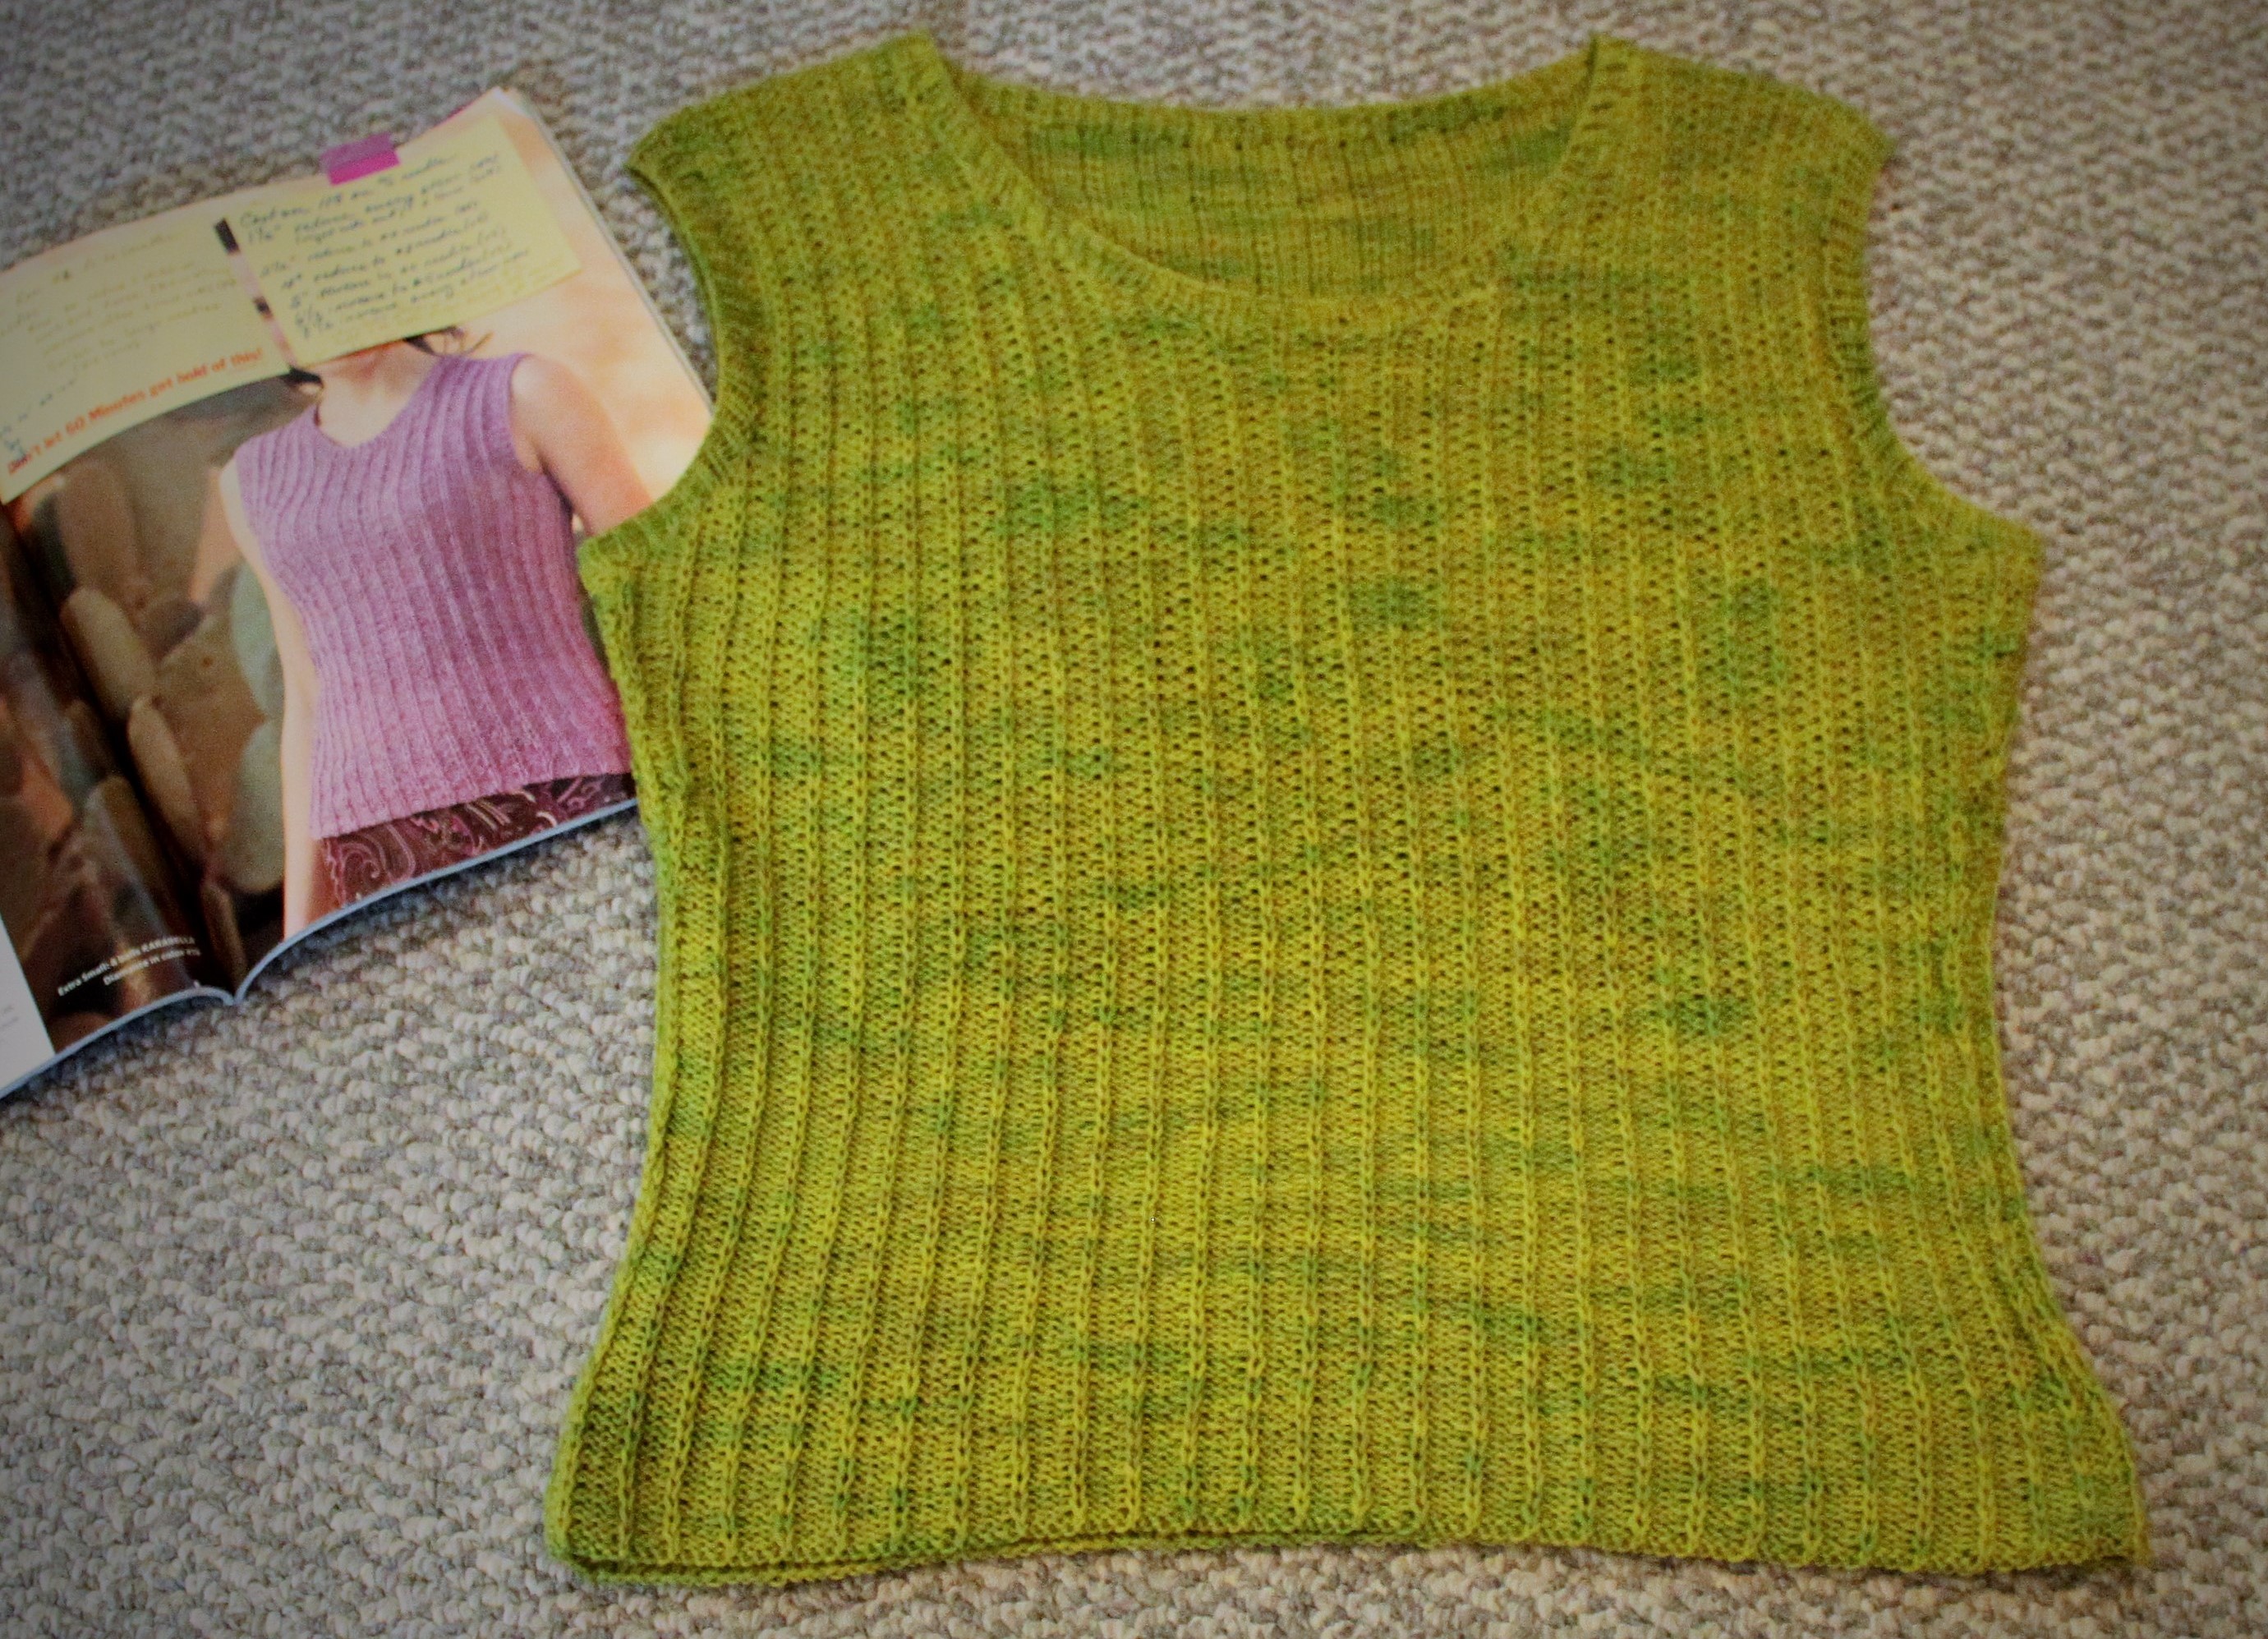
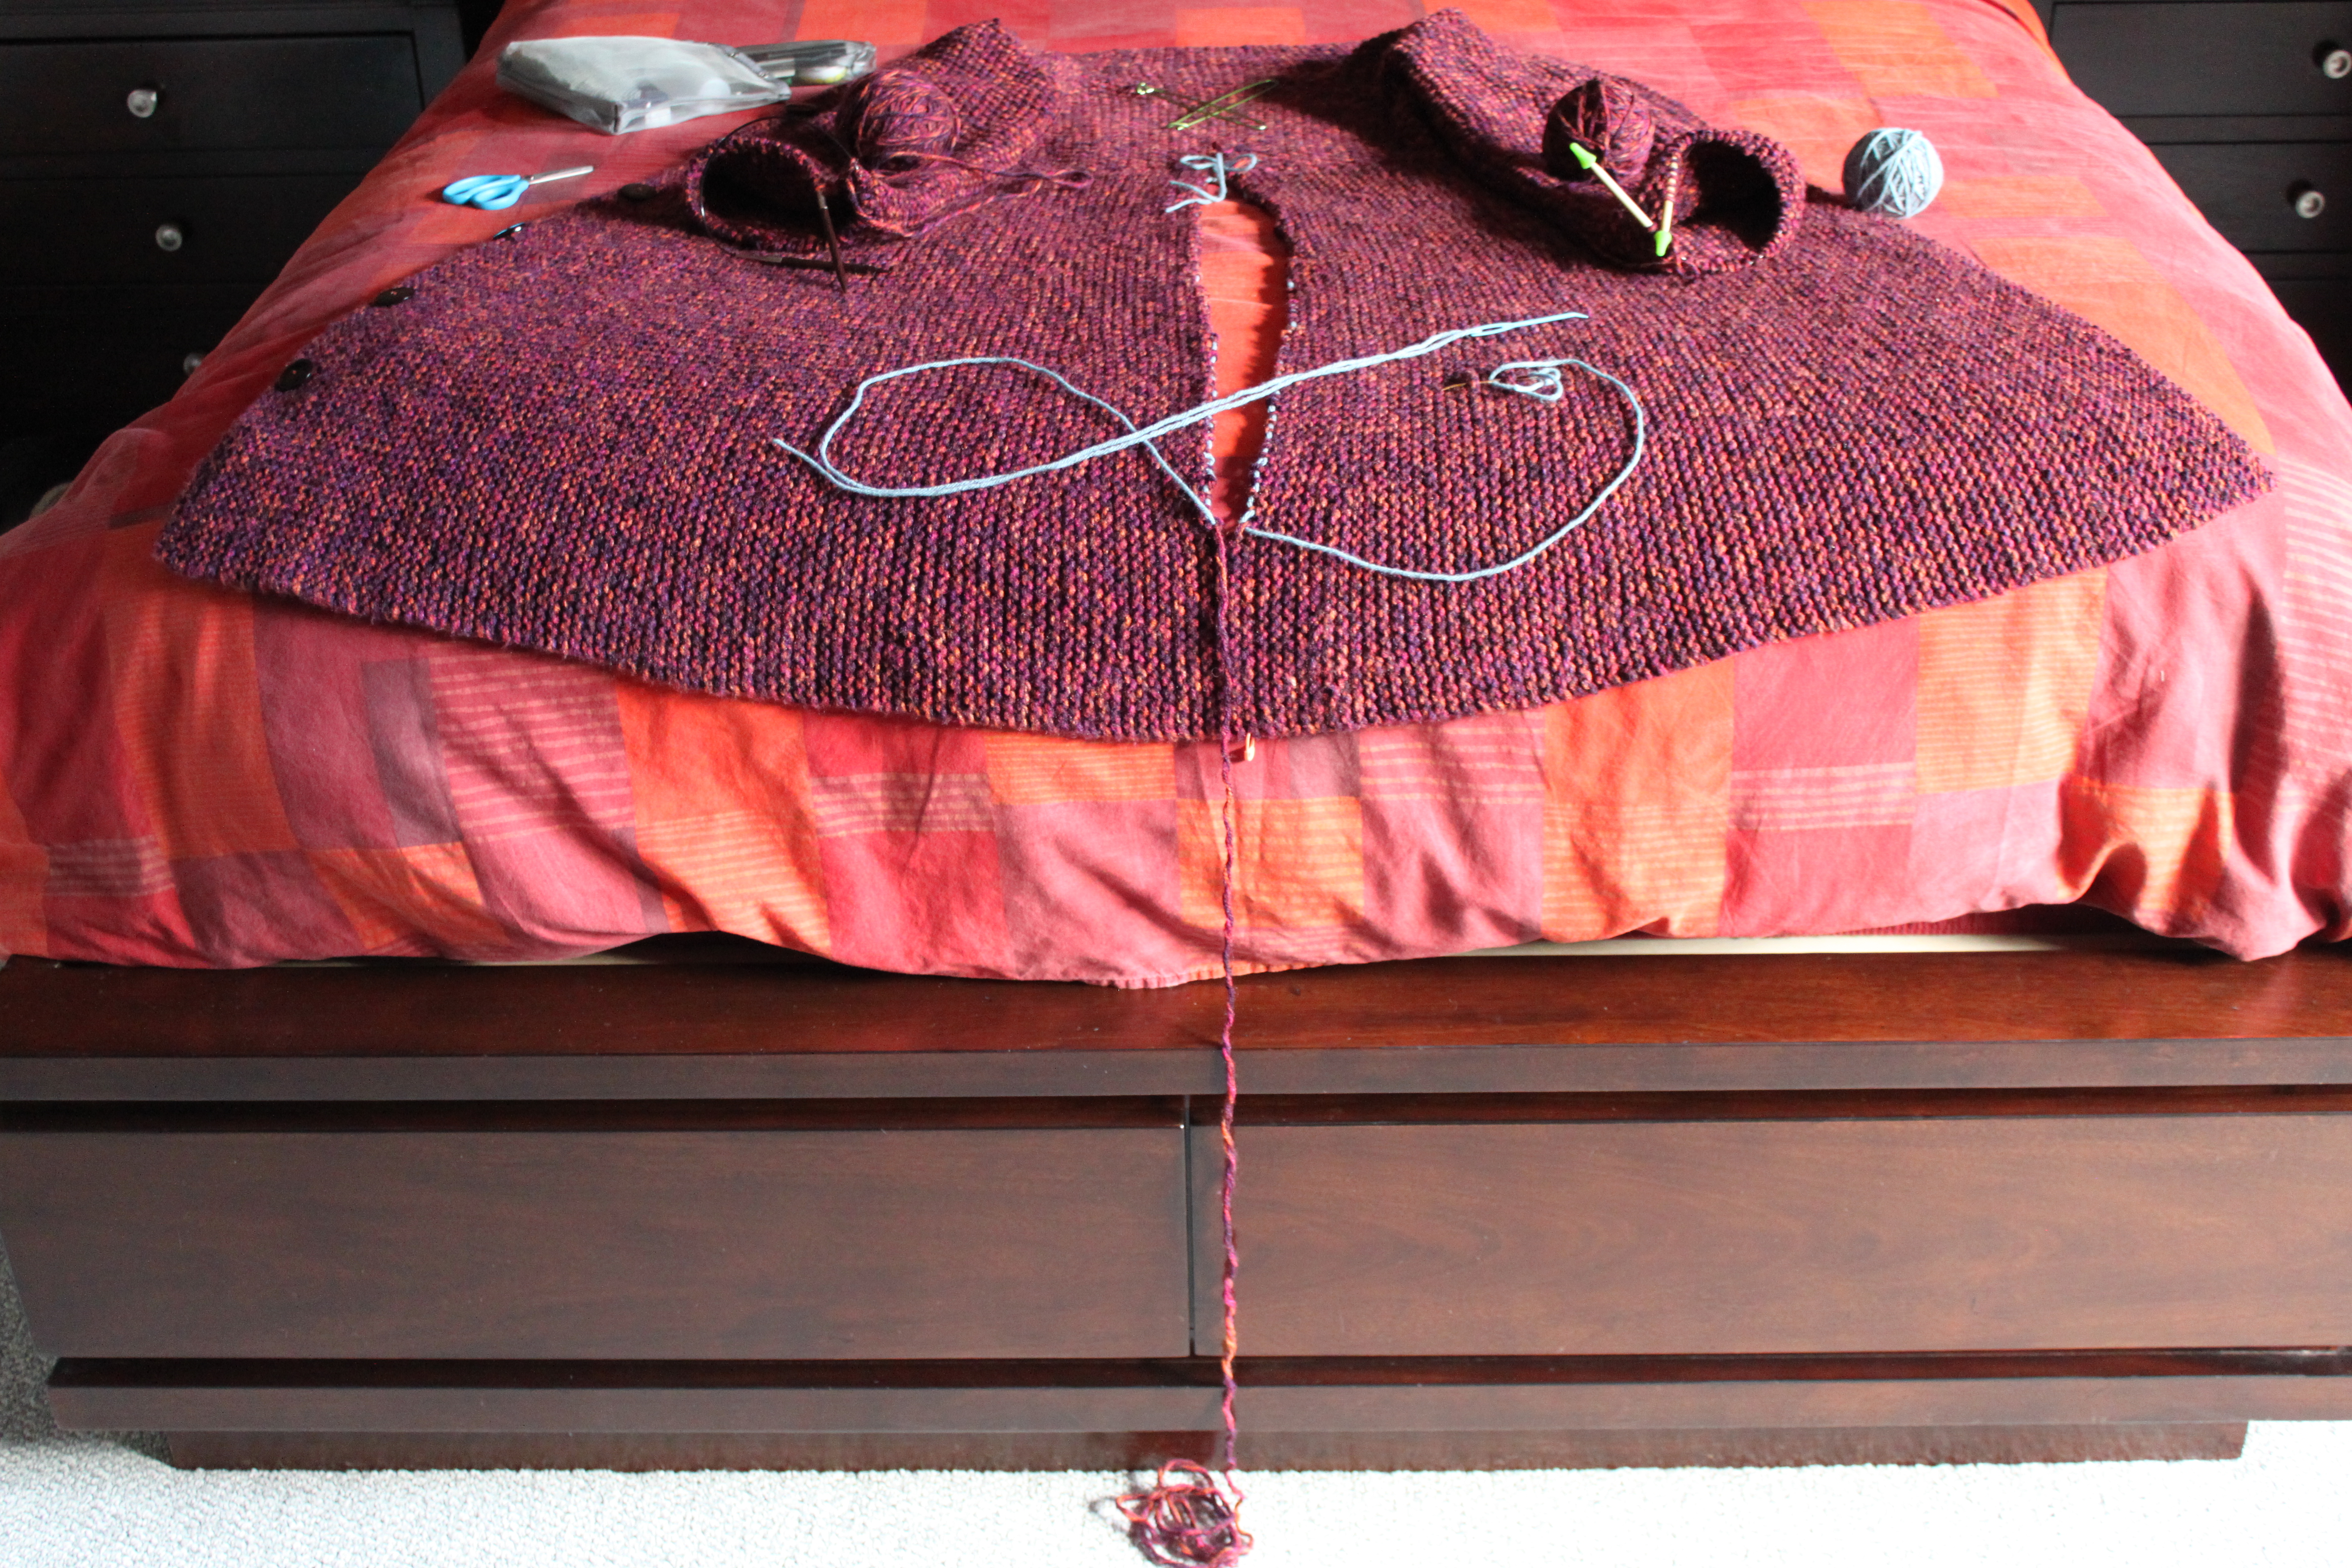
More and more I feel the pull of my creative side and I’ve even been talking to a couple of friends on island on how I might promote this site and potentially start selling things—here and at the local gift shops. Even my husband has gotten into it by telling me I should set up a shop called Fruit and Fiber where we could sell my chutneys and the many fruits of our garden alongside wool from the island wool makers and mitts and bags I make from it.

Green Gages Plums
Green Gages Plums
I've got these prune plums coming out my ears!
I’ve got these prune plums coming out my ears!

The trouble is I’d need the time to *make* these items. I also wonder how it will change my desire to knit when it won’t be for myself or gifts for my friends and family. What happens when it becomes my job. Will I still love it so much? I think so.

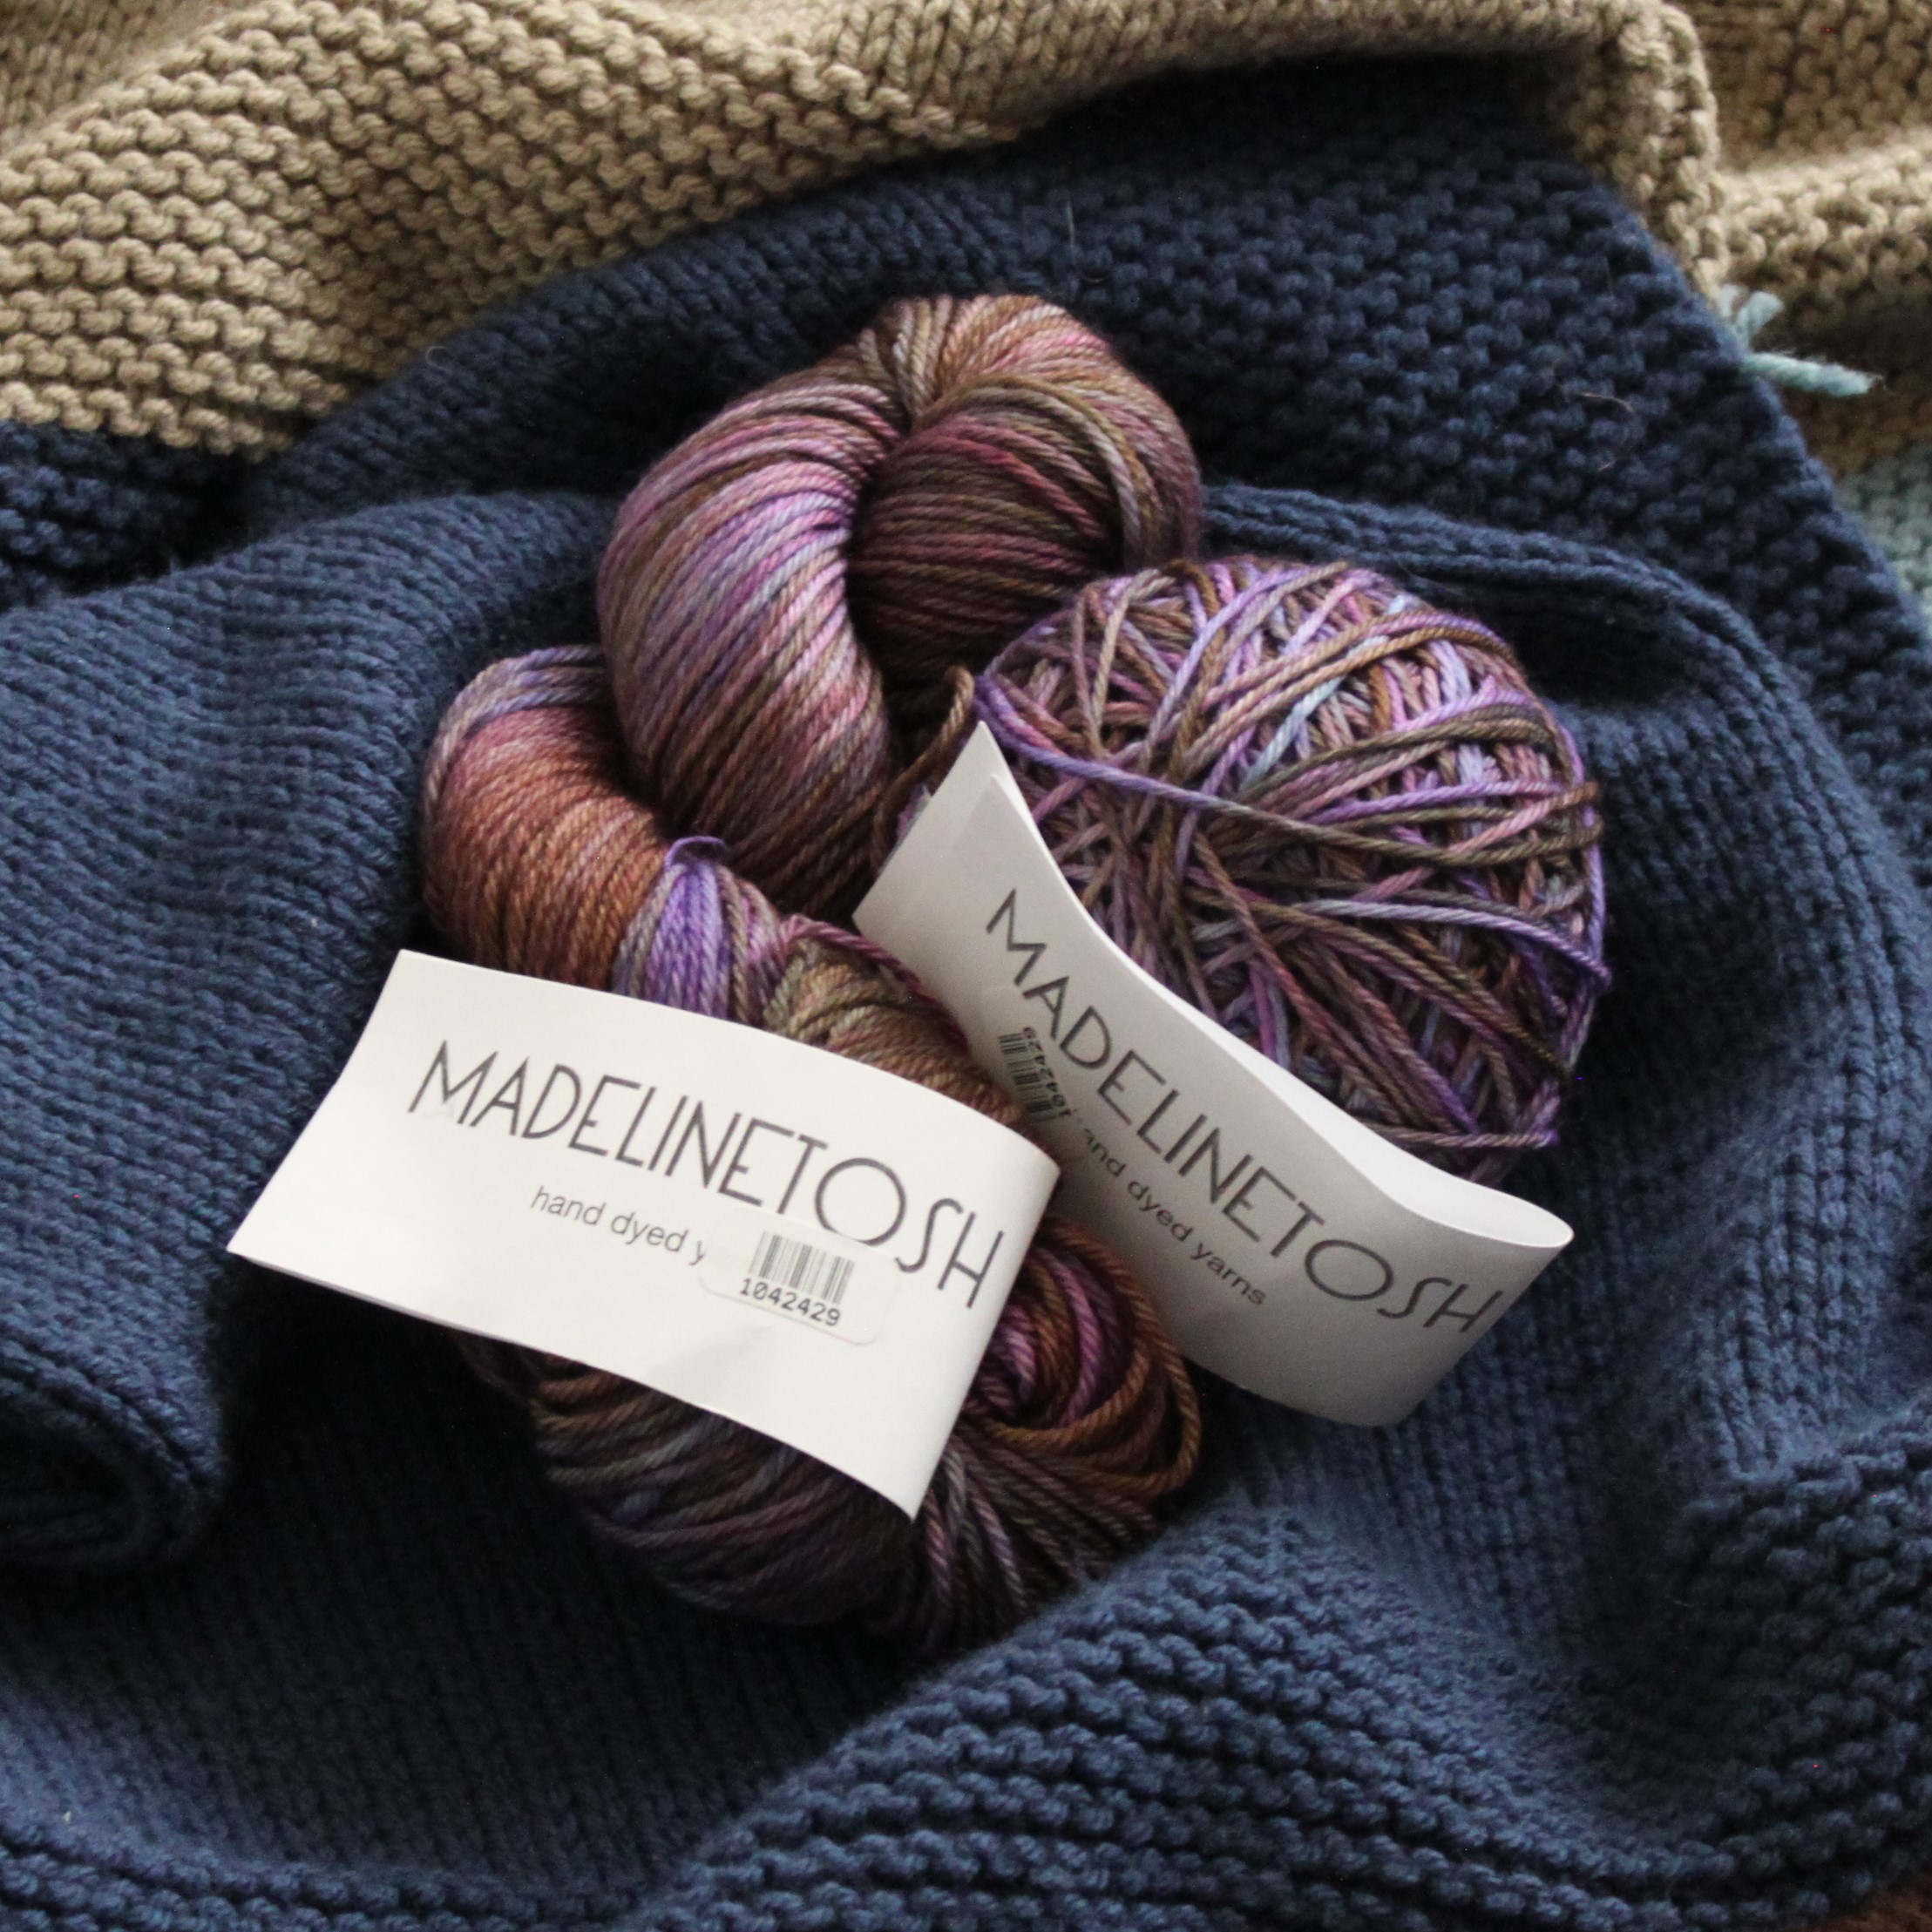
I’ve got designs and patterns that my friends say will sell and the San Juans, especially Orcas Island, are a vacation mecca where people come to buy little reminders of their trips (or they get cold and buy it out of necessity). They think that even if I didn’t go “online” I’d still have a market for my goods.

A seed Stitch Bag--partially my own design
A seed Stitch Bag–partially my own design

Well that’s my quandary for today. It makes me want to miss the late ferry back to the mainland Monday night. Perhaps not today, but someday. Hopefully soon.

Mitts with the Hat
Mitts with the Hat

My Yarn in my Stash Must Be Breeding… Like Rabbits!

I’ve been doing a lot of knitting this year—more than in many years—trying to whittle down the Too Much Yarn—So Little Time stash. I’ve been on a trade/donation kick too. Ravelry shows my trades/gifts for the last 12 months at 28 (!). Two people approached me about hats and scarves for the homeless and got more than they bargained for (massive piles of yarn). Mostly vintage mohair and “virgin” wool.

Scheepjes Diamond 2/4

Some yarns are so old, I’ve had a tough time finding the yardage and proper weights. This week I forensically discovered the weight of a Scheepjes Diamond 2/4 because even though the yarn wasn’t on Ravelry, a pattern for it was.

My most recent sale/donation was a gentleman from Chico, CA who is knitting wool socks for donation to a shelter. He didn’t tell me he was a charity knitter until after we agreed on a price so in addition to the skeins he requested, I stuffed a big box full before I sent it off which meant his funds only covered the shipping. And I friended him on Ravelry so that I can send more as I dig through the vast wasteland of my grandmother’s lifetime of knitting leftovers—mostly odd balls of worsted weight, superwash in 300-600 yard lengths. Enough that if I went into Etsy business of knitting hats, mitts and scarves (as I threaten to do), I wouldn’t need to buy yarn for years.

Natural (Undyed) Handspun Alpaca from Warm Valley Orchard

One of the Orcas Island shepherdesses, Maria Nutt of Warm Valley Orchard, suggested I start weaving. This after I told her I’d recently came across 1200 yards of beautiful (undocumented) natural color alpaca I bought from her more than 10 years ago. She even offered to bring by her loom to get me started.

I Found 11 Skeins of This Bucilla Yarn in an Unopened Box

And just when I think I’ve seen all of my collection and I’m sure I’ve posted it on all Ravelry, suddenly more appears. Two weeks ago I found in box that hasn’t been opened for three house moves which contained Eleven 100 gram skeins of pale yellow—2500 yards of it. How the heck did I miss it when I spent weeks photographing and cataloguing “everything” I owned last Fall?

So I’ve come to this conclusion—they must be breeding away—making new little skeins; growing them like nodes on the side of an epiphyte.

Partly this is because people also give me yarn. One friend I made a mock turtleneck for (nearly identical to this one by Karen Templer) gave me a small box of yarn from her grandmother. “She’ll know what to do with it”, her grandmother said. But I didn’t. I left it in that little white box for four house moves—never opening it after that afternoon tea with my friend–until now.

Unopened box of Angora

Last week, after years *blush* of it sitting as a box in a box, did I take a look at the magic inside. 17 colors—most shades of pink and purple—of worsted weight angora. They are mostly dribs and drabs—some as small as 30 inches the longest is a 99 yards of fuchsia, but I think they might provide “fuzzy” interest paired with a masculine color like burgundy or navy in a Sally Melville’s stashbusting Topher’s Pullover.

Dribs and Drabs of Angora
Four Shades of Pink
Four Shades of Pink
Three Shades of Purple
Baby Blue Angora
Baby Blue Angora
Pale Yellow
Pale Yellow
One of the Green Angora
Fuschia
Fuschia
Unopened Kit for a Square Dance Sweater

Another box I dredged out this weekend was a kit I’d tried to give it away without opening it. After my discovery of the angora, I got curious and opened it up. Wow! Another huge surprise. Inside a cheesy looking square dance sweater kit (my gramps and gram used to cut a rug to the caller at least once a week) was the most beautiful ivory colored Scheepjes wool with matching 7 matching colors for the little people dancing around the hem. And let’s not forget the cowhead buttons! Yee Haw!

Cattle Head Buttons!!

I’m hoping that they measured on the generous side, because this is coming off the donate pile and going onto the looking for a good worsted weight pattern—maybe I’ll even mix them it into the Topher pullover and use the ivory for another sweater—possibly something from Madder 2 which I’ve been angling to dig into now that my Home and Away, George Hancock Cardigan, is done.

Directions for the Kit

Sometimes my stash makes me feel tired just looking at it. Have any of you inherited or been given yarn, supplies, cloth and/or other items and wondered what to do with it?

Ivory Wool--the Main Color
Ivory Wool–the Main Color
Handful of the Wooly Colors

My First Knit-a-Long

It’s been awhile since I posted. What have I been up to? Knitting! Well that and lots of travel. Too much in fact!

Two books from Quince & Co. Home and Away and Madder 2

I’ve just finished my very first knit-a-long (KAL). I’ve always been tempted, but nothing has ever bit. I’m particularly uneasy about “Mystery KALs” because I worry I won’t like the end product. Money, time and opportunity costs are problematic when they are in limited supply.

So what’s different this time? Plenty!

The Woolful KAL for July had no time limit and no pattern choice—just a book choice. And what a lovely book it is: Home and Away: Knits for Everyday Adventures by Hannah Fettig. I love the clean lines and simplicity of the patterns—it matches my aesthetic to a tee. And I knew just from glancing through the patterns on Ravelry, I’d be learning new skills along the way.

Collar is 72 rows of garter stitch

Being me, I couldn’t choose one pattern—I had to put my stamp on it, so I merged the Georgetown which had the shaping and sizing I loved with the Hancock which had the fabric I loved. The garter edging just stood out and it also reminded me of another of one of Carrie Bostick Hoge’s patterns in my queue, Maeve.

Kathryn Taylor Chocolates--made here in Orcas Island
Yummy Kathryn Taylor Chocolates–made here in Orcas Island. One of the things that helped me finish!

At first I made very rapid progress, so much faster than on Nick’s sweater, which seemed to take a huge amount of time. Of course bigger needles and DK instead of sport weight also had something to do with it, but the complexity of the pattern (the KAL is much easier) also had an impact. But there was trouble in paradise.

It turned out well shaped for my body
Shaped to fit me

In a knit.fm podcast (the 8th?) Pam Allen said something like “It’s much harder to create a simple pattern.” I agree. To add to that, knitting classic, simple looking patterns can be challenging to get right. This is because they show everything. So while the knitting went quickly, I felt like I was constantly tearing it out and starting over. This is not the pattern’s fault—these were errors you’d think I would have grown out of my now!

Obvious color change when I changed skeins
Obvious color change when I changed skeins discovered on a flight to Atlanta

The Challenges:

Even though I’d remembered to alternate balls on Nick’s hand-dyed sweater which used hand dyed yarn, I failed to do so on the WoolfulKAL. And as a regular reader of The Fringe Association blog, I’d also seen Karen Templar have a similar experience. Yet there I was starting over 2/3 of the way up the back.

The cap shaping fit with the body like a glove
The cap shaping fit with the body like a glove–only after I counted every row!

Then there was the back and front panels being off by two inches. I was doing this sweater mostly on airplanes and I’m a “carry-on” fanatic. So I didn’t have the back piece with me when I knit the fronts (the advantage of knitting in pieces). In the end, I was counting every row front, back and sleeves to make sure they all matched identically. Yet another reason for me to try out top down, seamless knitting and Hannah suggests.

The last issue is another one we all know—that your gauge changes if you knit at different times. And though you can often block these things out, sometimes you just can’t. On my longest flight to and from Seattle-Frankfurt. I got loads of knitting done on the seemingly endless collar only to find that jetlagged knitting isn’t good knitting—dropped stitches, split stitches—things I haven’t done in years. So the entire collar had to removed and redone.

It’s all finished now and the first thing I did was curl up in it and fall asleep. I guess you can teach an old knitter new tricks!

Keeping Wurm in Seattle

Apologies for the long lag between posts, I was finding it hard to post from the Inner Hebrides and the business trip before and after I went. Oddly, when I used to write a travel blog, this was the easiest thing in the world. I met my husband on my blog. No joke! And I‘ve thought about resurrecting the site though having two blogs, if I struggle to keep up with one seems a bit silly. I’d love your feedback—separate or together?

Clouds over Tuscaloosa, AL--thought I saw a funnel cloud!
Clouds over Tuscaloosa, AL–thought I saw a funnel cloud!
Clouds on the flight back to Seattle

I thought I was being so original—knitting a Wurm hat in Seattle sport team colors. But alas, I found no less than eight more Seahawks versions of the Wurm hat by Katharina Nopp on Ravelry.

This said, each one has its own uniqueness, including mine, which was started as a travel project because I thought my husband’s Blue Skye sweater was too much to pack on a recent business trip to Tuscaloosa, AL. In retrospect, it would have been better to bring it and return with it finished—I ended up having more time in the evenings and on the plane than expected—not to mention plenty of room in my bag despite being on the road for a week with only carryon luggage—a trick I’ll talk about in another blog post.

One of my favorite Seahawk Wurm’s is Early Robyns Get the Wurm by Traevynn which uses not only the green and blue, but a dose of white as well—just like the logo. AuntieDi did a Wurm which is literally the reverse of mine. Blue with green, instead of green with blue, out of local yarn manufacturer, Cascade Yarns220 superwash.

Working on the Wurm while I wait for my pontoon plane

My Wurm is a mix of boutique yarns—one local, one from San Francisco. The blue is a DK from Warm Valley Orchard on Orcas Island. The owners of WVO do everything from raise the sheep, shear, card, spin and dye the wool on island. It’s a bit itchy, but warm and the rich blue color is amazing. The green is the now sadly defunct Art Fiber’s sport weight Peruse, a soft baby alpaca. This softness is why I selected to have the green parts closest to the face and head.

Two projects--taking up a whole bench at Kenmore Air Harbor
Two projects–taking up a whole bench at Kenmore Air Harbor

What I loved about this pattern was learning to do a double headband. I’d heard about doing this for collars, but I’d never tried it, so doing it on a project like this one with leftover yarns took almost all the stress out of it. Though it did take a couple of tries to get it just right. Knitting it was fine, the problem was picking up the stitches from the edge. You have to align it perfectly or it looks weird.

After trying a failing twice, I finally took a contracting color, slipped them through all the “known” stitches and only took stitches that were on that string—no more no less. Got it perfectly right that time. Whew!

Cockpit of the de  Havilland Otter. I got to ride up front!!
Cockpit of the de Havilland Otter. I got to ride up front!!

I’m still sewing my husband’s sweater together and next will be to pick up the collar. I started with that before the sleeve sewing, but ran into trouble. Now I think I have a technique from the hat which will make that go much better.

Forgive the quality of my photos. All of these were taken with my phone and many under very jittery conditions—mostly in flight on a de Havilland Canada DHC-3 Otter pontoon plane. If I could afford it I’d always commute up with Kenmore Air.

San Juan Islet with Mount Baker in the background
A San Juan Islet with Mount Baker in the background
Boats darting all directions in the San Juan Island
Boats darting all directions in the San Juan Islands
A view of the ferry I never get!

Warm Waffle Mitts

Madelinetosh DK in Cathedral

Download PDF: Warm Waffle Mitt Pattern

With the funds from some recent vintage yarn sales on Ravelry, I recently purchased 2 beautiful hanks of Madelinetosh DK in Cathedral. What prompted it (besides a closeout sale on that color) was lovely Violet Waffles hat pattern. It looked like it would be perfect for a good winter/spring all-purpose hat.

Violet Waffle Hat
Violet Waffle Hat

When I’d finished and still had a full hank and then some yarn leftover, I thought it would be nice to have a matching pair of fingerless mitts. This inspiration came along after a couple chilly mornings waiting for the bus whilst trying to check for its approach on my cell phone. Mitts are the perfect combo of finger to phone access and woolly goodness.

I searched several times for the features I needed. Nothing out of the ordinary, I thought; just a pattern with the following characteristics:

  • A longish mitt that would go up the arm for extra warmth;
  • Something in a waffle pattern or one that could be converted; and
  • Works well with a DK weight yarn

Easy! Um. No.

Mitts with the Hat
Mitts with the Hat

I could find one or two of these characteristics, but struck out on finding all of them, so like any budding designer, I made my own. The closest was Lettice Weasel’s Slim Fit Stripe Mitt pattern for length and yarn weight, but it didn’t work for the waffle pattern. So I started there and made changes, which led to several more changes to compensate for the first changes, and so on. Rather than a slim fit, I really wanted something a bit more comfortable.

So here it my own pattern for the Warm Waffle Mitts. So good you can easily eat in them.

Materials/notions:

The gauge swatch
The gauge swatch
  • ½ hank of Madelinetosh DK (~110 yards)
  • 3 stitch markers in contrasting colors (one of one color—two of another)
  • 4 double point (DP) needles in US sizes
  • 4 and 6 or whatever needle enables correct gauge.

Gauge: 22 stitches, 32 rows = 4” square

Abbreviations:
K – knit
P – purl
M1 – Make one stitch by knitting or purling into the stitch below
DP(s)/ DPN(s) – double point(s), double point needles
rnd(s) – round(s)
st(s) – stitch(es)

Pattern:

Wrist to Thumb
Onto smaller DP needle, cast on 40 stitches. Divide them across three needles. Place a (uniquely colored) marker to indicate rows.
Rows 1-22: work stitches in the round in a K2 P2 rib
Rows 23-24: Change to larger needles and K all stitches
Rows 25-26: work in K2 P2 rib.
Repeat rows 23-26 until you have 30 rows of the waffle pattern (ends on second row of all knitted stitches)

Thumb Gusset
Row 53: K2 make a stitch by purling into the row below and place a marker, P2 and then work in K2 P2 until you are two stitches before the original start/end marker. Place another marker (same color as the first in this row, but different than the original color). Make a stitch by purling into the row below and purl the remaining two stitches. Stitch count = 42, 6 stitches between the two new markers.
Row 54: K2 P2 until the last 3 stitches. Purl the last 3 stitches.
Row 55: K all stitches
Row 56: K3 M1 by knitting into the row below. Move marker and K to marker. Slip marker. M1 by knitting into the row below and K to end. Stitch count == 44, 8 stitches between new markers.
Rows 57-58: K2, P4 work the rest of the row in K2 P2 waffle pattern until you reach the marker. P4.
Row 59: K4, M1 by knitting into the row below, slip marker, K to next marker, K2, M1, K2. Stitch count = 46, 10 stitches between the outside markers.
Row 60: K all stitches
Row 61: K2, P2, K1, slip marker and P2 K2 until you reach the next marker. P2 K1 P2.
Row 62: K2, P2, M1 by knitting into the row below, K1 and follow pattern until you reach the marker. P2 M1 by knitting into the row below, K1, P2. Stitch count = 48, 12 stitches between the markers.
Row 63: K to last marker and transfer all stitches between the markers to a holder—removing all markers.
Row 64: knit the remaining 36 stitches. Placing a marker to keep track of rounds.

Hand
Continue to work in the round following the waffle pattern for 14 rounds (should have just completed 2 rounds of K only rounds.
Change to smaller needles and knit in K2 P2 rib for 8 more rounds and cast off in K2 P2 pattern.

Thumb
Arrange 12 stitches on three DPNs. Start from the last knitted stitch, place marker and pick up two stitches from the hand side of the thumb gusset. K to marker.
Next 2 rows: P4 K2 P2 K2 P2 K2 (4 purls should be on stitches that are between the thumb and hand).
Next 2 rows: K all stitches.
Repeat 4 rows 1 more time.
Cast off (on second knit row)

The Race to Finish a Jumper for Skye

Nick walking on the pier at Broadford

My husband and I have a thing about Scotland. Actually, he does and I’m getting that way after years of visiting with him. While Scotland as a whole is a great place, Glasgow where he was a Visiting Researcher, and the Isle of Skye, where his father took him hiking growing up, have made a lasting impression. So every year or so we go back.

The Isle of Skye is a lovely place and we like to stay at a climber’s hotel, called the Sligachan, which is nestled in the Cuillins where we do most of our hiking. However last year we missed booking it (needs advance booking for high season) and ended up in Broadford. While the hotel smelled reminiscent of an elephant enclosure, there was very good espresso and cheese board (two of our life staples) at café called Beinn na Callich and excellent seafood at the Harbour Restaurant (El Puerta)—both can be reached on foot.

A heron fishing in the evening

Across from the seafood place is a tiny little road leading down to the water, which hosts a few artisan shops. One of them is a fabulous wool shop called Handspinner Having Fun.

Blue Faced Leicester DK from Handspinner Having Fun

Since I’m drowning in wool, I tried very hard to avoid the place and rightfully so because they have so much lovely wool (and silk), it is nearly impossible to leave empty handed. As the name implies, they spin and buy wool locally. For instance their Hebridean Wool is from sheep within 2 miles of the shop. I picked up some Blue Faced Leicester dk in a faded denim blue to create a warm, yet lightweight sweater Nick would be able to wear year-round, as opposed to his Orcas Isle Sweater which would sustain him in a Nor’easter.

Chain on the jetty behind our hotel

Nick’s sweater is coming along, albeit slowly, which is why my last blog mentioned I can really only do one major project a year. It would help if I were a bit more monogamous in my knitting, but big projects make me antsy for the feeling that comes with finishing. My goal is complete it so Nick can wear it into the shop when we visit next month. If that’s going to happen I need to get on it! At this rate I’ll be knitting it right up to the door.

I’ll be sure, in May when I visit, to take pictures of the shop.

Orcas Island Broken Rib Sweater

My job is very taxing, so I’ve probably got only one big project in me every year. In 2014 it was my fitted Einstein coat. In 2013 it was this VERY warm sweater. So warm Nick wears only in place of a coat on cold wintry days—something we don’t get a lot of in the Puget Sound.

Nick looking sunny at sunrise in his sweater

The shop where I bought this yarn is Warm Valley Orchard on Orcas Island. We often pass by it on the way to and from the ferry and see the very sheep who grew the wool that was spun into the luscious bulky, undyed yarn that later became this sweater. In order to buy wool, you have to go to the island—they don’t ship (at this writing). What I found most charming was the color of the yarn was the sheep’s name. The yarn has all the natural oils and even had a slightly sheepy odor when knitted.

The owners of Warm Valley Orchard run a sustainable, organic business. Whether you want fruits and nuts, meats and sausage or wool (fiber, yarn or knitted garments), this small, unobtrusive shop carries it all. I’m sure once we move to the island full time, we’ll be regular customers.

Nick taking a last look at West Beach before returning to the mainland

The first thing I had to do was find a stitch pattern that Nick liked. This is much more challenging than you might think. It took weeks of showing him patterns in books and magazines, knitting swatches with the wool with different patterns and sized needles. The guy is particular! He settled on broken rib, which is not only easy, it created a “masculine” looking fabric. I chose the sweater pattern, wanting something not too complex—so the yarn could ‘speak’ for itself. After I got my gauge right where I wanted it, I used Knitting Fools’s Set-in Sleeve Pullover to generate the pattern—just fill in the blanks! If only it were that easy!

I knit a hat from the leftover yarn in the same pattern as the sweater

I’m not sure if I knit it looser than the swatch, but the body was a bit bigger than hoped for when I followed the pattern. A large was more like an extra-large. Also, the sleeves were a bit shorter and wider than expected. The left the body alone, with the weight, it seemed like loose was better than snug.

I tore out the sleeves (twice) until I figured out the right number to cast on to create a tighter cuff and followed the directions to increase to the number the pattern recommends for the neck join. They are a bit long, but he’d rather roll them over than pull them down, so it all worked out.

Fitting Knitting

One of the things I loved about Knitters Magazine was that when Rick Mondragon first took over as Editor-In-Chief from the photographic genius David Xenakis, was the mandate to do more fitted designs. In one stroke there was an uptick in both fashion and complexity in women’s knitting. In honor of Rick’s transition from boxy to brilliant patterns, I wore my own extra-fitted version of the Knitter’s Design Team’s Lilac Top to Stitches West in Santa Clara, certain in the knowledge Rick had a hand in designing it.

IMG_4115 (2)Craftsy Knit Lab: Fit your Knits, taught by Stefanie Japel (the handouts are fantastic!), is where I got the gumption to use two fitting techniques: extra needle size changes and seam edge reductions. The pattern needed loads of modification because it calls for a bulky weight yarn and I used a sport weight (Peruse in Sea Bright) hand spun yarn from the sadly defunct Art Fibers Studio. I was looking for yarn for a different pattern in Knit Scene, but in the end I went back to my standby of Knitters, remembering a pattern I’d always wanted to make. Needless to say, lots of math and swatching was required.

Modifications

To create a light fabric I used size 6 needles as called for–I simply added more stitches to reach the right garment width. For reductions I first dropped to a size 5 needle earlier than the pattern called for and dropped to a size 4 needle for one inch at the waistline. Because of the skinny fiber, I had to also decrease at the edges to get the same width reductions a bulkier weight yarn would give in order to hit my measurements at the waistline. I decreased five stitches on both sides every other row from high hip to waist and then increased at the same rate until I hit the bust line.

Rolled Hitchhiker Scarf

I knitted it about 2 inches shorter than the pattern so it would fit under my suit coats and it does, perfectly. Not only does it hit my just above the jacket length, the sport weight yarn is less bulky and cooler. The bright color is perfect for spring and summer looks. I love everything except the color which would look great if only I were a brunette. Since this pattern require much less yarn, I had plenty left over to make a hitchhiker scarf for my Husband’s ex-partner who has lustrous chocolate colored hair.

Beaded End of Hitchhiker Scarf

There’s nothing new about fitted garments. Women’s patterns were highly fitted in the 1940s and 50s. But with the 60’s when loose flowy clothing became de riguer knitting pattern never seemed to recover. There was the occasional one in Vogue Knitting, but usually it was something I felt I wouldn’t really wear. In retrospect, as I look back at old issues (I was a subscriber of both) and I think how forward-looking those Vogue and Knitters were. They remain a go-to source for patterns—despite my habit of buying more books lately.

Interestingly Rick seems to be a fairly understated guy—though he’s riot when he takes the stage or teaches a class. He seems intensely private as evidenced by an interview with Faina Goberstein in 2010. Very much ‘just the facts, ma’am.’ And yet in person he’s larger than life. So is his design sense.

Speaking of Faina, I’m knitting one of her patterns right not for my husband (a blog for another day) called Simon, with all the modifications that accompany my knitting projects. In case you love her patterns like I do, she’s just launched a new website on March 22nd here.

Paying it Forward—Peace on Pi Day

10 balls of Kitten with a lovely message from JFam

I’ve been doing a lot of “swaps” on Ravelry and in my local knitting community lately. I belong to a group that is called “PayNothing<Cityname>” on Facebook which had a yarn round robin; add some, take some. It sounded like a good idea, but it moved glacially slow through a really long list which grew by the day. So some of us (the donors in particular) decided to short circuit it and pass along yarn freely to folks that were knitting for various charities in the community. “Here’s my address a big bag of wool is sitting on my porch. Come and get it!!”

Kitten up a tree
Kitten up a tree

I don’t know if the round robin will ever make it to me and it doesn’t matter so much anymore. It simply felt good to give away a huge pile of yarn for a good cause—enabling my neighbor who can’t afford to buy yarn to learn how to be a better knitter by knitting piles of scarves she plans to donate to homeless shelters. I have a more manageable stash, she gets skills, and 50 homeless will get a wool scarf. Win-win-win.

PI-Day T-shirt traded using proceeds from stash selling

I love the idea of a barter society. And as you know, I’ve got loads of yarn to trade. I’ve been using any positive cash flow from folks willing to cover shipping and a small sum, to buy any more yarn, supplies and the occasional t-shirt.

This New Year’s Resolution has been to be “neutral” on spending. I can only trade or make my clothes this year. Since I have donated (yup!) my sewing machine to Goodwill, knitting (or stash selling) is my only means of generating funds to buy more yarn.

A basketful of odd balls of Kitten by Reynolds

Part of my grandmother’s stash included 8 colors of a yarn called Kitten by Reynolds. I was just finishing a swatch for fingerless gloves when I realized I might not have enough. I found a stashbuster pattern and went looking to see if others had some of this yarn on Ravelry. That’s when I found 10 skeins of just the right color (black). When I asked how much, this lovely person simply said, “Pay it forward”. I was completely charmed by her good will. Heartfelt hugs to fellow Ravelrier jfam.IMG_4133

The ultimate surprise was that the box arrived while I was away on a business trip that had me a feeling a bit down. To my surprise there was both yarn and joy in JFam’s shipment. It came wrapped in a lovely drawing that made my day. My husband was so excited for me, he sent me a picture. Cheered me right up!

Knitters are indeed lovely people.

Ball of Yarn on the other side of the package

Fitted Einstein Coat: Putting Learning into Practice

So many people inspired this coat, which is why I decided to share. Also, I hope to inspire folks to consider making their own modifications. For me this was a learning experience and I wrote every stitch in the “new pattern” down. I haven’t typed it up and won’t post because this is someone else’s original design that I’ve modified. What I will do share with you my experience and hope you find your own way.

Back view of the finished garment

The original pattern I started with was Sally Melville’s who is a great teacher and author of the Book The Knitting Experience. The inspiration to make it fitted was with a Craftsy course with Stefanie Japel, Fit Your Knits. The methods used to make it fit were adding stitches under the arms for the bodice and short rows on the lower portion, the latter inspired by a Craftsy class, Short Rows, with Carol Feller. Thanks to you all! The yarn was a bulky yarn closeout at my nearby Joann’s. It’s their in-house brand called Sensations. The buttons came from my LYS Serial knitters—they have such a lovely selection (of everything)! They had the right number (+1) in the perfect size and color as if they’d planned for me to stop by. They also supplied me with the Knitter’s Pride Dreamz needles in 10 ½ (3 sets) and that’s when I fell in love with wooden circular needles. I took my measures (in my unmentionables), printed out the handout from the class, knit my swatches of the various fabrics and did the math. On to the knitting!

Modifications

Four inch collar picked up at neck edge; fitted waistline.

Collar: I loved the picture in Sally’s book, but noticed that the pattern didn’t quite reflect the picture–for instance there was no collar in the pattern, but clearly there is one in the picture. So I knew I’d be adding that. I love flipping it up against the cold. A cowl will keep it in the upright and locked position. Texture: The pattern also calls for garter everywhere, but I wanted more visual interest—and a clearer separation from top and bottom portions. So I chose seed stitch for the sleeves and top. Vents under the arms were reverse stockinette so that they would “dent in”. This gives extra ease for the girls and retracts if not needed. Proportion: I wanted a long coat with an empire waist. So I chose the biggest size for the bottom portion. I then measured my shoulder to high waist at both sides to get the slope of my shoulder. Fitting: Bottom: To create an A-line look to the bottom I did short row additions at four different locations cycling through up and down like a zigzag: short row at stitch 15, knit five rows even, stitch 30, knit five rows even, stitch 45, k5R, stitch 60, k5r, stitch 45, k5r and so on. Bodice: I picked up all the stitches from the narrower edge of the bottom. I knit 5 rows even then started increasing under the arms with the reverse stockinette. I followed the pattern until I got to the armholes where I placed the reverse stockinette stitches on a stitch holder. Shoulder fitting was down with short rows to make it lower at the shoulders, higher at the neck. I Kitchenered the shoulder seams, picked up stitches at the neckline and knit a four inch collar in seed stitch pattern. Sleeves: Instead of attaching sleeves I knit them down from the shoulders. I started by picking up 8 stitches (placed marker in the middle to keep track of the shoulder seam) and then picked up 1-2 stitch at each edge as I knit the sleeves down to the reverse stockinette stitches on my holders. Once I had all my stitches on a needle I reduced under the arm the reverse stockinette portion (at each edge) to create a diamond of it under the arms. I continued to reduce the sleeve proportional with my arms with plenty of ease to put over clothes. At least in the sleeve…

Trouble in Paradise

Once completed I donned it immediately. The sleeves were roomy—just right for clothes, but the bottom was perfect only if I wore it nekkid. The button band bulged open especially in my waist and hips. *sigh* I had not allowed for clothing to be worn underneath. “Just wear it open”, my husband says. A heavy coat for chilly days? It just wouldn’t do! So after frogging the garment for about three months, I decided to cut it up the back (followed shortly thereafter with fainting and lying quietly in a dark room). So much had gone into this pattern alteration so far. I was determined to finish it and make it wearable. Surgery time!

Placing cut edges on waste yarn

I cut it up the back to the waist and placed both sides on waste yarn. I asked my Facebook clan how I might add material and many creative ideas were given:

  • Sew in fabric
  • Knit a panel in seed stitch or reverse stockinette like the bodice
  • Add a whole new pattern (e.g. fancy cables) in a triangle
Joining waste yarn to hold at the top of the cut

Everyone seemed to treat the gash like an up and down problem. In the end I turned it on the side and used the same stitch (garter) and method (short rows) to make it bigger. Less inspired, perhaps, but it gave me the garment I’d originally planned, not a different one. I picked up stitches on both sides with the intent to meet in the middle. It was surprising unnoticeable that I was going a different direction from the original. The only issue is that on one side my short rows were WS, not RS. I also had to add the most in the hip region, so the lack of spread (e.g., the zigzag above) made them more noticeable. Thus the ribbon in the back.

Buttoned kick pleat
Buttoned kick pleat

The kick pleat was the one bit of feedback I did pick up from Facebook. I had an extra button, so why not! Now I wear it at least once a week and I always get comments. I’m so excited to tell people “I made it!”