My First Crochet Project

My Gadabout Bag
My Gadabout Bag

I know somewhere in the distant past I made a few granny squares in Junior High. So you might argue that this isn’t my very first crochet project. So perhaps a better way of describing it is that I’ve just created my first ever *usable* object.

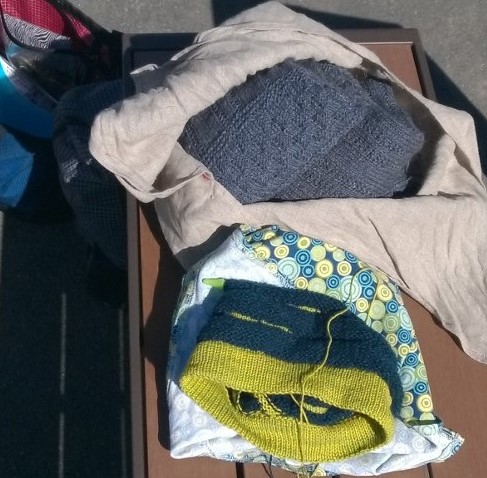
The not-so-little Gad-about bag (I used 64 stitches instead of 48), designed by Dot Matthews, is my newest project bag. The Seahawks colors are unintentional. This is just what I had lying about of similar weight and composition. Though it could be that I’m subliminally drawn to the local sports team colors. I like to think I already liked this combination and that the correspondence is a coincidence.

The bottom of the finished bag inspired my wish to see what more
The bottom of the finished bag inspired my wish to see what more “mistakes” might look like.

My LYM (local yarn manufacturer) is Warm Valley Orchard (WVO) on Orcas Island. When I’ve bought a sweater’s worth of yarn I’ve been allowed to make a free selection from a hank ends pile. So between leftovers from various projects and these hank ends, I was building up quite a stash of unstashable yarns. I find WVO yarns to be stiffer than other yarns. Perfect for a sturdy bag.

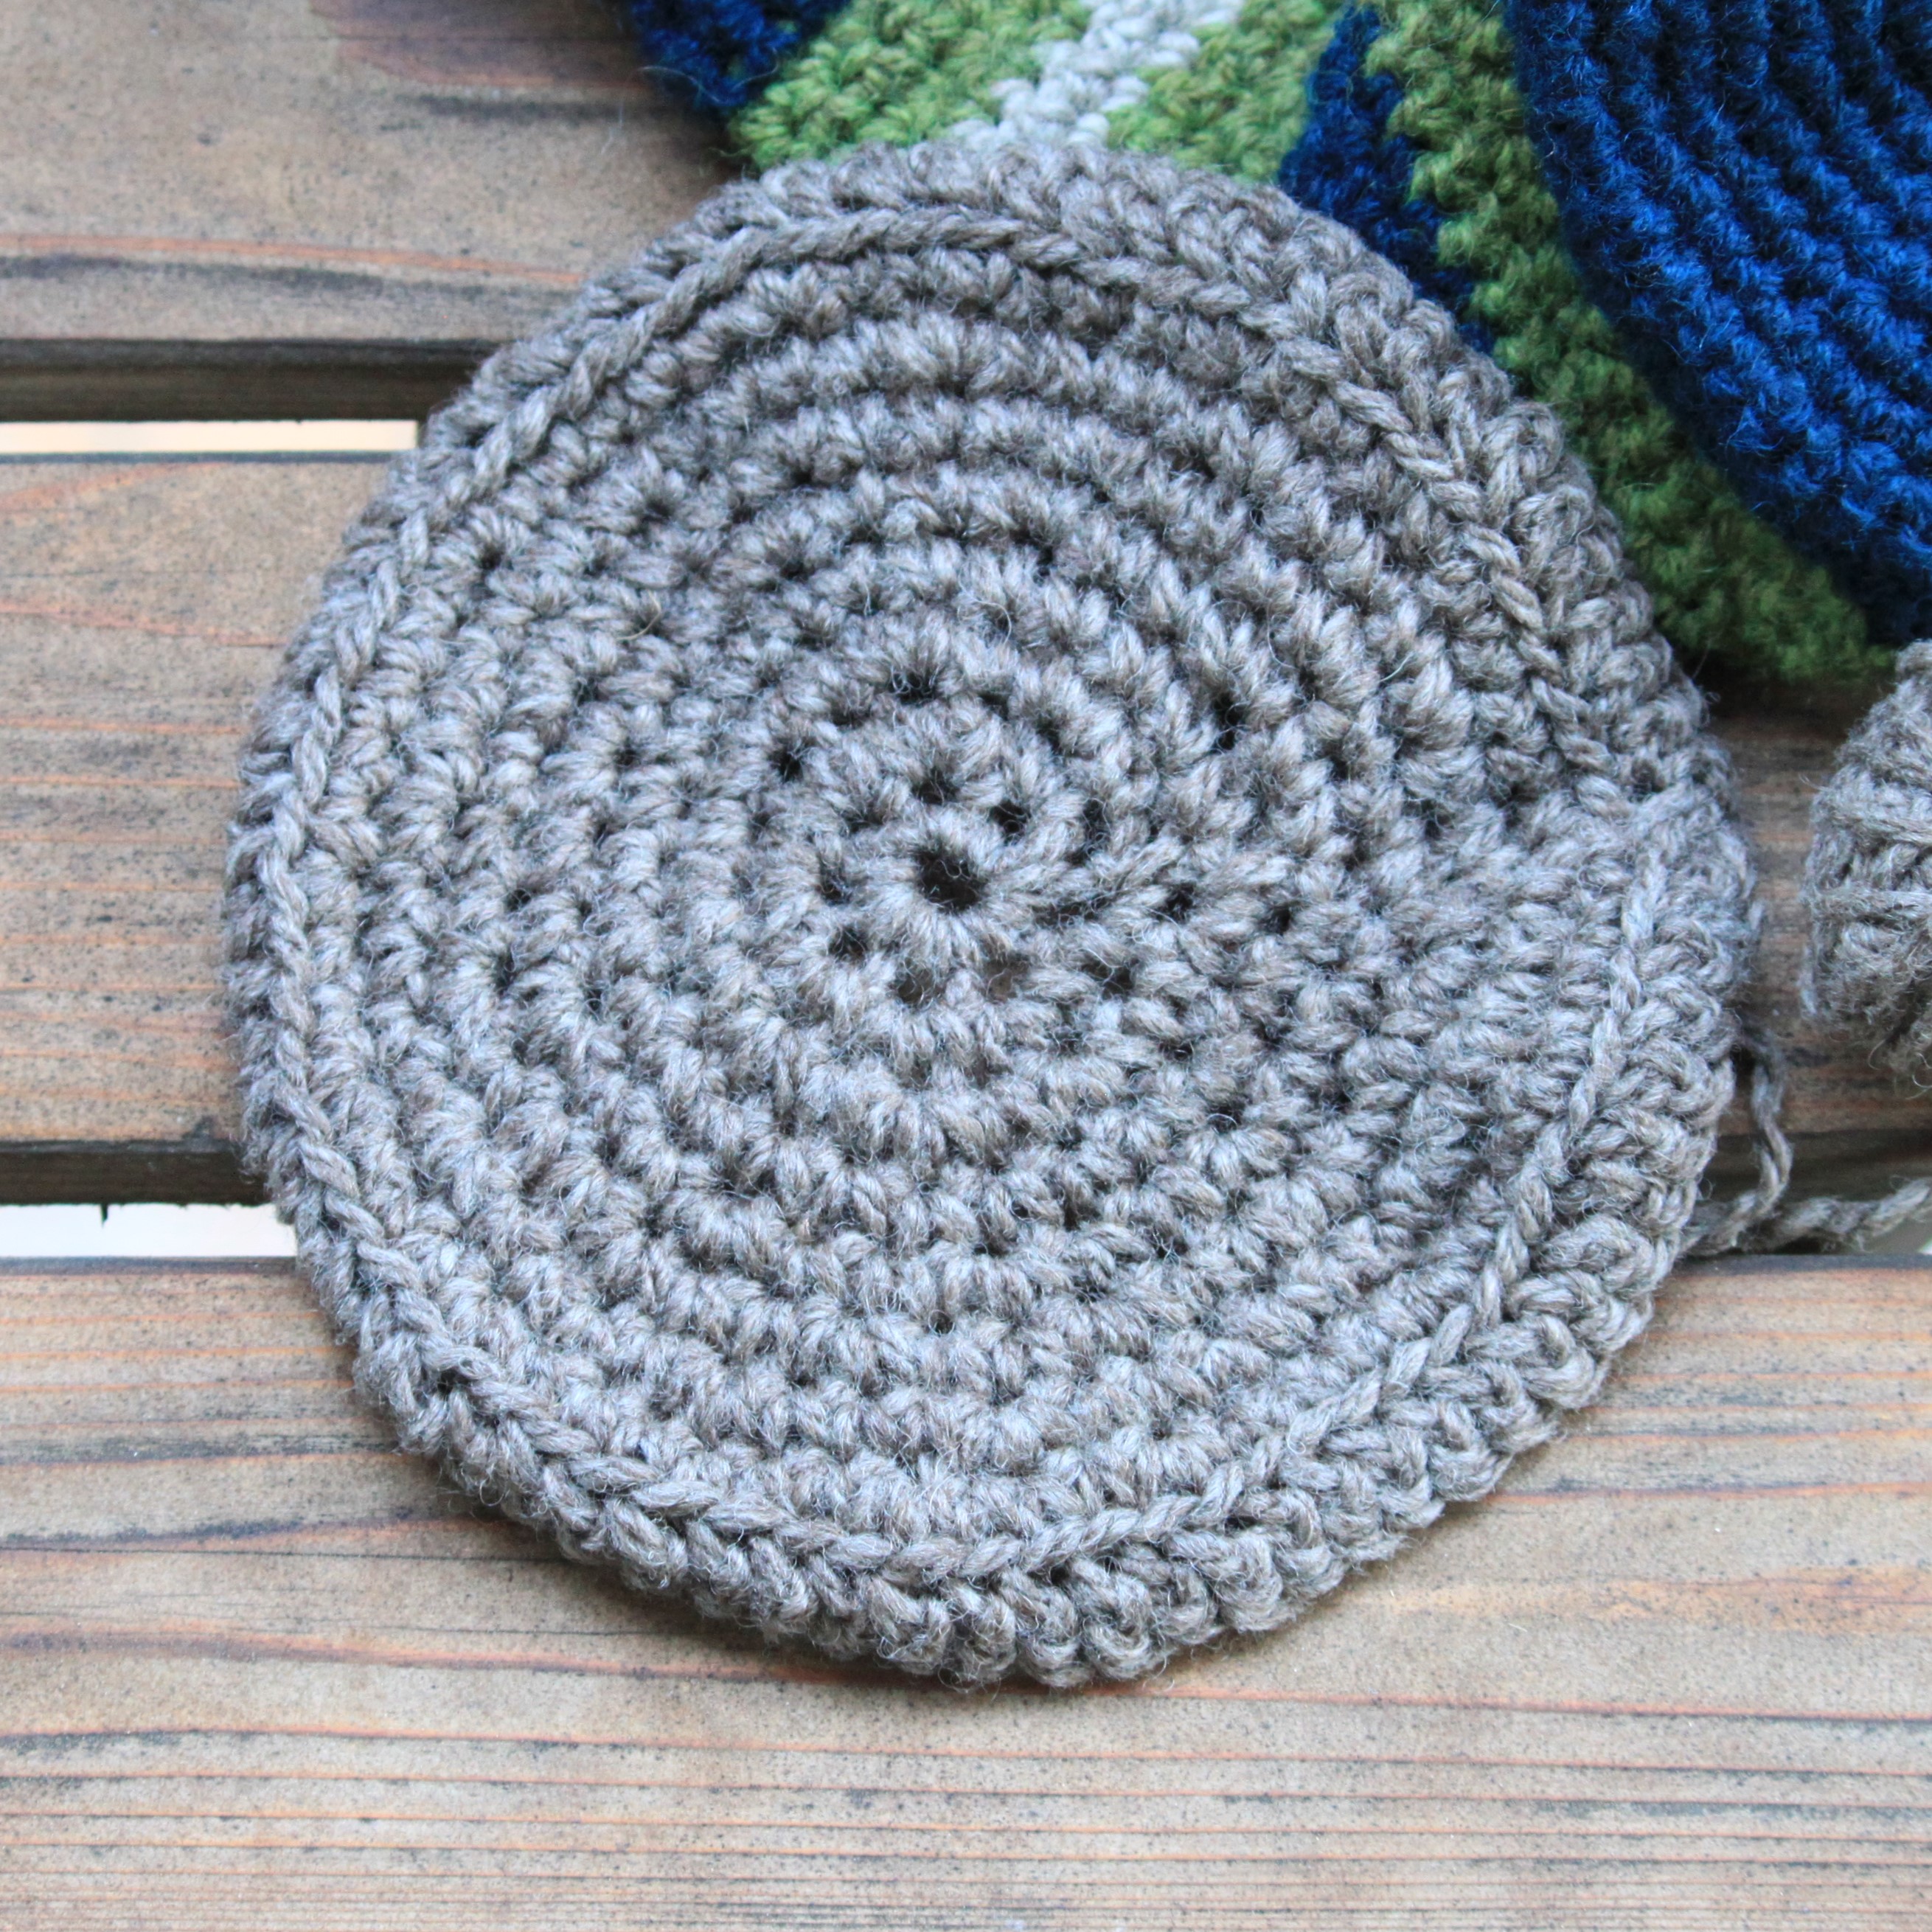
I didn’t follow the directions exactly for the bottom, but I followed pretty closely for the top. And though it is clearly too tight in places, I must admit, I prefer the fabric from the not followed section better than the followed. The coil outward reminds me of a Panamanian hat. I wondered what it would look like if I just kept on going…

Bottom of the bag in progress

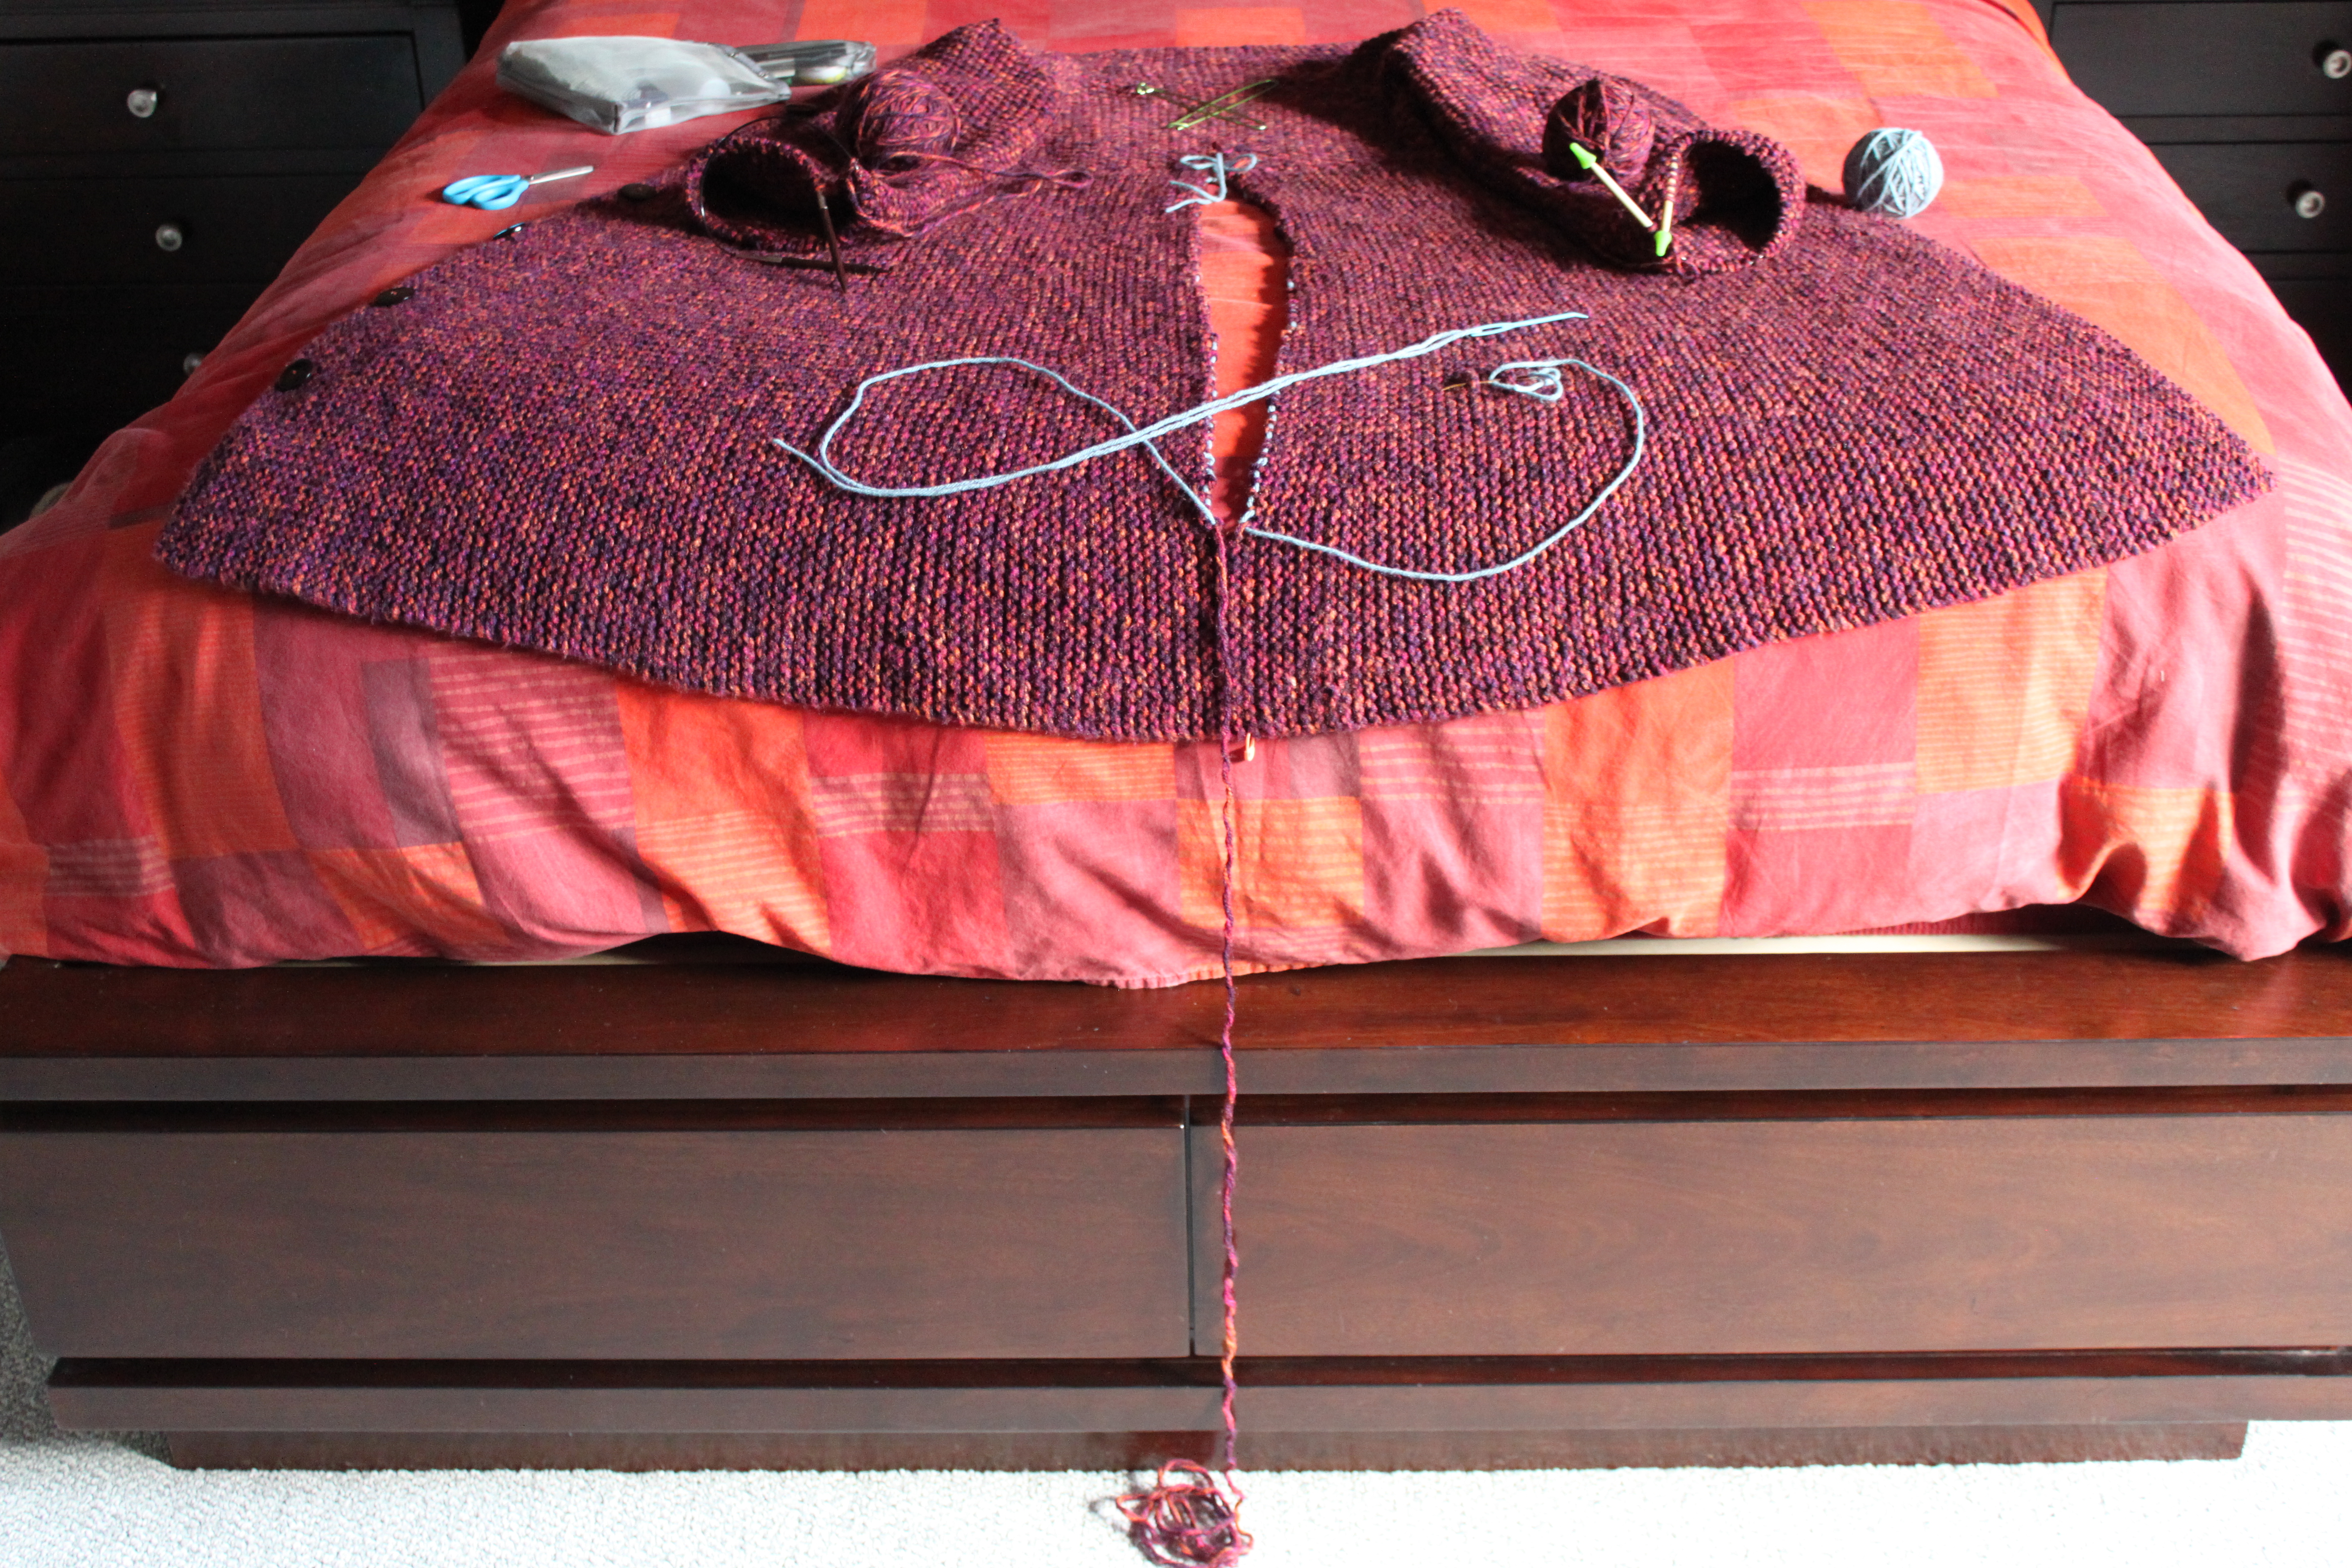
I was so pleased with my mods, I decided to immediately start on another bag. However I stopped work quickly after the bottom section because I really am anxious to get on with my next big project—a cardigan for me. Finally!!

You might also notice that the colors match fairly well the first project I put into it—my Woolful Summer knit-a-long Home and Away project, which is a combination of a Georgetown and a Hancock sweater from Hannah Fettig’s Home and Away book.

Georgetown-Hancock from Home and Away
Georgetown-Hancock from Home and Away made from Tosh DK in Worn Denim

If you’ve seen this beautiful book, you’ll know that Hancock calls for a sport weight yarn and Georgetown calls for worsted. One is cropped and the other is hip length. One described as a bottom up knit and the other top-down (though directions are provided in both styles for each). About the only thing they have in common is they are cardigans. I love design elements from both, so onward I go.

And as for the yarn. I’m officially madly in love with Tosh DK in this colorway.

Keeping Wurm in Seattle

Apologies for the long lag between posts, I was finding it hard to post from the Inner Hebrides and the business trip before and after I went. Oddly, when I used to write a travel blog, this was the easiest thing in the world. I met my husband on my blog. No joke! And I‘ve thought about resurrecting the site though having two blogs, if I struggle to keep up with one seems a bit silly. I’d love your feedback—separate or together?

Clouds over Tuscaloosa, AL--thought I saw a funnel cloud!
Clouds over Tuscaloosa, AL–thought I saw a funnel cloud!
Clouds on the flight back to Seattle

I thought I was being so original—knitting a Wurm hat in Seattle sport team colors. But alas, I found no less than eight more Seahawks versions of the Wurm hat by Katharina Nopp on Ravelry.

This said, each one has its own uniqueness, including mine, which was started as a travel project because I thought my husband’s Blue Skye sweater was too much to pack on a recent business trip to Tuscaloosa, AL. In retrospect, it would have been better to bring it and return with it finished—I ended up having more time in the evenings and on the plane than expected—not to mention plenty of room in my bag despite being on the road for a week with only carryon luggage—a trick I’ll talk about in another blog post.

One of my favorite Seahawk Wurm’s is Early Robyns Get the Wurm by Traevynn which uses not only the green and blue, but a dose of white as well—just like the logo. AuntieDi did a Wurm which is literally the reverse of mine. Blue with green, instead of green with blue, out of local yarn manufacturer, Cascade Yarns220 superwash.

Working on the Wurm while I wait for my pontoon plane

My Wurm is a mix of boutique yarns—one local, one from San Francisco. The blue is a DK from Warm Valley Orchard on Orcas Island. The owners of WVO do everything from raise the sheep, shear, card, spin and dye the wool on island. It’s a bit itchy, but warm and the rich blue color is amazing. The green is the now sadly defunct Art Fiber’s sport weight Peruse, a soft baby alpaca. This softness is why I selected to have the green parts closest to the face and head.

Two projects--taking up a whole bench at Kenmore Air Harbor
Two projects–taking up a whole bench at Kenmore Air Harbor

What I loved about this pattern was learning to do a double headband. I’d heard about doing this for collars, but I’d never tried it, so doing it on a project like this one with leftover yarns took almost all the stress out of it. Though it did take a couple of tries to get it just right. Knitting it was fine, the problem was picking up the stitches from the edge. You have to align it perfectly or it looks weird.

After trying a failing twice, I finally took a contracting color, slipped them through all the “known” stitches and only took stitches that were on that string—no more no less. Got it perfectly right that time. Whew!

Cockpit of the de  Havilland Otter. I got to ride up front!!
Cockpit of the de Havilland Otter. I got to ride up front!!

I’m still sewing my husband’s sweater together and next will be to pick up the collar. I started with that before the sleeve sewing, but ran into trouble. Now I think I have a technique from the hat which will make that go much better.

Forgive the quality of my photos. All of these were taken with my phone and many under very jittery conditions—mostly in flight on a de Havilland Canada DHC-3 Otter pontoon plane. If I could afford it I’d always commute up with Kenmore Air.

San Juan Islet with Mount Baker in the background
A San Juan Islet with Mount Baker in the background
Boats darting all directions in the San Juan Island
Boats darting all directions in the San Juan Islands
A view of the ferry I never get!

Fitted Einstein Coat: Putting Learning into Practice

So many people inspired this coat, which is why I decided to share. Also, I hope to inspire folks to consider making their own modifications. For me this was a learning experience and I wrote every stitch in the “new pattern” down. I haven’t typed it up and won’t post because this is someone else’s original design that I’ve modified. What I will do share with you my experience and hope you find your own way.

Back view of the finished garment

The original pattern I started with was Sally Melville’s who is a great teacher and author of the Book The Knitting Experience. The inspiration to make it fitted was with a Craftsy course with Stefanie Japel, Fit Your Knits. The methods used to make it fit were adding stitches under the arms for the bodice and short rows on the lower portion, the latter inspired by a Craftsy class, Short Rows, with Carol Feller. Thanks to you all! The yarn was a bulky yarn closeout at my nearby Joann’s. It’s their in-house brand called Sensations. The buttons came from my LYS Serial knitters—they have such a lovely selection (of everything)! They had the right number (+1) in the perfect size and color as if they’d planned for me to stop by. They also supplied me with the Knitter’s Pride Dreamz needles in 10 ½ (3 sets) and that’s when I fell in love with wooden circular needles. I took my measures (in my unmentionables), printed out the handout from the class, knit my swatches of the various fabrics and did the math. On to the knitting!

Modifications

Four inch collar picked up at neck edge; fitted waistline.

Collar: I loved the picture in Sally’s book, but noticed that the pattern didn’t quite reflect the picture–for instance there was no collar in the pattern, but clearly there is one in the picture. So I knew I’d be adding that. I love flipping it up against the cold. A cowl will keep it in the upright and locked position. Texture: The pattern also calls for garter everywhere, but I wanted more visual interest—and a clearer separation from top and bottom portions. So I chose seed stitch for the sleeves and top. Vents under the arms were reverse stockinette so that they would “dent in”. This gives extra ease for the girls and retracts if not needed. Proportion: I wanted a long coat with an empire waist. So I chose the biggest size for the bottom portion. I then measured my shoulder to high waist at both sides to get the slope of my shoulder. Fitting: Bottom: To create an A-line look to the bottom I did short row additions at four different locations cycling through up and down like a zigzag: short row at stitch 15, knit five rows even, stitch 30, knit five rows even, stitch 45, k5R, stitch 60, k5r, stitch 45, k5r and so on. Bodice: I picked up all the stitches from the narrower edge of the bottom. I knit 5 rows even then started increasing under the arms with the reverse stockinette. I followed the pattern until I got to the armholes where I placed the reverse stockinette stitches on a stitch holder. Shoulder fitting was down with short rows to make it lower at the shoulders, higher at the neck. I Kitchenered the shoulder seams, picked up stitches at the neckline and knit a four inch collar in seed stitch pattern. Sleeves: Instead of attaching sleeves I knit them down from the shoulders. I started by picking up 8 stitches (placed marker in the middle to keep track of the shoulder seam) and then picked up 1-2 stitch at each edge as I knit the sleeves down to the reverse stockinette stitches on my holders. Once I had all my stitches on a needle I reduced under the arm the reverse stockinette portion (at each edge) to create a diamond of it under the arms. I continued to reduce the sleeve proportional with my arms with plenty of ease to put over clothes. At least in the sleeve…

Trouble in Paradise

Once completed I donned it immediately. The sleeves were roomy—just right for clothes, but the bottom was perfect only if I wore it nekkid. The button band bulged open especially in my waist and hips. *sigh* I had not allowed for clothing to be worn underneath. “Just wear it open”, my husband says. A heavy coat for chilly days? It just wouldn’t do! So after frogging the garment for about three months, I decided to cut it up the back (followed shortly thereafter with fainting and lying quietly in a dark room). So much had gone into this pattern alteration so far. I was determined to finish it and make it wearable. Surgery time!

Placing cut edges on waste yarn

I cut it up the back to the waist and placed both sides on waste yarn. I asked my Facebook clan how I might add material and many creative ideas were given:

  • Sew in fabric
  • Knit a panel in seed stitch or reverse stockinette like the bodice
  • Add a whole new pattern (e.g. fancy cables) in a triangle
Joining waste yarn to hold at the top of the cut

Everyone seemed to treat the gash like an up and down problem. In the end I turned it on the side and used the same stitch (garter) and method (short rows) to make it bigger. Less inspired, perhaps, but it gave me the garment I’d originally planned, not a different one. I picked up stitches on both sides with the intent to meet in the middle. It was surprising unnoticeable that I was going a different direction from the original. The only issue is that on one side my short rows were WS, not RS. I also had to add the most in the hip region, so the lack of spread (e.g., the zigzag above) made them more noticeable. Thus the ribbon in the back.

Buttoned kick pleat
Buttoned kick pleat

The kick pleat was the one bit of feedback I did pick up from Facebook. I had an extra button, so why not! Now I wear it at least once a week and I always get comments. I’m so excited to tell people “I made it!”

I haven’t figured it out yet…

I haven’t figured it out yet.” Such a hopeful phrase! It suggests two very important things:

  1. That there is more to learn
  2. That I will learn it 🙂

I’m still here in Santa Clara at Stitches West and I’ve come to another realization. I signed up for too many classes—the same mistake I made my first time as Stitches West 14 years ago when it was in Oakland.

In my defense, it’s been 10 years since I was here. That said, I’ve loved every class and will likely love the two (!) more I have tomorrow. The issue is making sure I really learn what I’ve learned.

So far I’ve picked up many new ways of closing garments and making the chains, buttons, etc., in a class with Margaret Fisher. She even taught me how to sew in a zipper! I also learned two stranded color knitting with a designer from my neck of the woods, Lorilee Beltman. I can’t wait to try out her designs! Today was continental knitting with the fabulous Leslye Solomon, who I remember from her classes when I was first going to Stitches West all those years ago. This is when my brain started to fry a bit.Created with Nokia Smart Cam

When a neighbor would get stuck in class and lean in to ask me how to do something—because I tend to plow on even if I don’t know what I’m doing—I would answer, “I haven’t figured it out yet, but here is what I’m trying.” I didn’t feel bad about that, I felt energized!!

After class, this being my only half day of classes, walking around the market I felt a bit dizzy. Yes, that is a sensory overload place too, but it was more than that—I WAS TIRED. So I hoofed it back to the hotel to rest. ZZZZzzzz.

After my nap I picked up right where I left off from class while I was waiting for dinner and there it was. No, it wasn’t smooth (not yet!) and no it wasn’t pretty (not yet!), but this will come. I know it!

And now I must gird my loins for the two classes I have tomorrow—before I get on a plane and fly home.